
47 Breakfast Nook Ideas: Cozy, Small Space & Window Seat Designs
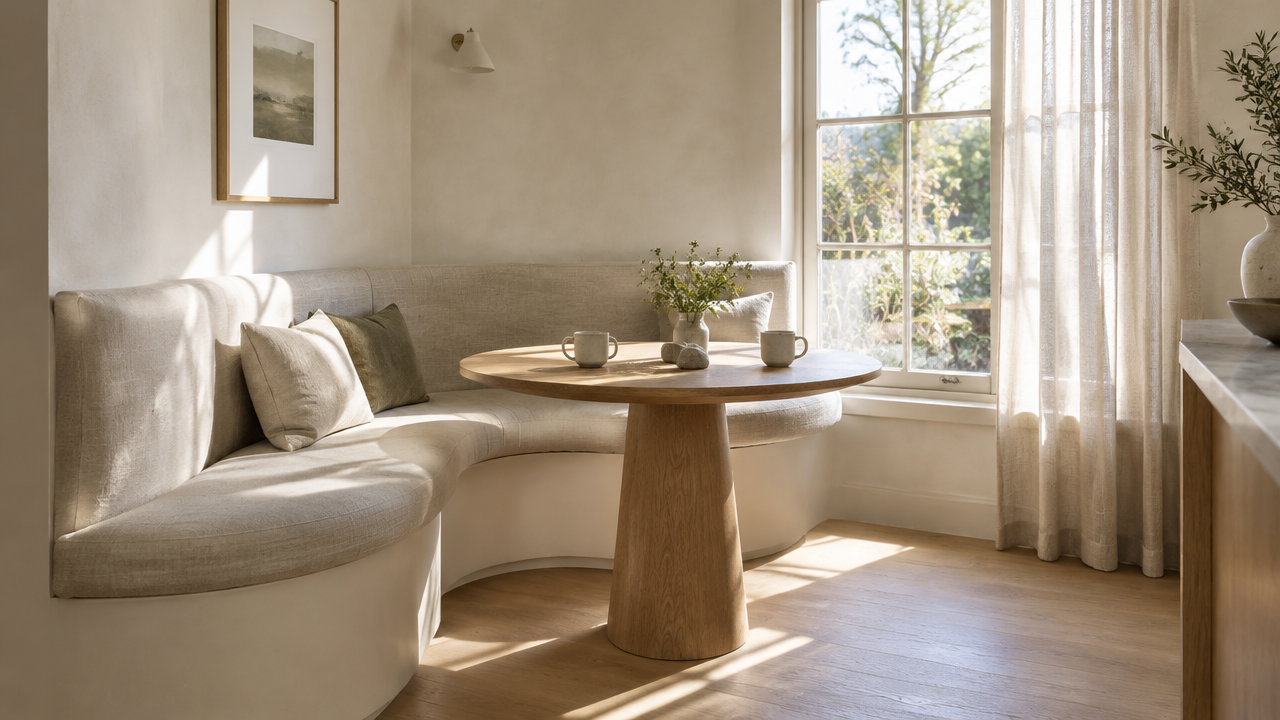
Why a breakfast nook changes your mornings
A breakfast nook is the small dining spot that sits closer to the kitchen than the dining table. It usually means a bench against a wall or window.
The idea is old. The way people use it now is new. It has become the most lived-in corner of the house.
You sit down for three minutes and stay for twenty. Coffee tastes better when you are not standing up.
A nook also fixes a real problem. Most kitchens have a dead corner that holds a chair nobody uses. That corner can become the best seat in the room.
Below are 47 breakfast nook ideas, grouped by style. Each one is specific, buildable and different from the others.
Some cost almost nothing. Some need a carpenter. All of them are aimed at one thing: a place you actually want to sit at seven in the morning.
How to size a breakfast nook before you build
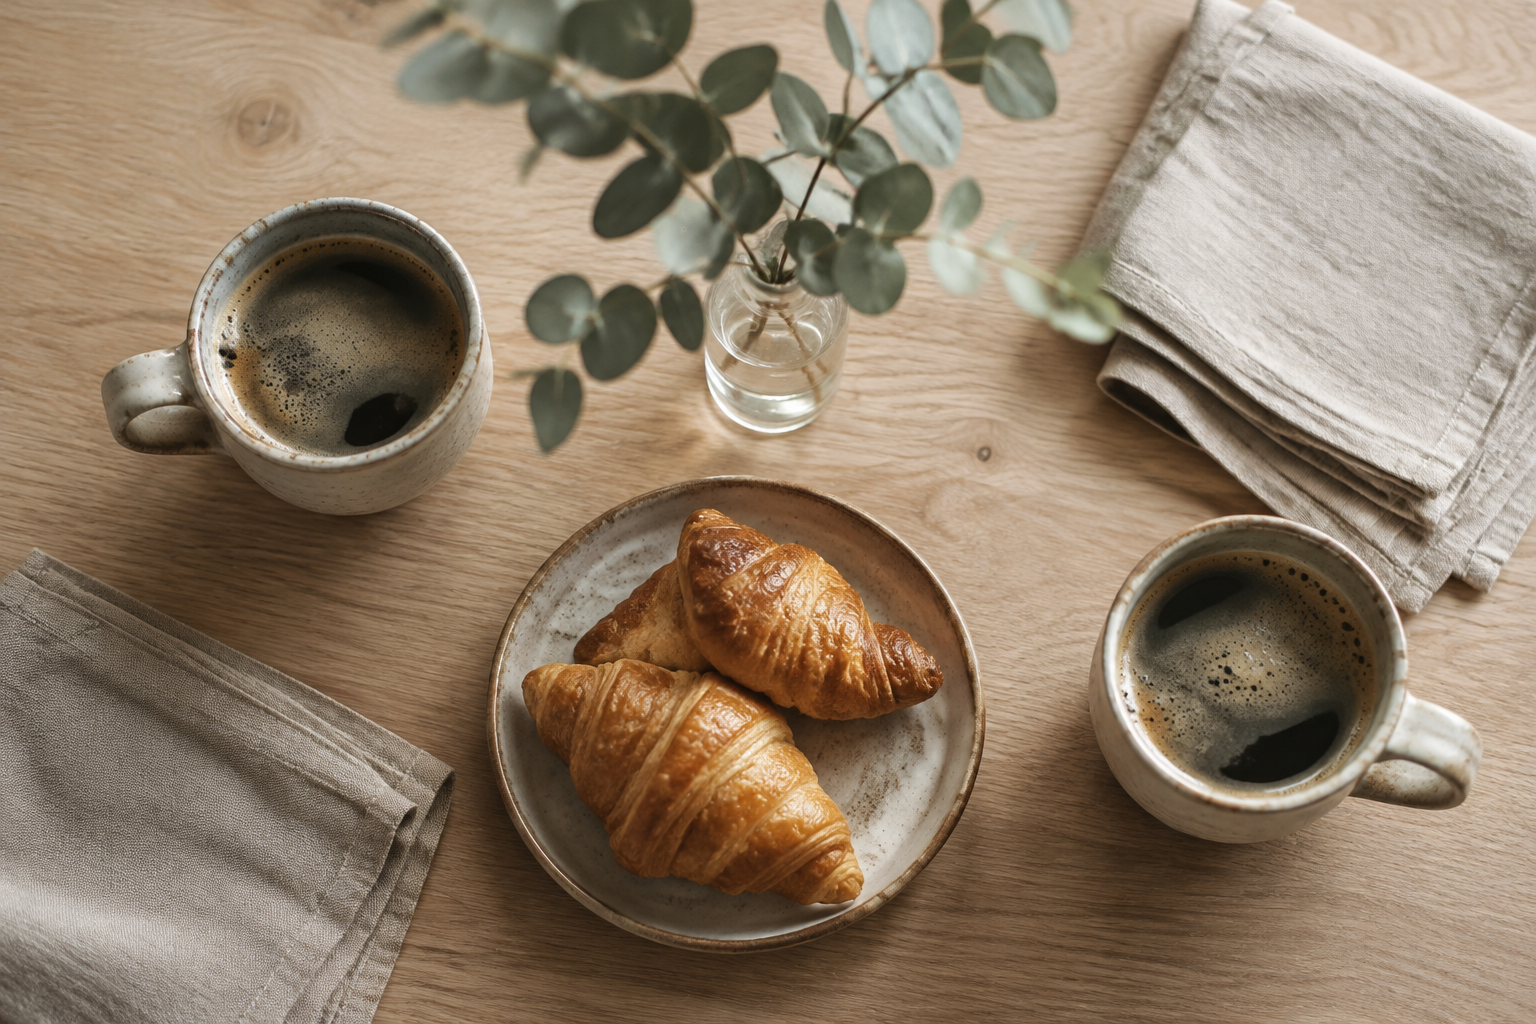
Get the numbers right and everything else is easy. A nook is a tight space, so a wrong measurement is a daily annoyance.
Seat height should be 17 to 18 inches from the floor. Add a cushion and you lose an inch, so build the bench a little lower if you plan a thick pad.
Bench depth should be 20 to 22 inches for upright sitting. Anything shallower feels like waiting at a bus stop.
Allow 24 to 30 inches of table width per person. Two people need a table 48 inches wide, or a round table 36 inches across.
Keep 12 to 14 inches between the table edge and the seat front. That is enough room to slide in without a squeeze.
- Tape the bench outline on the floor for a week before you commit. You will learn a lot from walking around it.
- If the table is fixed, leave 30 inches of walkway behind it. If the table slides in, 24 inches is workable.
Built-In Banquettes
A built-in bench is the classic way to make a nook. It uses the wall, hides storage and looks like it was always there.
Window-Wrapped Corner Banquette
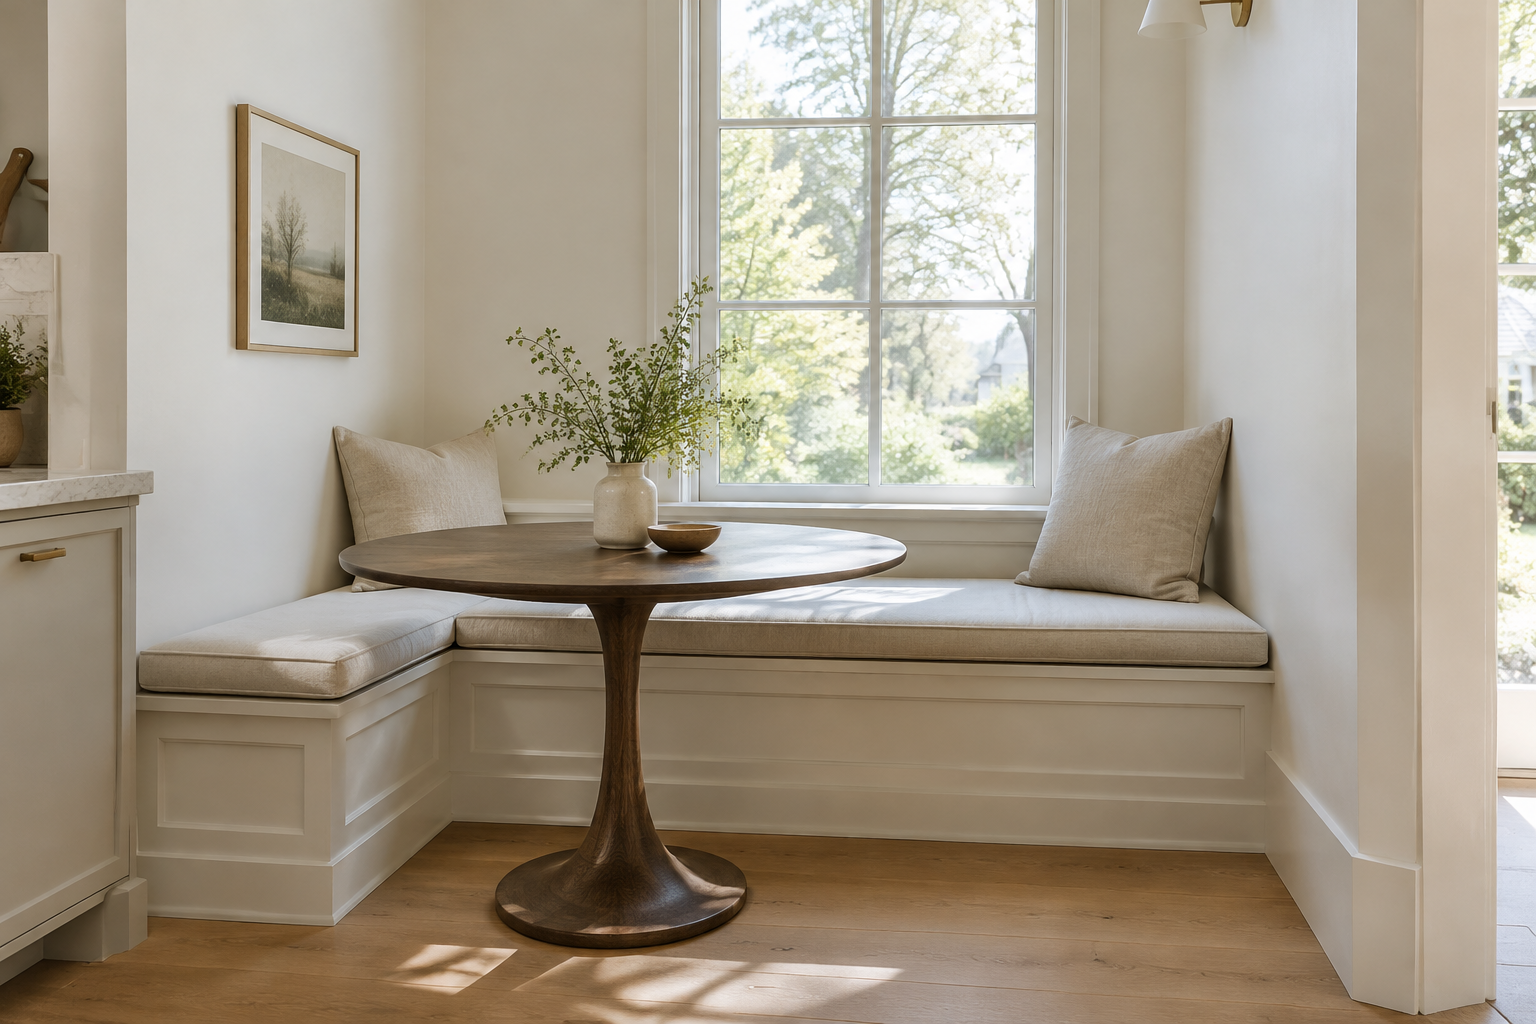
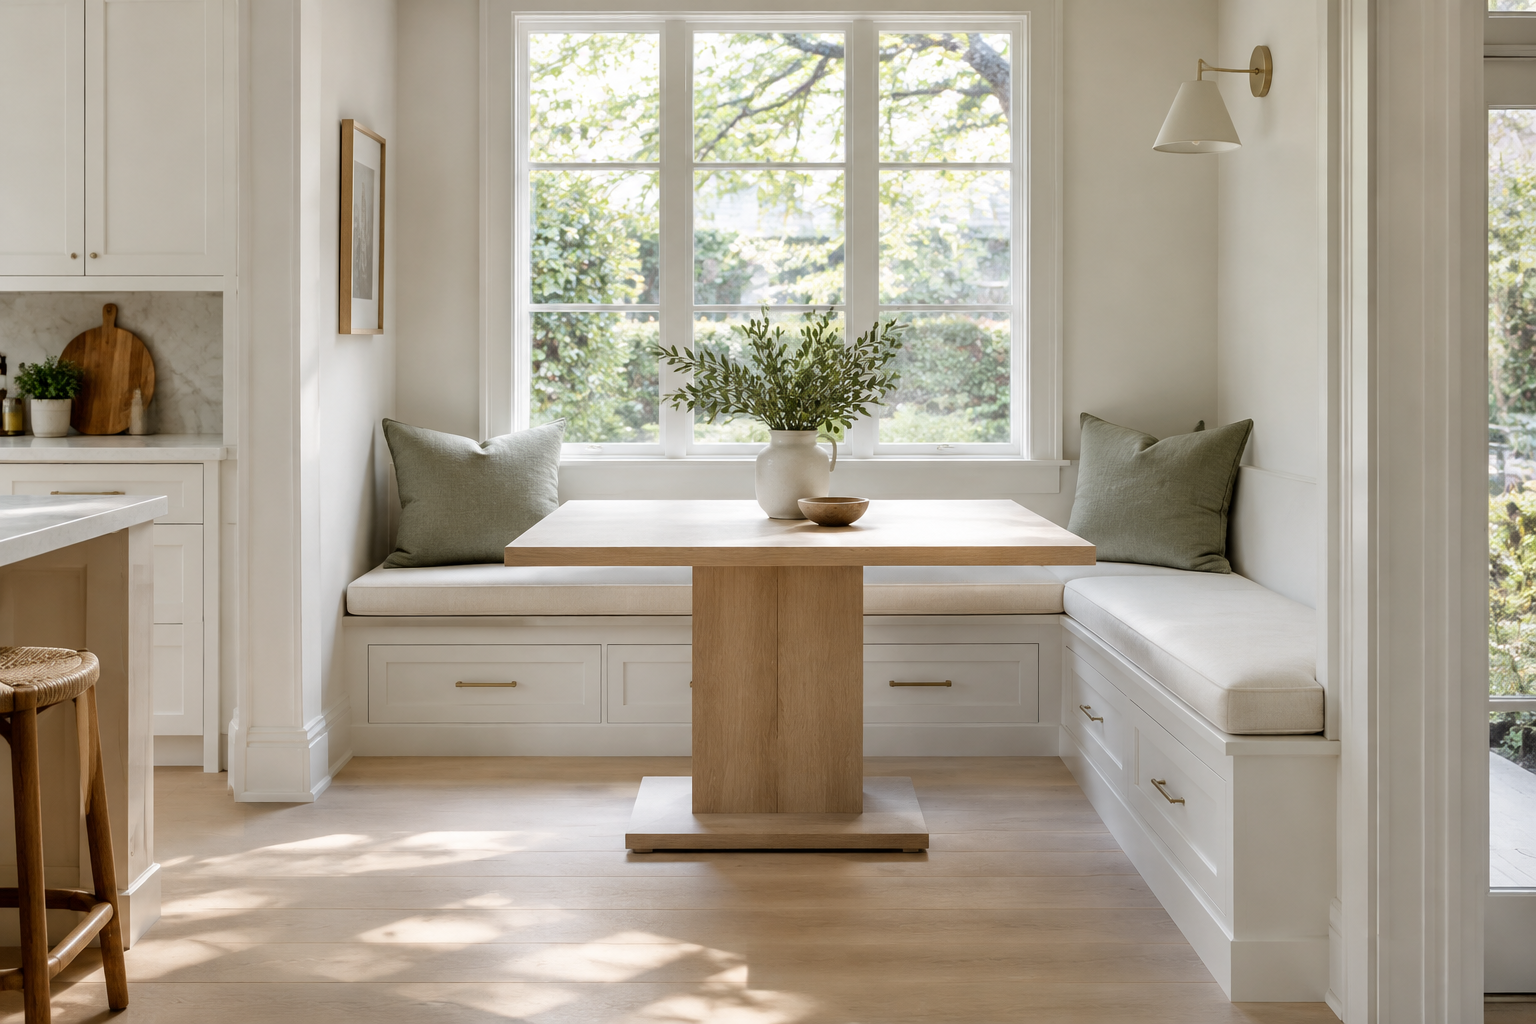
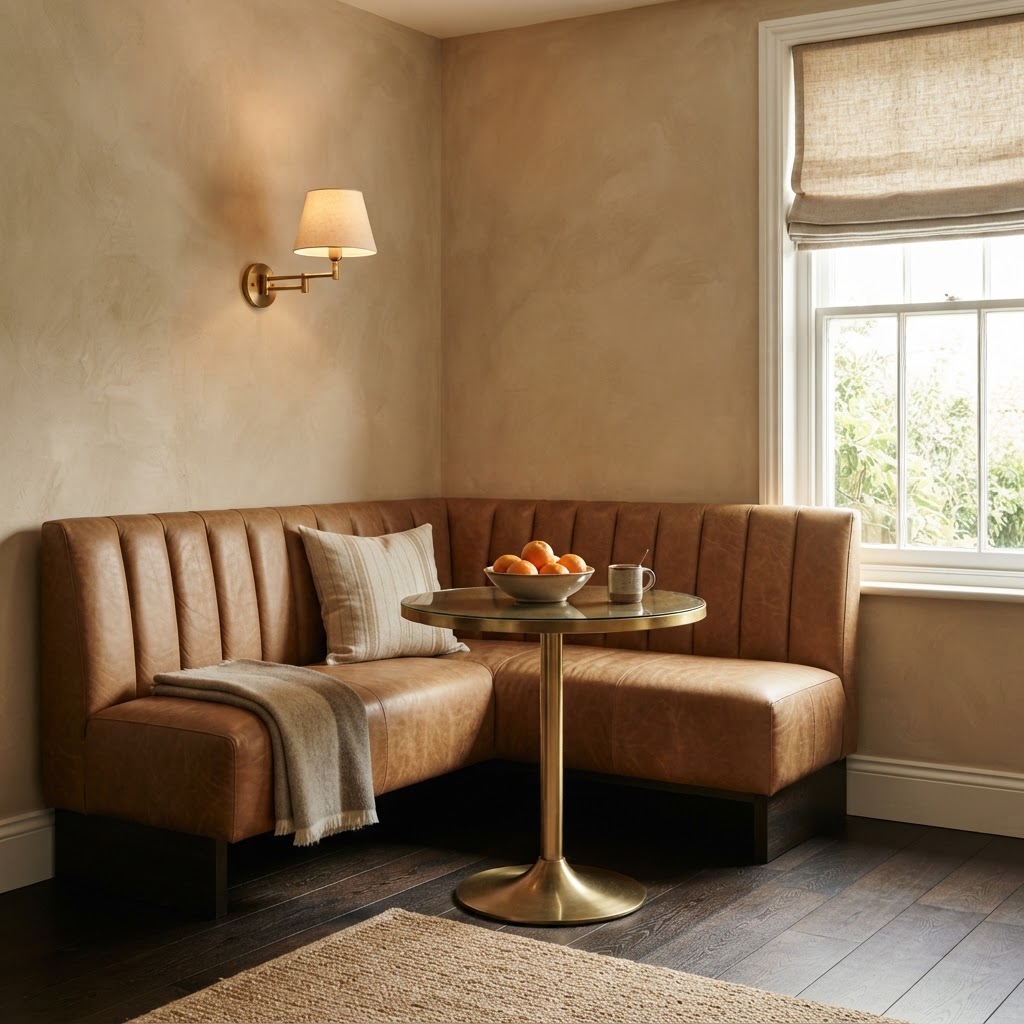
A long bench that hugs two walls turns a dead corner into the best seat in the house. Build it directly under the window so the sill becomes a narrow shelf.
Keep the seat depth at 22 inches for upright sitting. A 3 inch foam pad is the difference between a bench and a sofa.
Paint the bench the same colour as the wall. The nook then reads as part of the room instead of a piece of furniture.
Finish with two linen pillows and a small round table. Nothing else belongs in a corner this calm.
- Run the bench 6 inches past the table on each side so people can slide in without asking anyone to move.
- Choose removable, washable covers if children eat here every morning.
Under-Stair Breakfast Nook
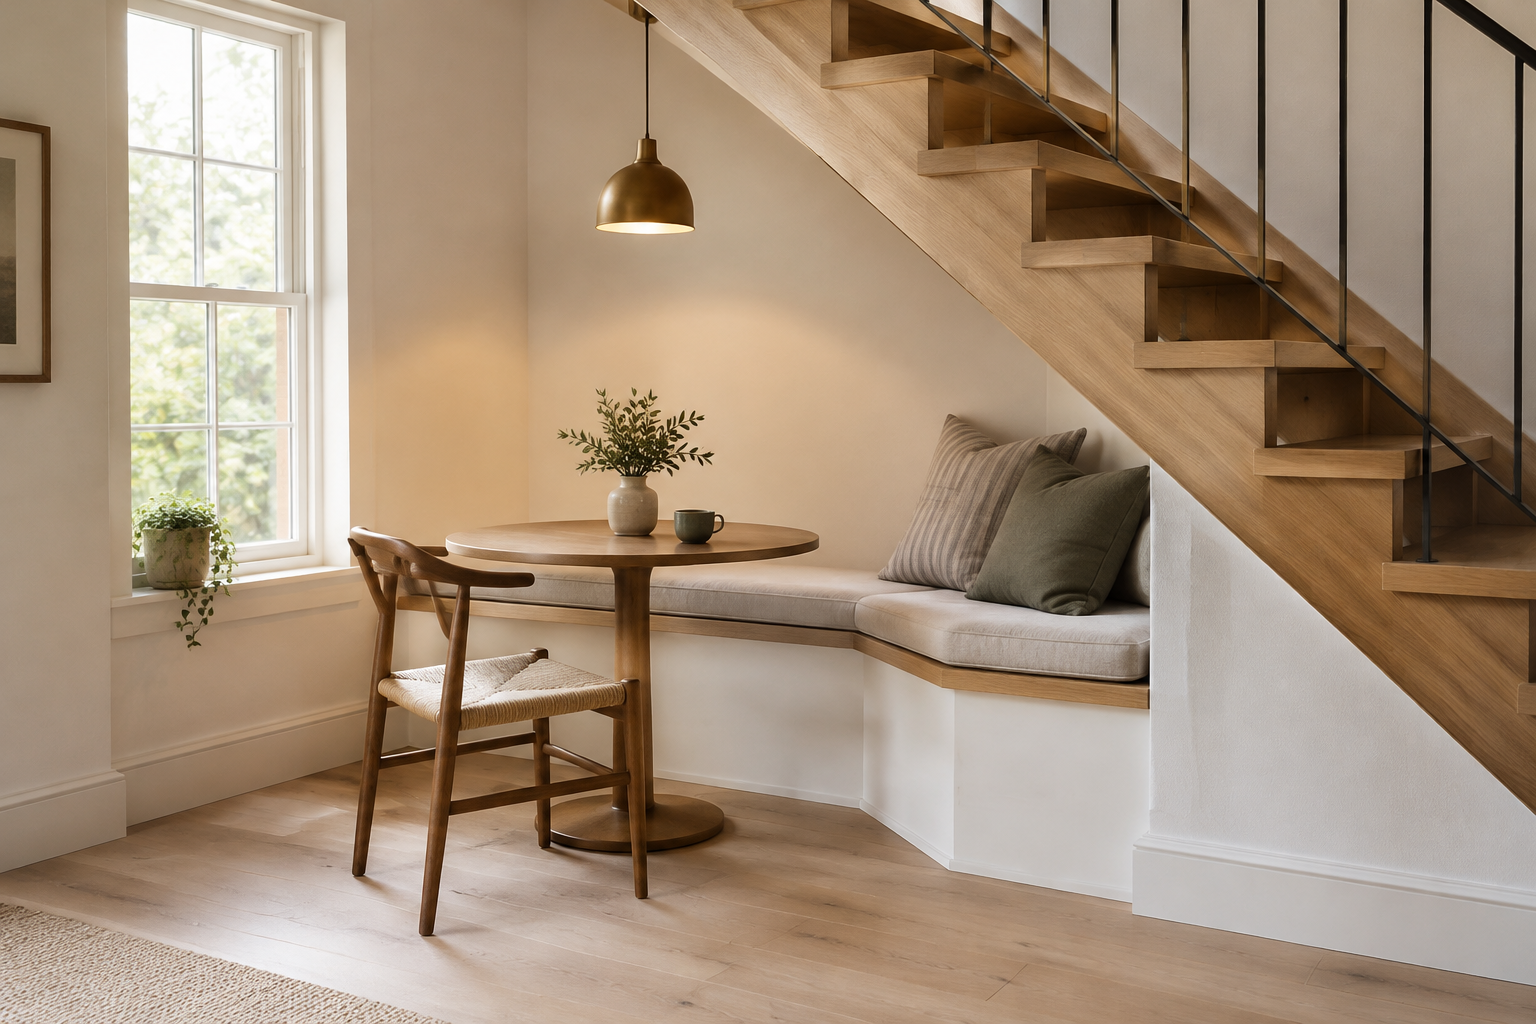
The space under a staircase is usually wasted. A shallow bench and a round table turn it into a proper seat for two.
The ceiling slopes, so put the tallest person on the tall side. This sounds obvious and is often forgotten.
Build the bench to follow the slope, even loosely. A flat bench under a sloped ceiling looks like a mistake.
Add a low pendant on the tall side only. Light from above makes the low end feel like a hiding place.
- Keep the bench shallow, around 18 inches, so knees clear the underside of the stairs.
- Use the area behind the bench back for a shallow cupboard of 6 inches depth.
Bench Built Into a Kitchen Island
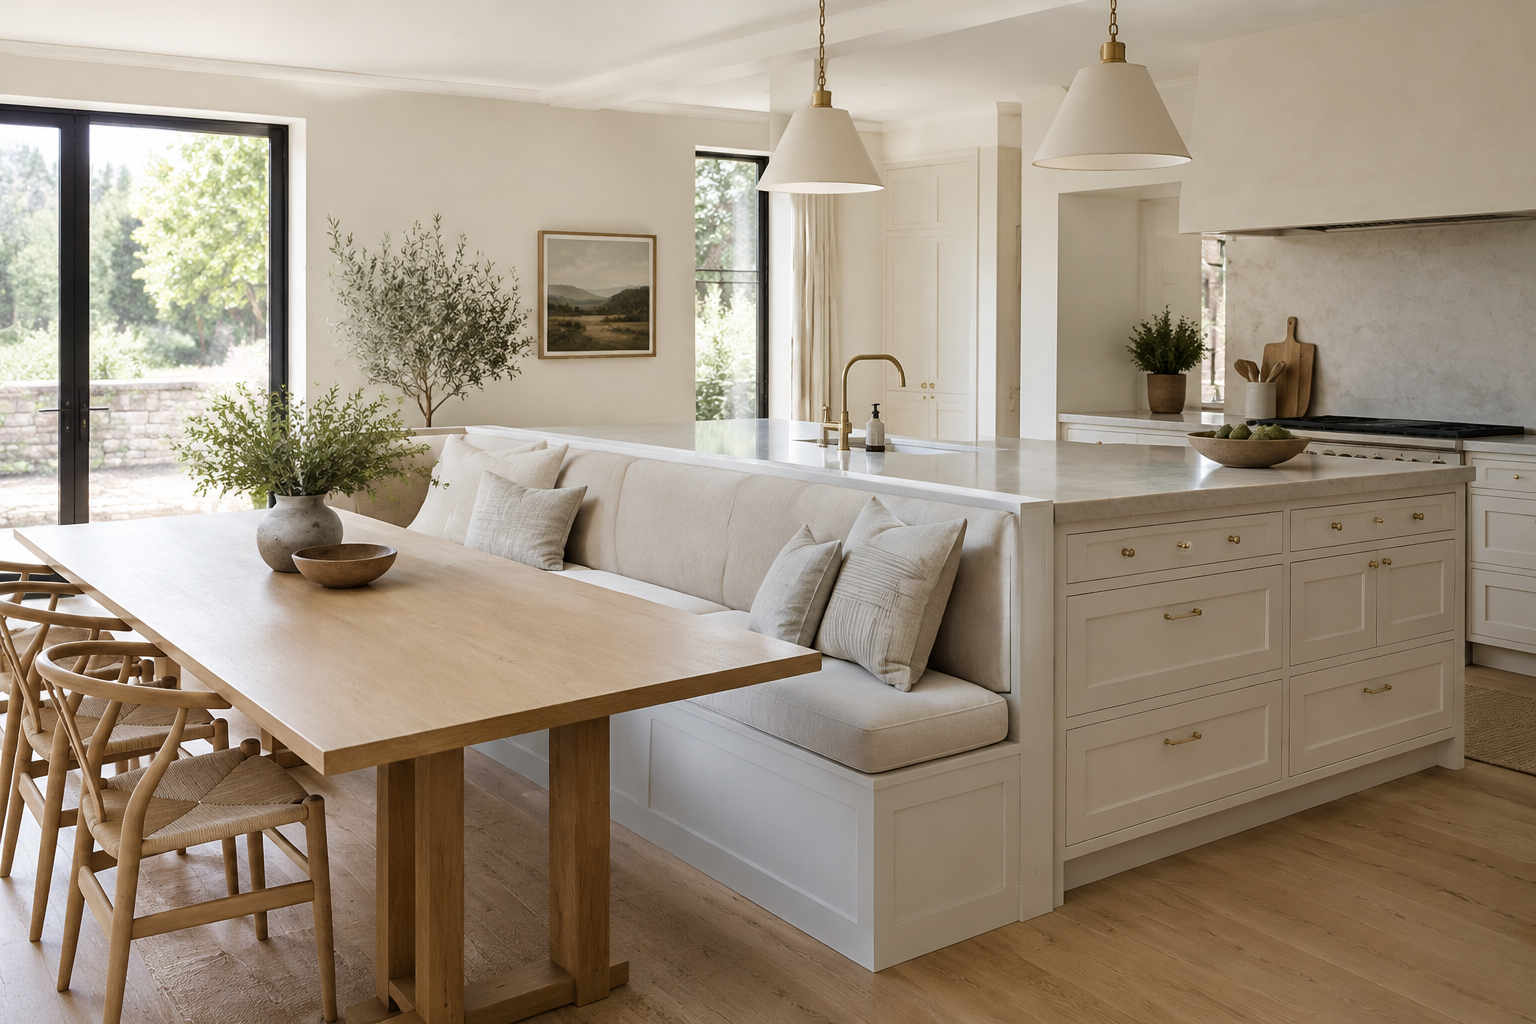
Take the back of the island and add a bench instead of stools. The island keeps its work side and gains a dining side.
The bench back gives you a place to lean and hides the mess on the working side. It also stops the kitchen from looking like a corridor.
Keep the bench seat level with the stool height on the other side. The whole island then works as one piece.
Use a narrow table in front rather than an overhang. A table can be moved, which an island cannot.
- Allow 15 inches of knee space under the bench seat so legs are not pressed against the island.
- Add an outlet inside the bench back for a kettle or a phone charger.
Banquette With Hidden Drawer Storage
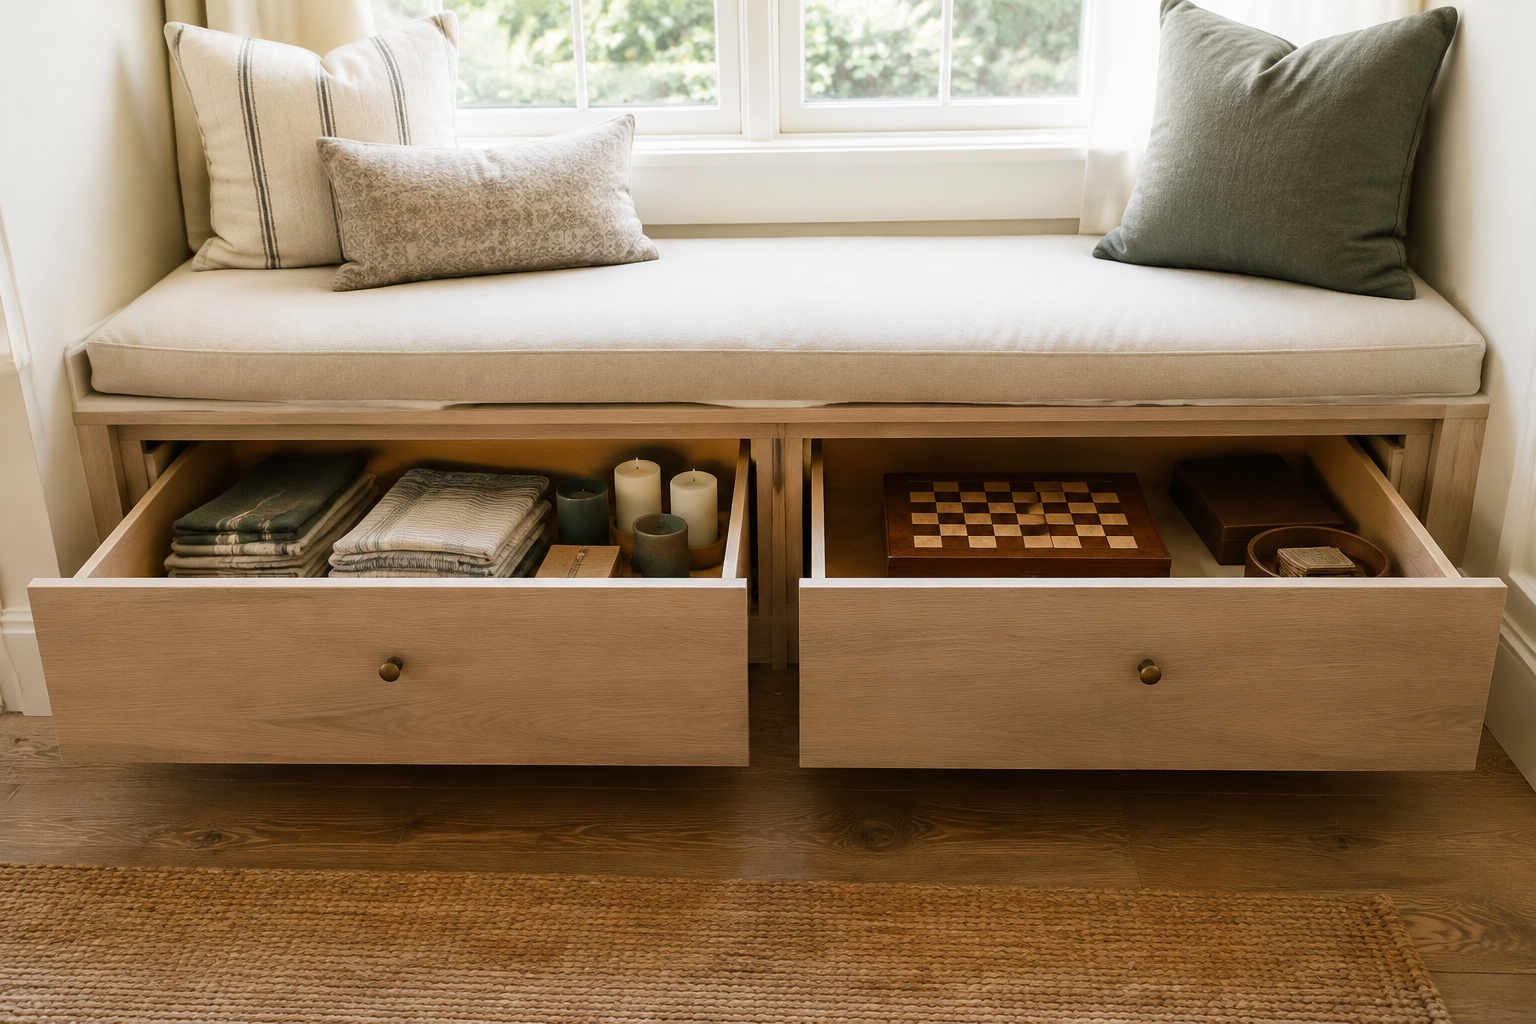
Lift the lid on most window benches and you find a messy box. Drawers are better because you can reach things without moving the cushion.
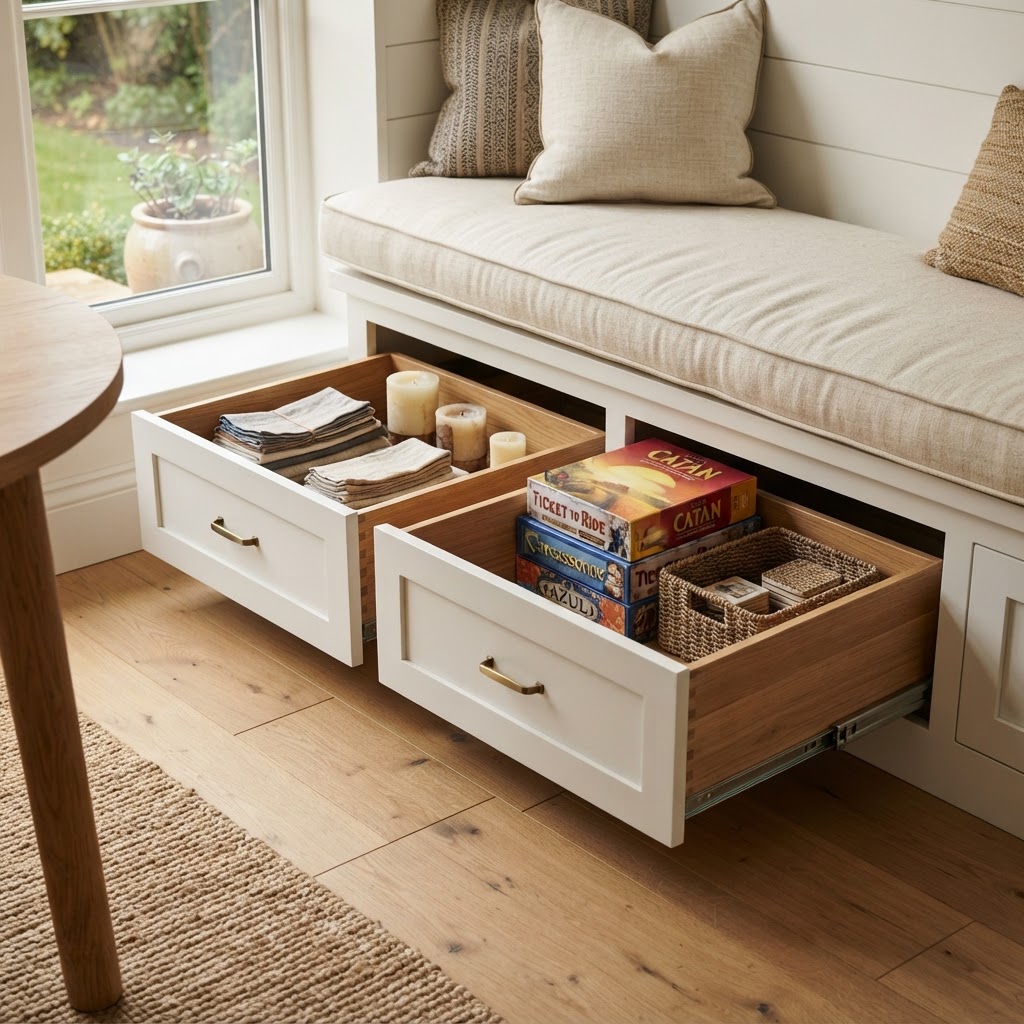
Use two wide drawers under the seat. Make them shallow, around 6 inches, so they never jam.
Store napkins, candles, board games and spare chargers in them. The nook becomes the most useful metre in the house.
Add a small finger pull rather than a knob. Knobs catch on clothing when people slide along the bench.
- Leave a 1 inch gap between the drawer front and the floor for rugs and crumbs.
- If the bench is deep, split the drawer into two runs so you are not reaching through a metre of wood.
Curved Bay-Window Banquette
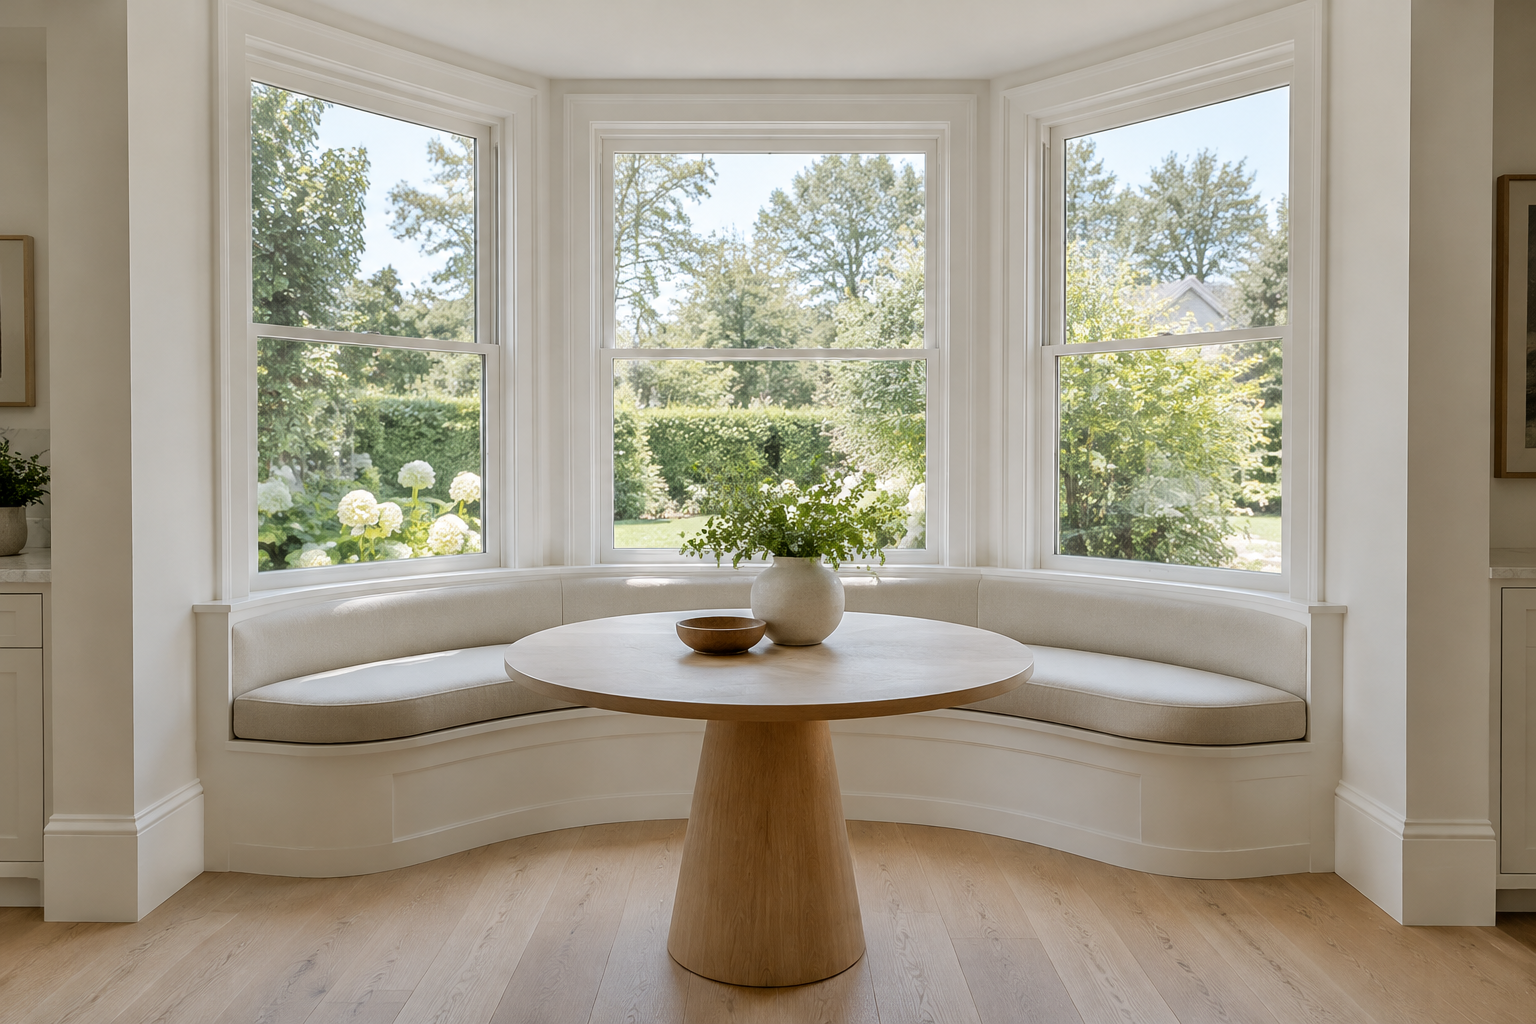
A bay window gives you three walls of light. A curved bench follows the glass and makes the most awkward room shape feel deliberate.
Curves are more expensive to build than straight runs, so keep the curve gentle. A shallow arc is enough.
Order the cushion as one piece if the arc is small. Two cushions on a curve always leave a gap.
Use a round table so nobody sits at a corner. Round tables also make the small space feel bigger.
- Ask the upholsterer to pattern-match the two ends of a curved cushion.
- Skip a bench back if the window sill is low. The glass itself becomes the backrest.
Banquette Paired With a Slim Console Table
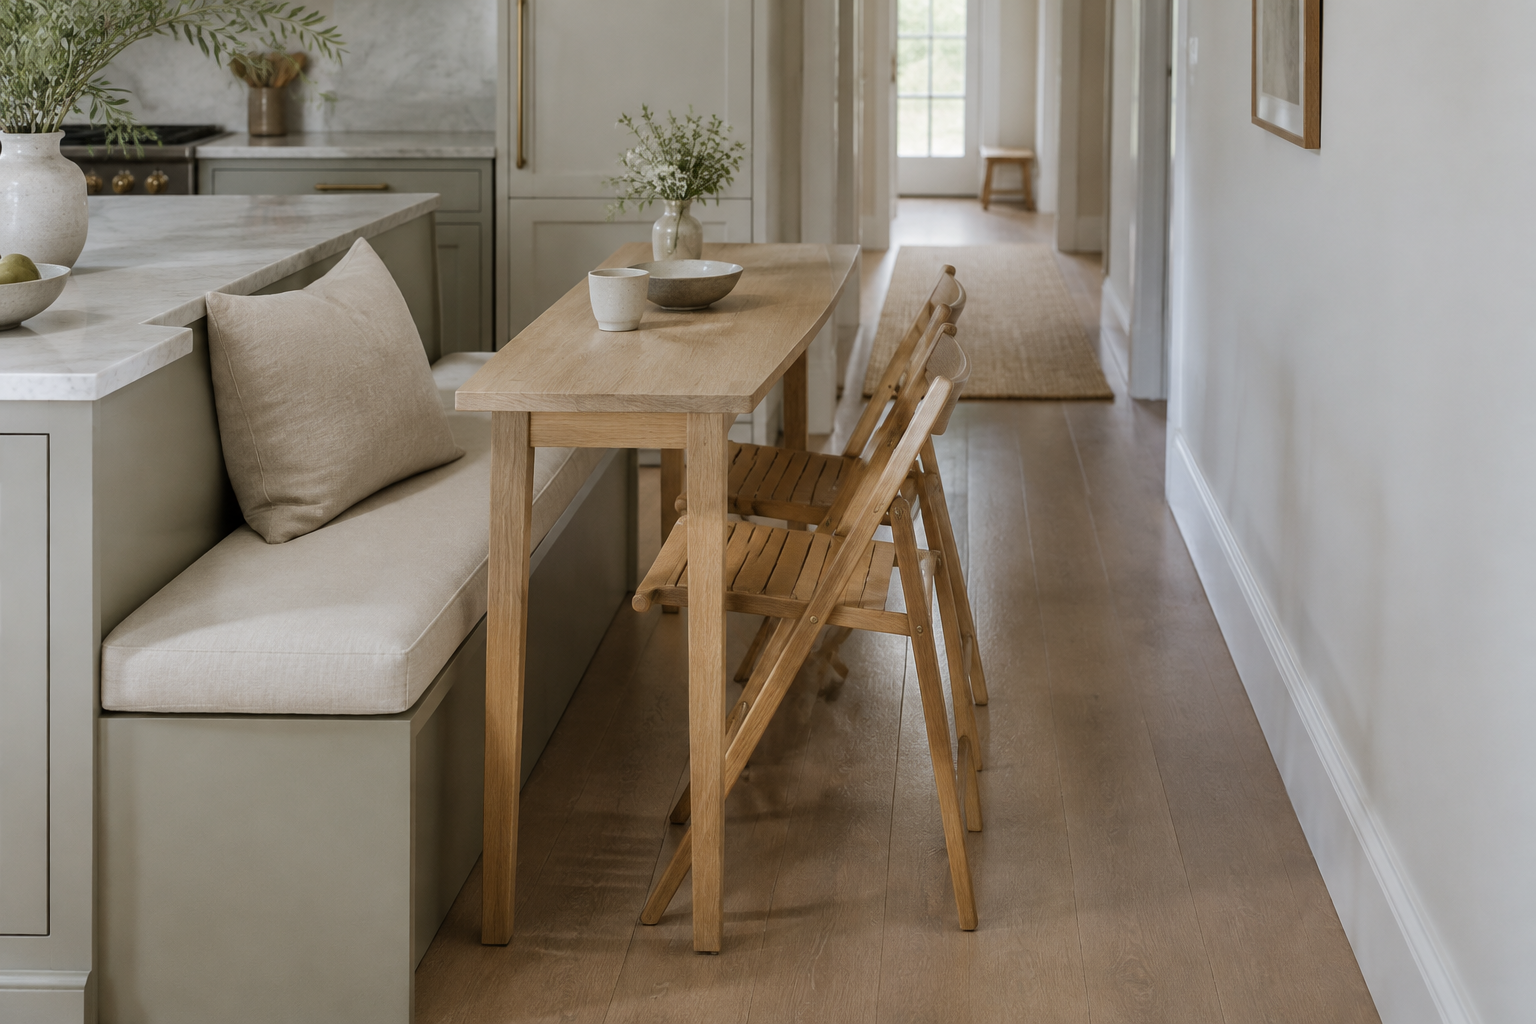
A full dining table can be too much for a narrow bench run. A slim console table gives you the same function at half the depth.
Choose a table 15 to 18 inches deep and let it sit tight against the bench. Two people can eat here comfortably.
Because the table is narrow, the walkway behind it stays clear. That is the whole trick in a tight kitchen.
Use two folding chairs on the open side and tuck them away when the meal is done.
- Pick a table with a central pedestal so knees are not blocked by legs.
- Wall-mount a slim shelf 12 inches above the table for salt, pepper and a small vase.
Small-Space Solutions
These ideas fit into corners, under windows and along single walls. None of them need a whole room.
Fold-Down Table Nook
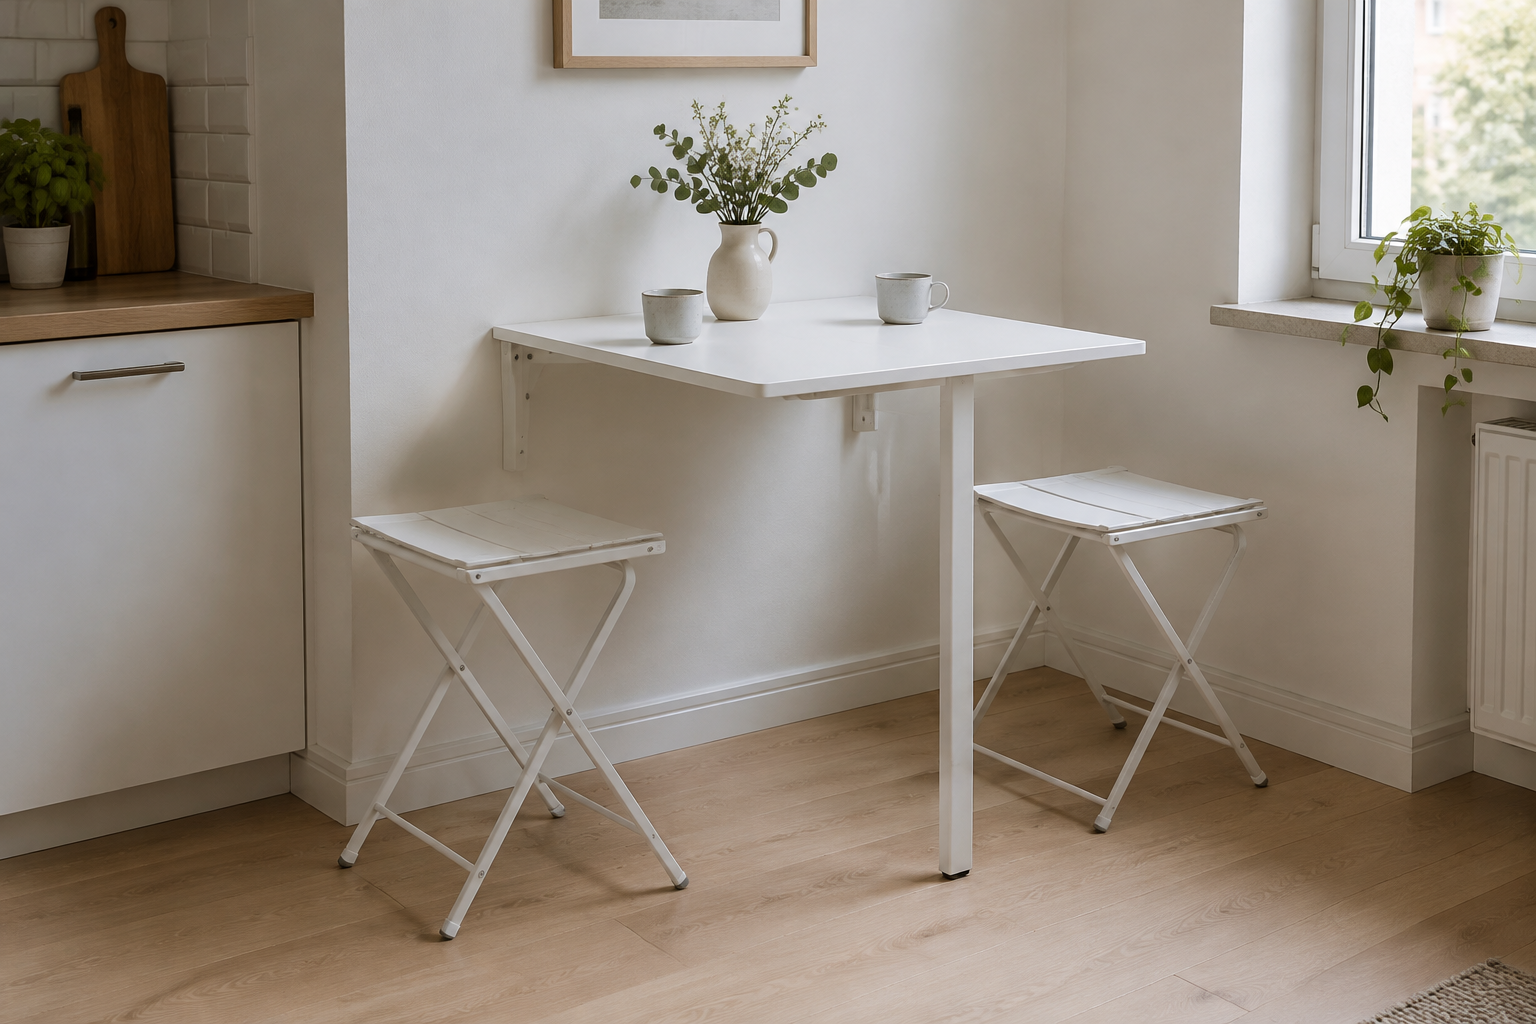
Some kitchens have no floor space to give. A table that folds flat against the wall gives you a seat for two and takes nothing when closed.
Mount it at 30 inches from the floor and add a pair of folding stools that hang on a hook nearby.
When open, the table needs a leg or a bracket to hold it. Choose a folding leg that locks, not a chain.
This is the ideal setup for a rental, because it needs three screws and nothing else.
- Use a wall bracket rated well above the weight of two plates and two elbows.
- Paint the table the same colour as the wall so it disappears when folded.
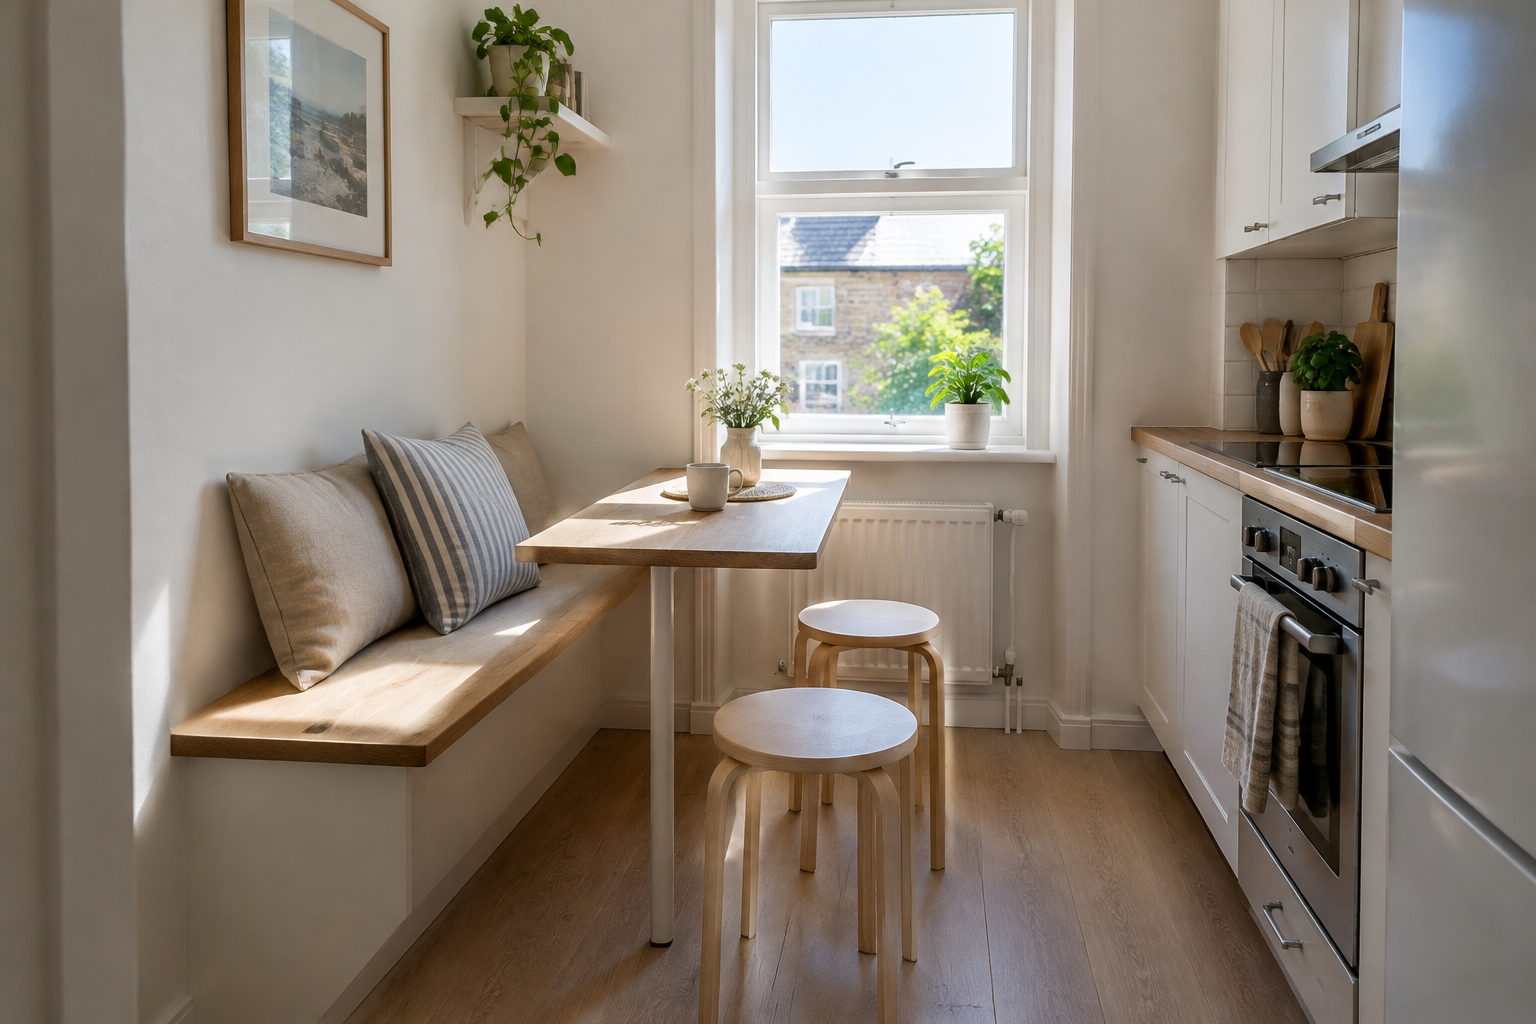
Narrow Galley Nook
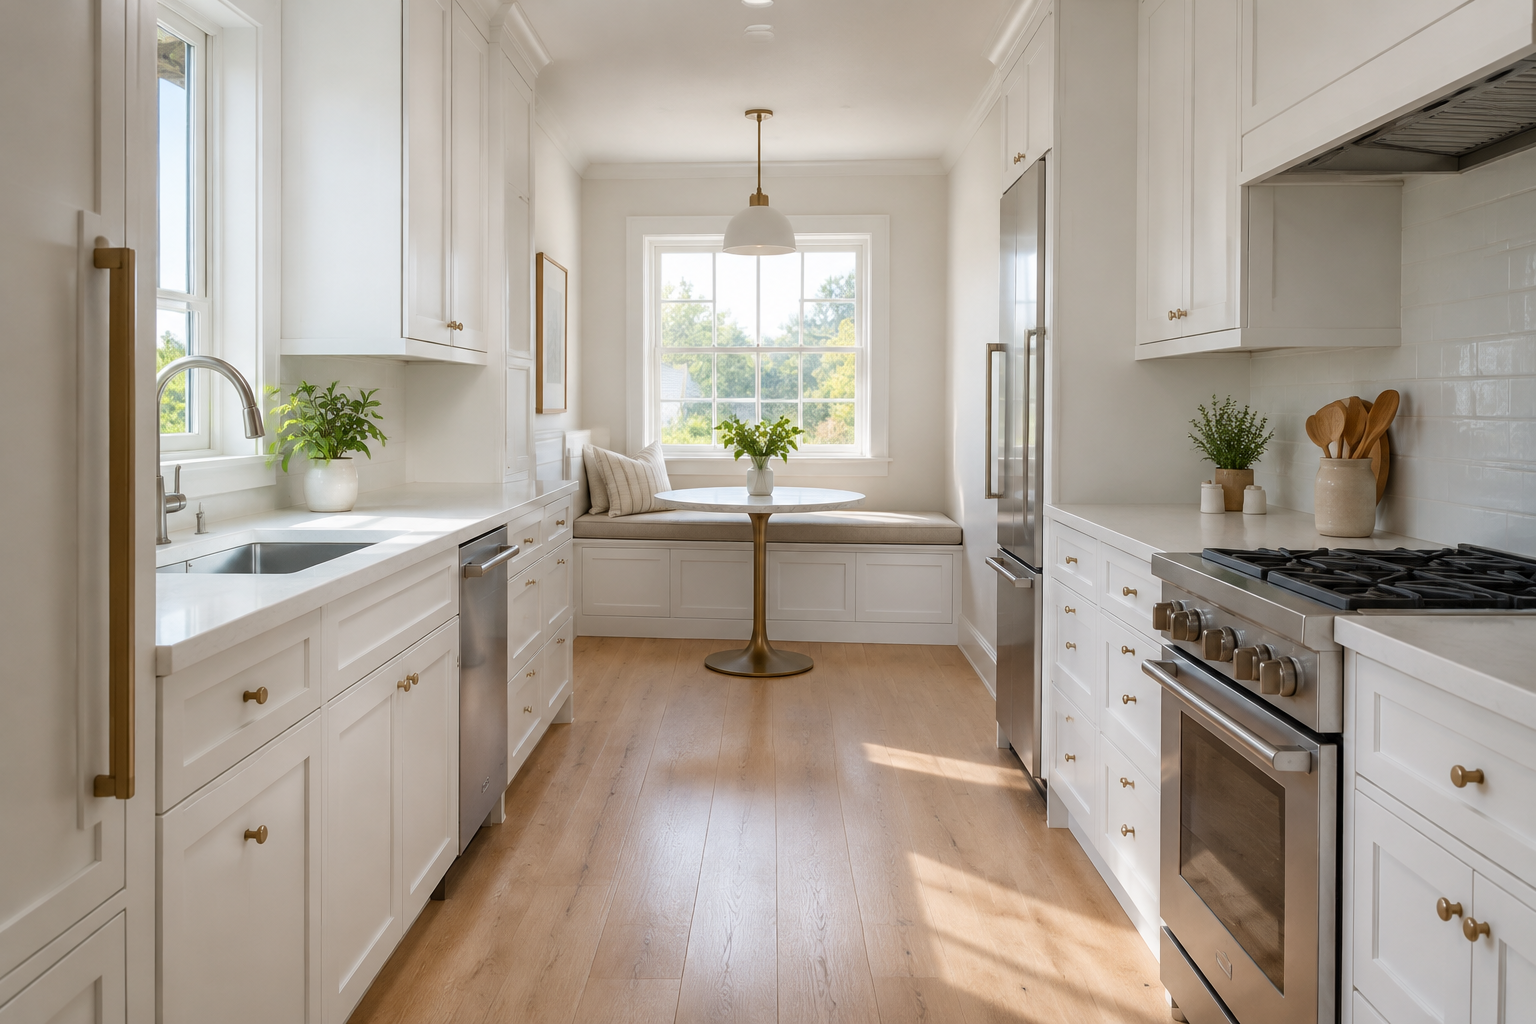
In a galley kitchen, one wall usually ends in nothing useful. A bench along the end wall and a shallow table fills it.
Keep the bench only as wide as the end wall, usually 36 to 48 inches. Wider and the room starts to feel tight.
Use a table with a single pedestal and round the corners. In a narrow room, corners are what people bump into.
Put the bench on the side away from the oven. Heat and a bench cushion do not mix well.
- Choose a bench without arms so it does not block the walkway.
- Use a pale floor and a light bench to stop the galley feeling like a tunnel.
Nook Tucked Under a Skylight
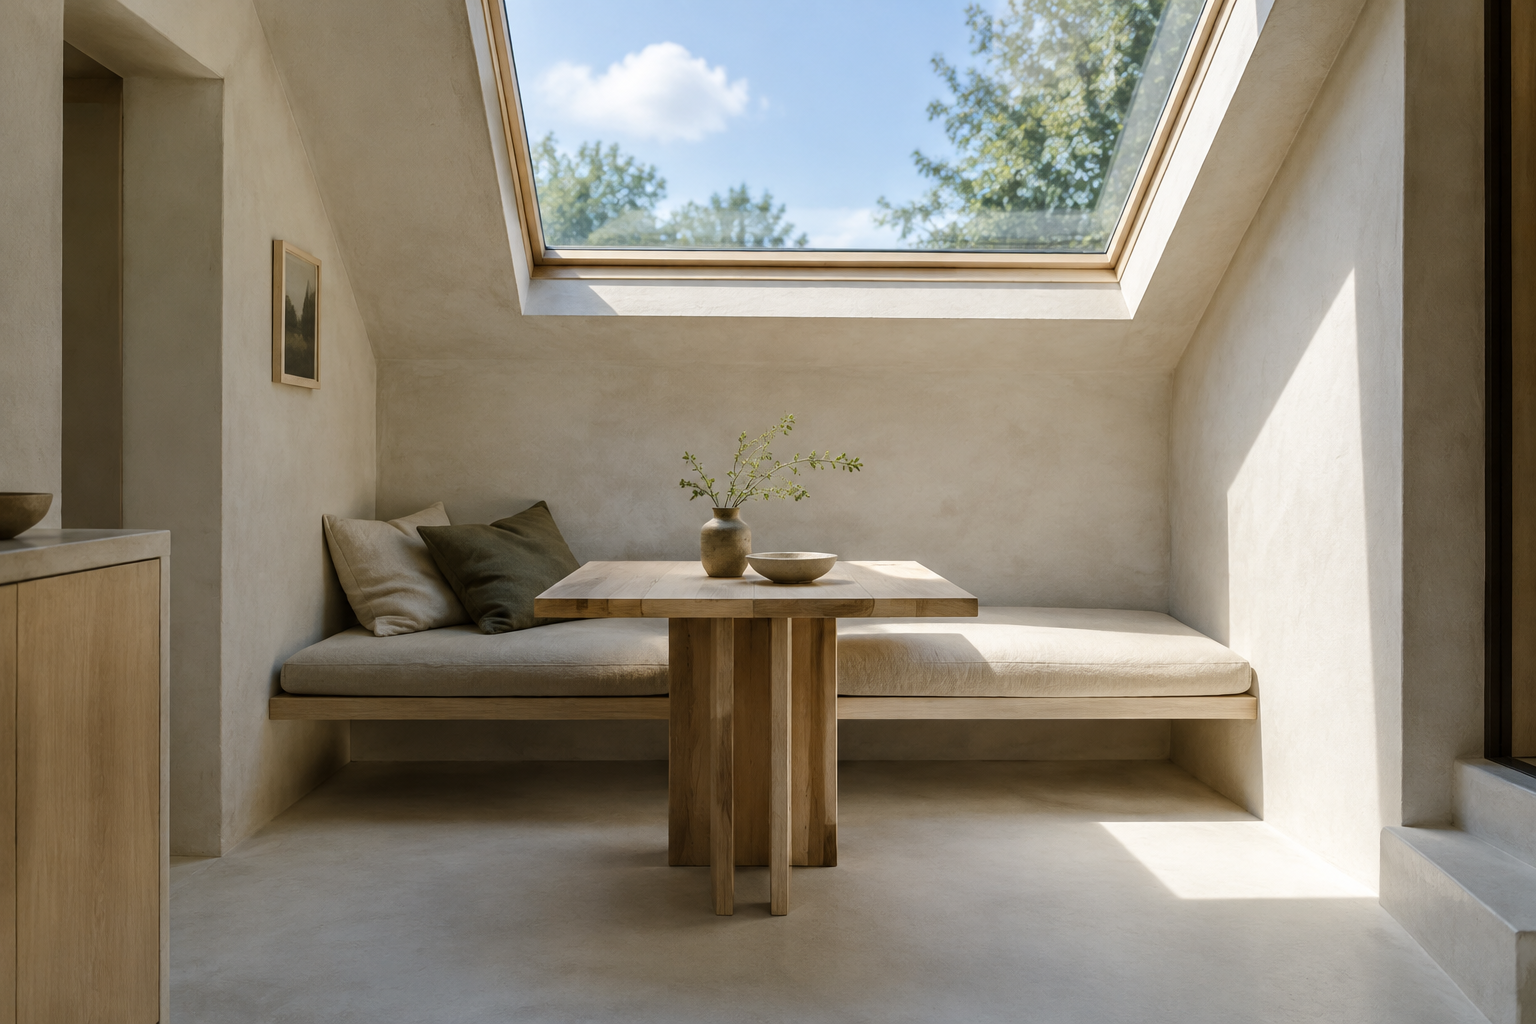
If the wall has no window, look up. A skylight gives a small corner better light than a window ever could.
Place the bench below the shaft of light and keep the table small. Here, light is the feature and furniture is the support.
Choose matte surfaces. Glossy tables bounce the light and make the corner feel harsh at midday.
Add a low bench without a back so nothing casts a shadow across the seat.
- A skylight with a blind gives you control on bright summer mornings.
- Keep the colour palette pale so the light travels further into the room.
Peninsula Nook With Velvet Stools
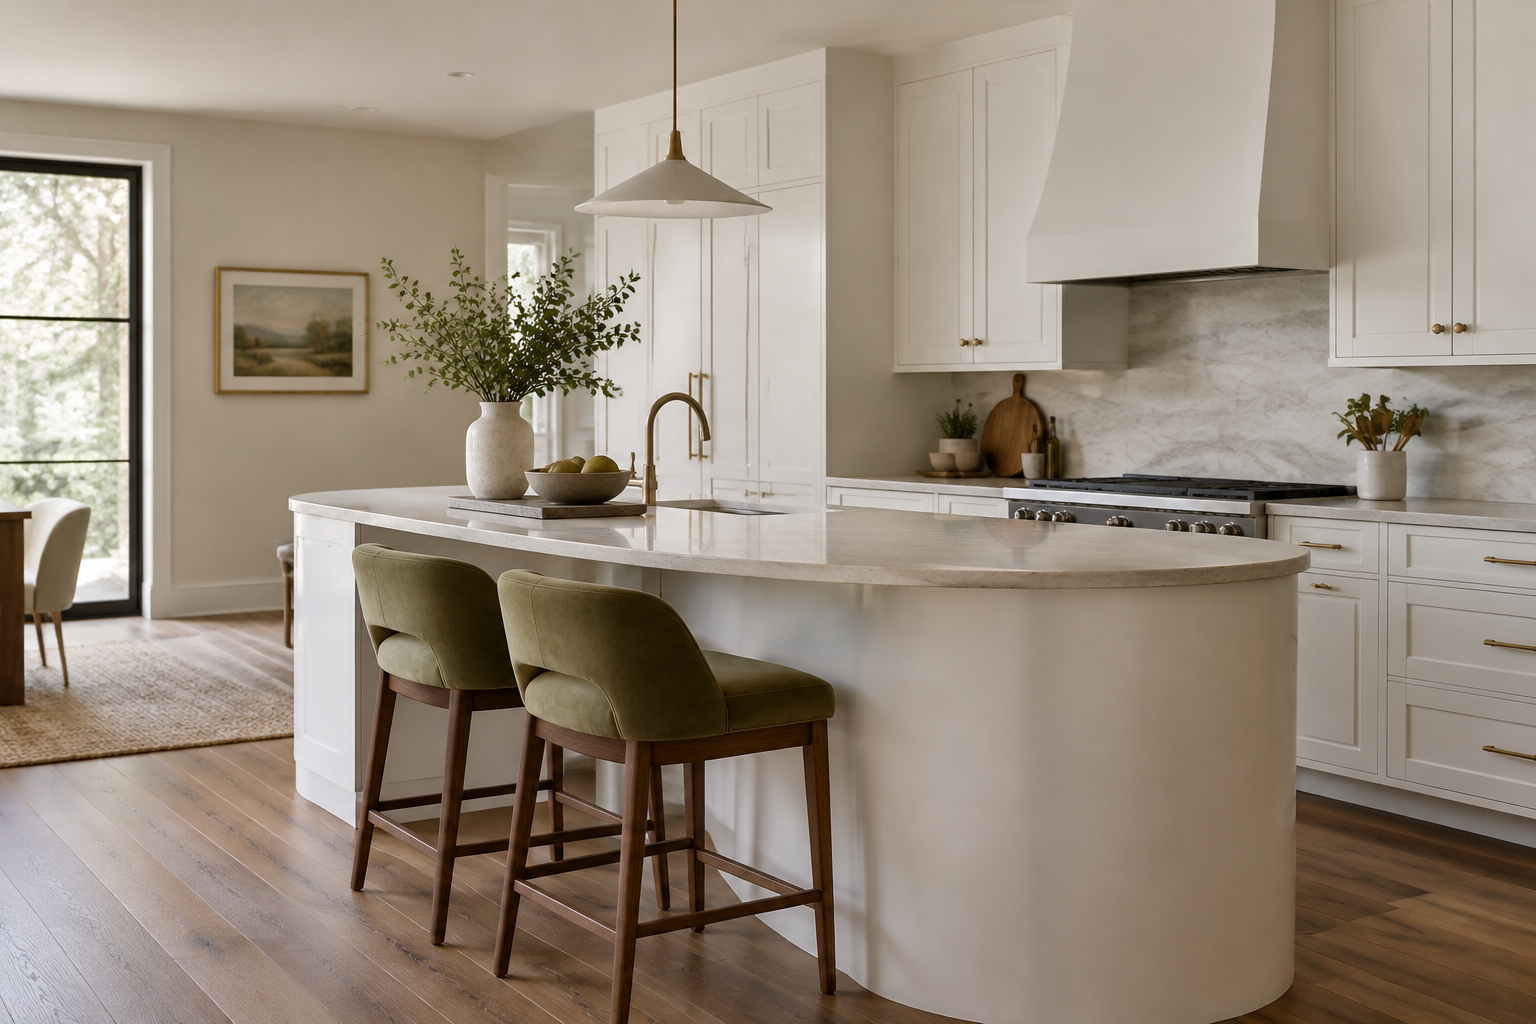
A peninsula is a half-island that ends in open space. Curve the end and it becomes a two-person breakfast spot without a separate table.
Use low-back stools with a padded seat. Full backs close off the kitchen; no backs at all get uncomfortable fast.
Velvet sounds impractical, but performance velvet wipes clean. It also softens a very hard, very square kitchen.
Hang one pendant directly over the curve. A single light says "sit here" more clearly than three ever will.
- Allow 24 inches of counter width per stool and 15 inches of knee clearance.
- Choose a counter overhang of at least 12 inches so knees fit under the edge.
Corner Nook With a Round Pedestal Table
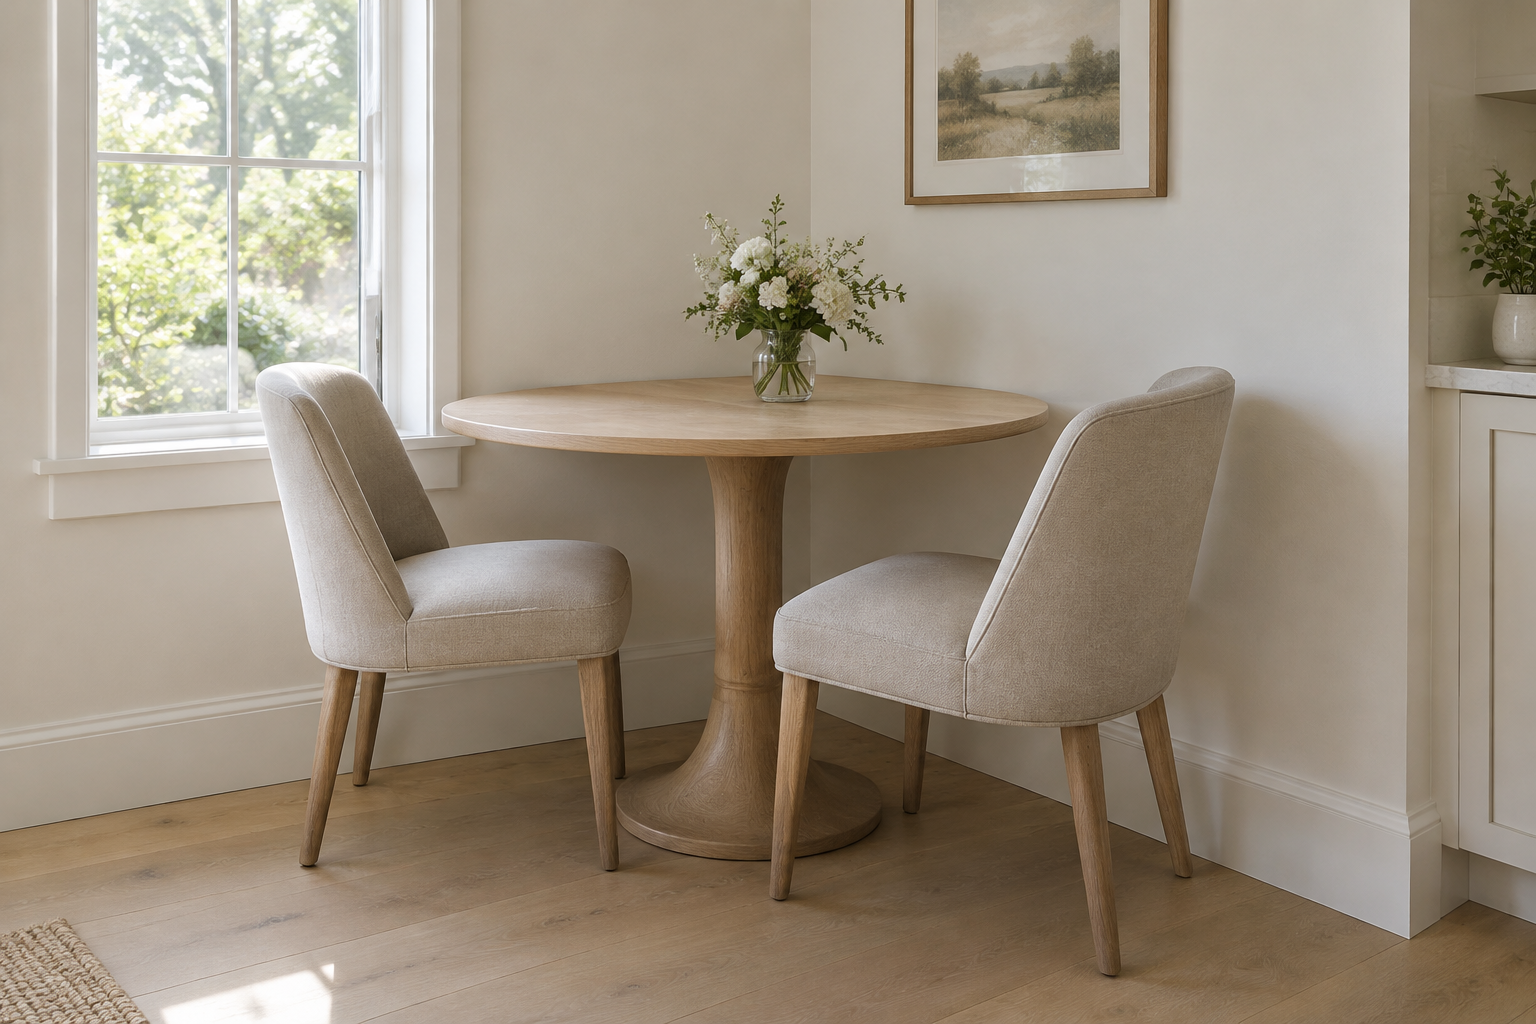
Two upholstered chairs, one round pedestal table and a corner. That is the whole nook, and it works in a space two metres wide.
A pedestal base means no legs to argue with. Chairs tuck in fully, which is what saves the floor space.
Push the table into the corner by a few inches. It looks intentional and gains you a walkway.
Use one armchair and one side chair if the corner is tight. Matching chairs are not required for a good nook.
- A round table 30 to 36 inches across seats two people with room for a cafetière.
- Choose chairs with a low back so the corner does not feel closed in.
Sliding Barn-Door Nook
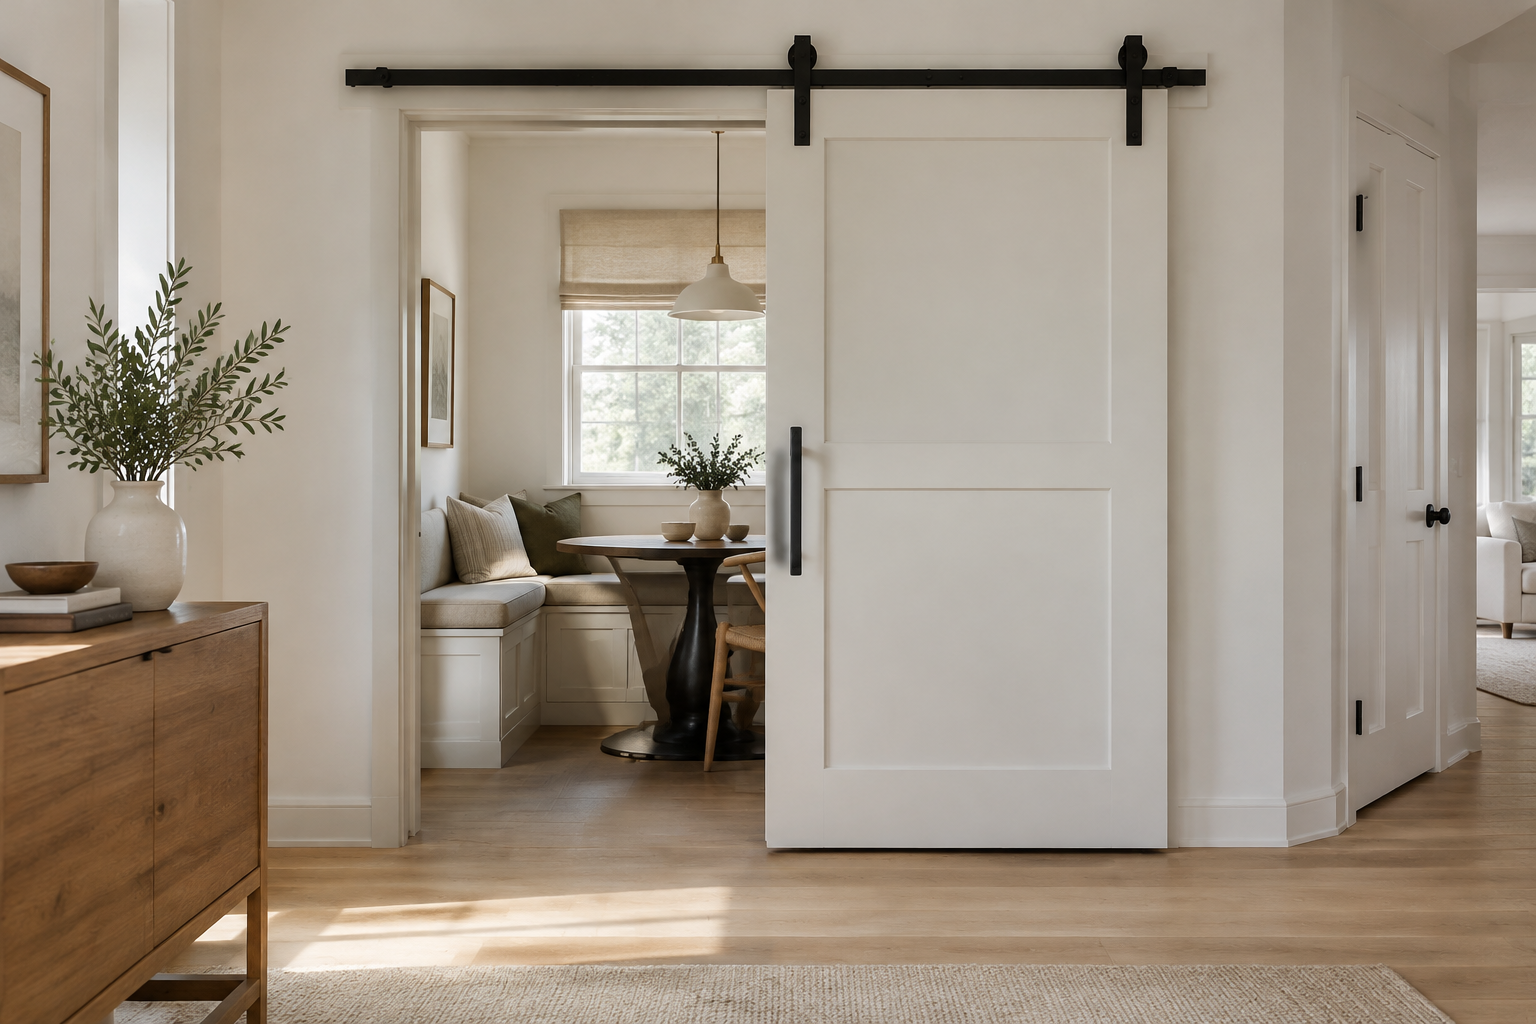
A nook that doubles as a home office needs a way to hide the mess. A sliding barn door gives you that without stealing floor space.
Mount the track above the opening and choose a door in the same colour as the wall. It then reads as panelling when open.
Keep the bench clear underneath so the door can slide past the table edge without hitting a chair.
This is the best solution for a nook beside a hallway, where a swinging door would be a hazard.
- Leave 2 inches of clearance above the floor so the door never drags on a rug.
- Use a soft-close track if the nook is near a bedroom wall.
Colour and Pattern
Paint, paper and tile do the heavy lifting here. A small nook can take a bold colour better than a big room can.
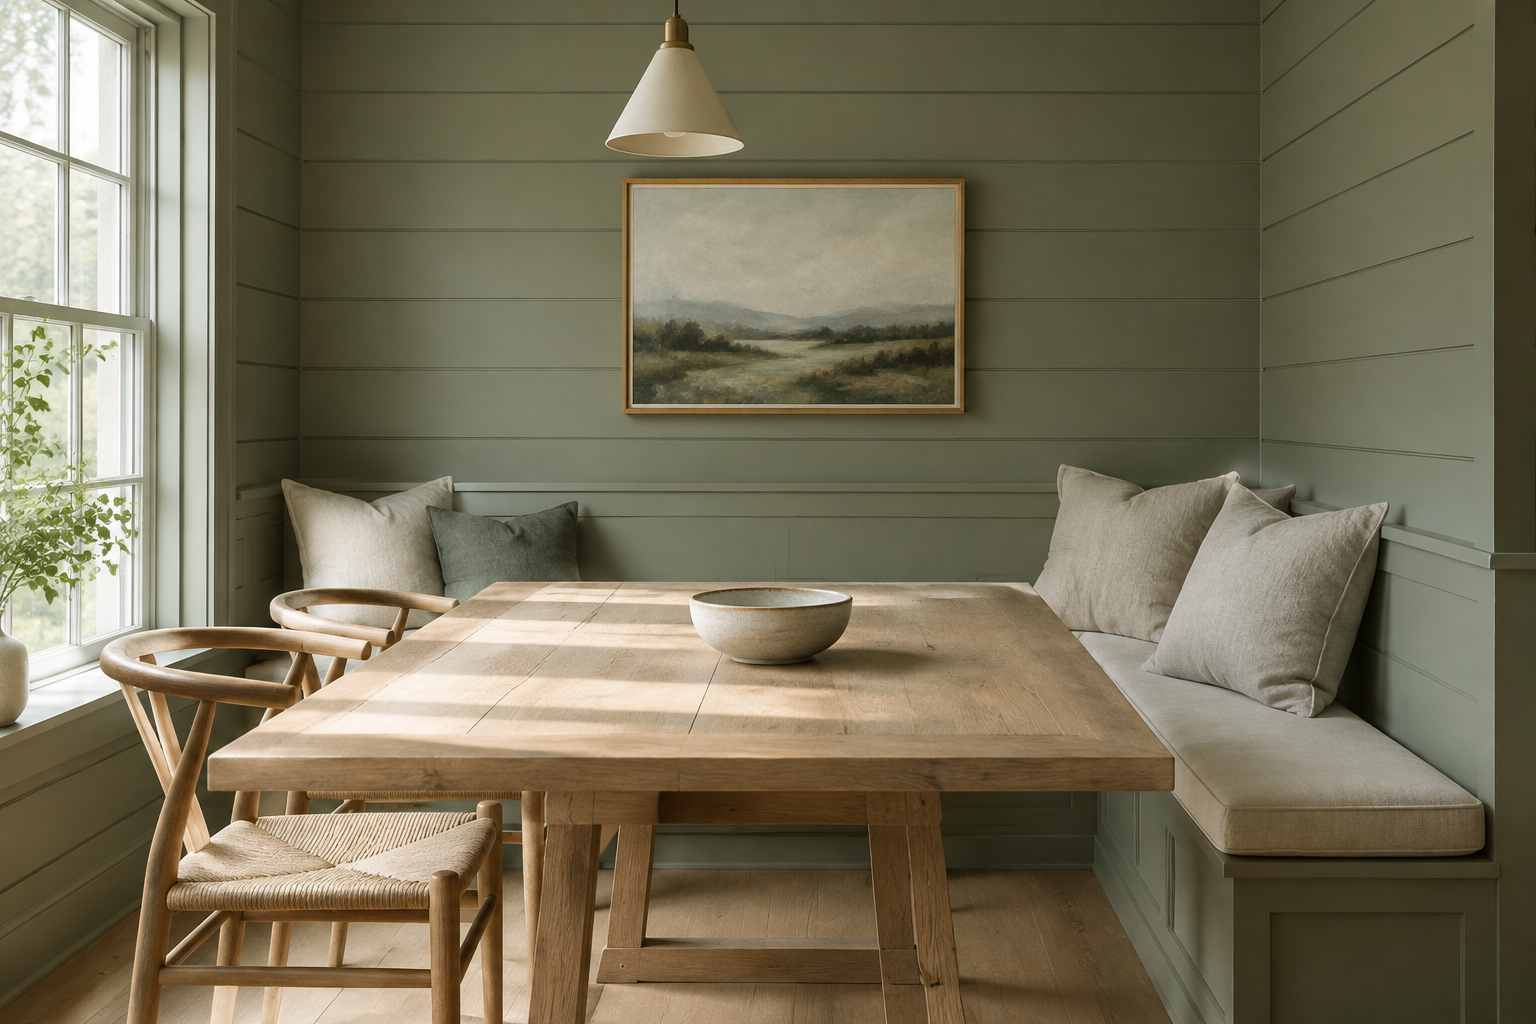
Sage Green Shiplap Nook
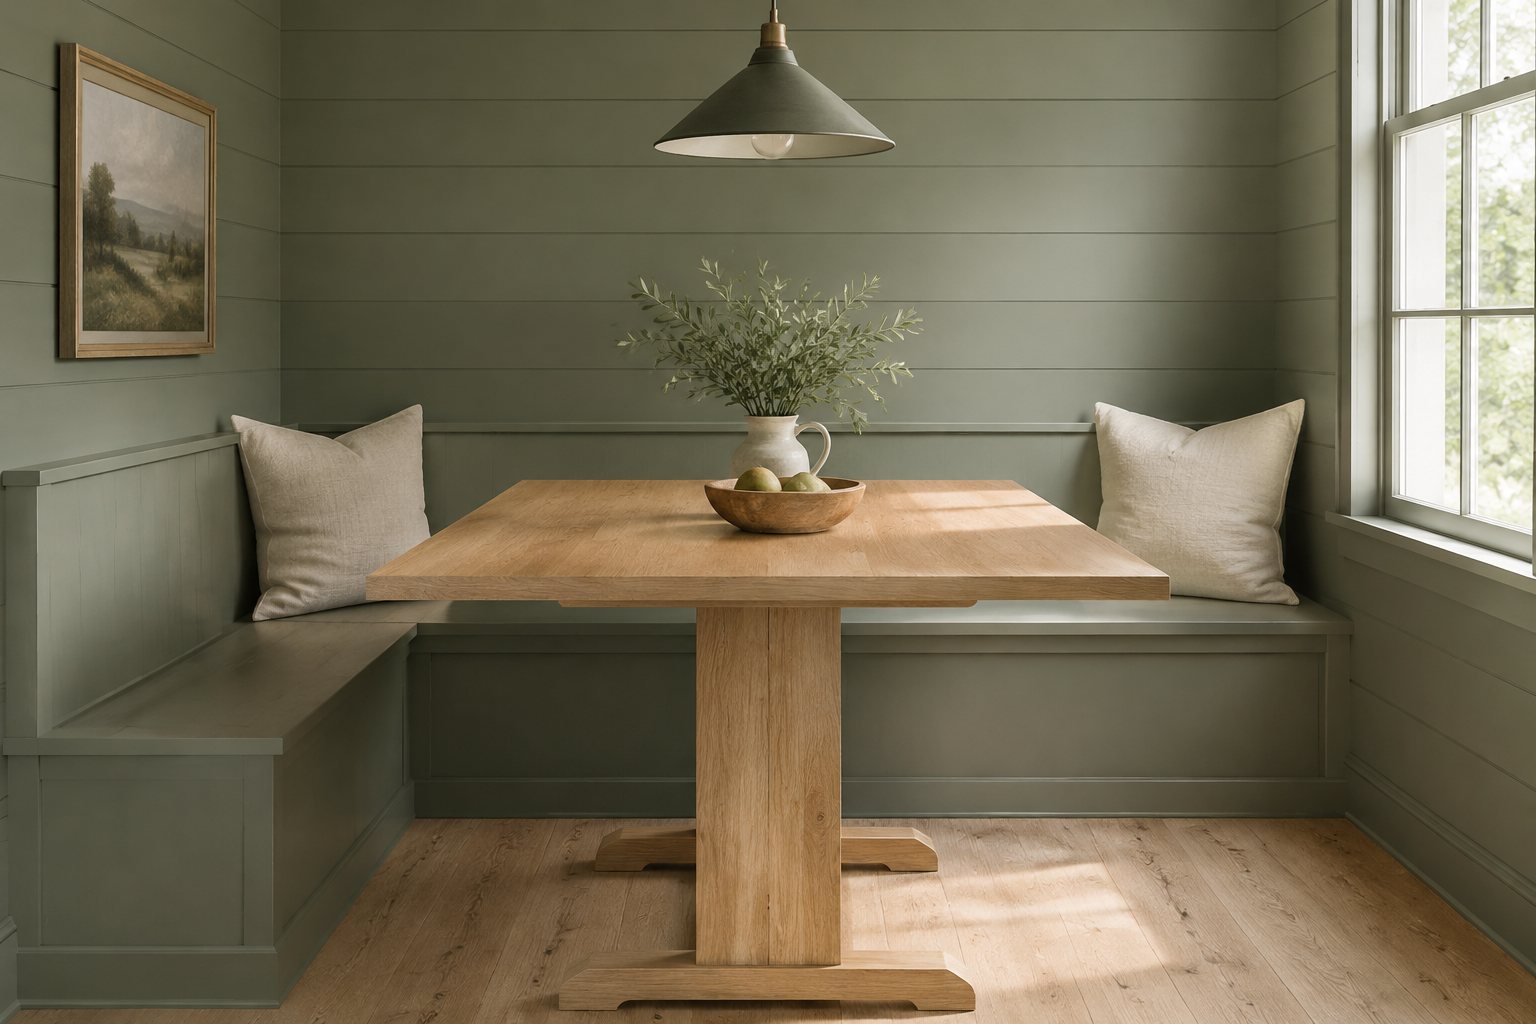
Shiplap adds texture without pattern, which makes it a safe base for a strong colour. Sage green on horizontal boards looks calm, not cottagey.
Paint the trim, the bench and the wall the same green. A single colour makes a small nook feel intentional.
Keep the table light oak and the cushions off-white. Two other materials are enough.
Sage works because it is a colour with grey in it. It never looks sweet or childish.
- Use an eggshell finish on shiplap so the texture catches light without glare.
- Test the green on a board at night as well as in the morning. Greens shift more than any other colour.
Wallpaper-Drenched Nook
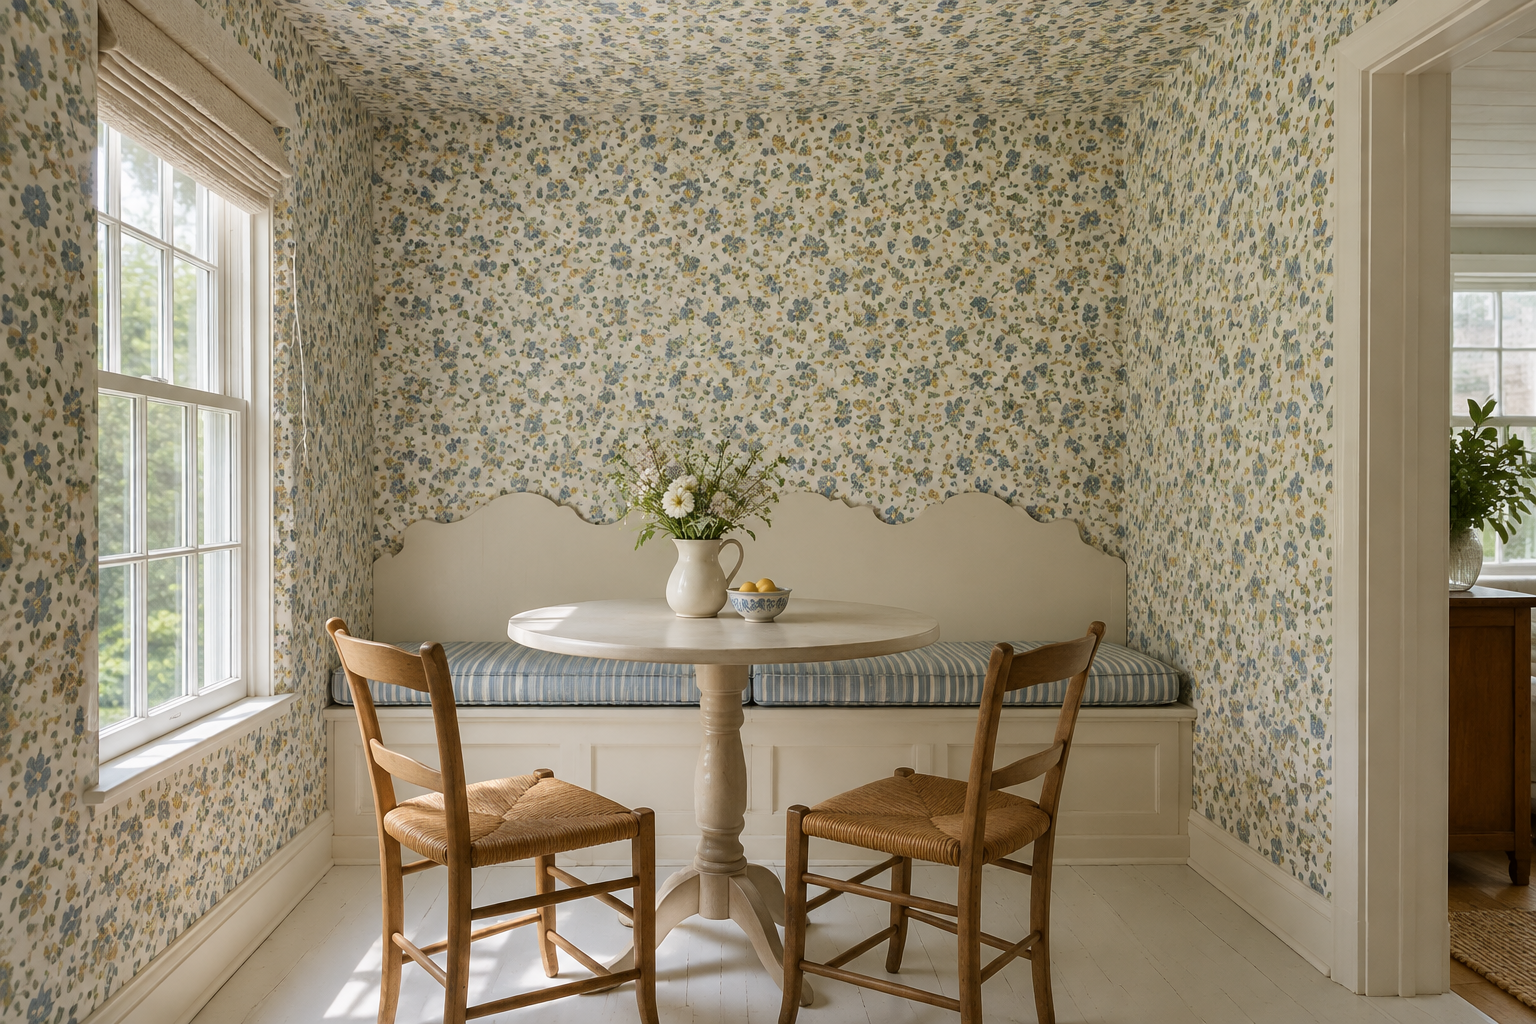
Wallpaper on all four surfaces, including the ceiling, makes a nook feel like a room inside a room. It is the fastest way to add drama to a small area.
Add a scalloped bench back and the pattern gets a soft edge. Straight bench backs and busy paper fight each other.
Choose a paper with a small repeat. Big motifs get cut off in a small space, and the cut is always obvious.
Keep the table and floor plain. The paper is doing the talking.
- Buy one extra roll. Pattern matching on a small nook wastes more paper than you expect.
- Use a wipeable wallpaper if the nook is where children eat cereal.
Navy Board-and-Batten Nook
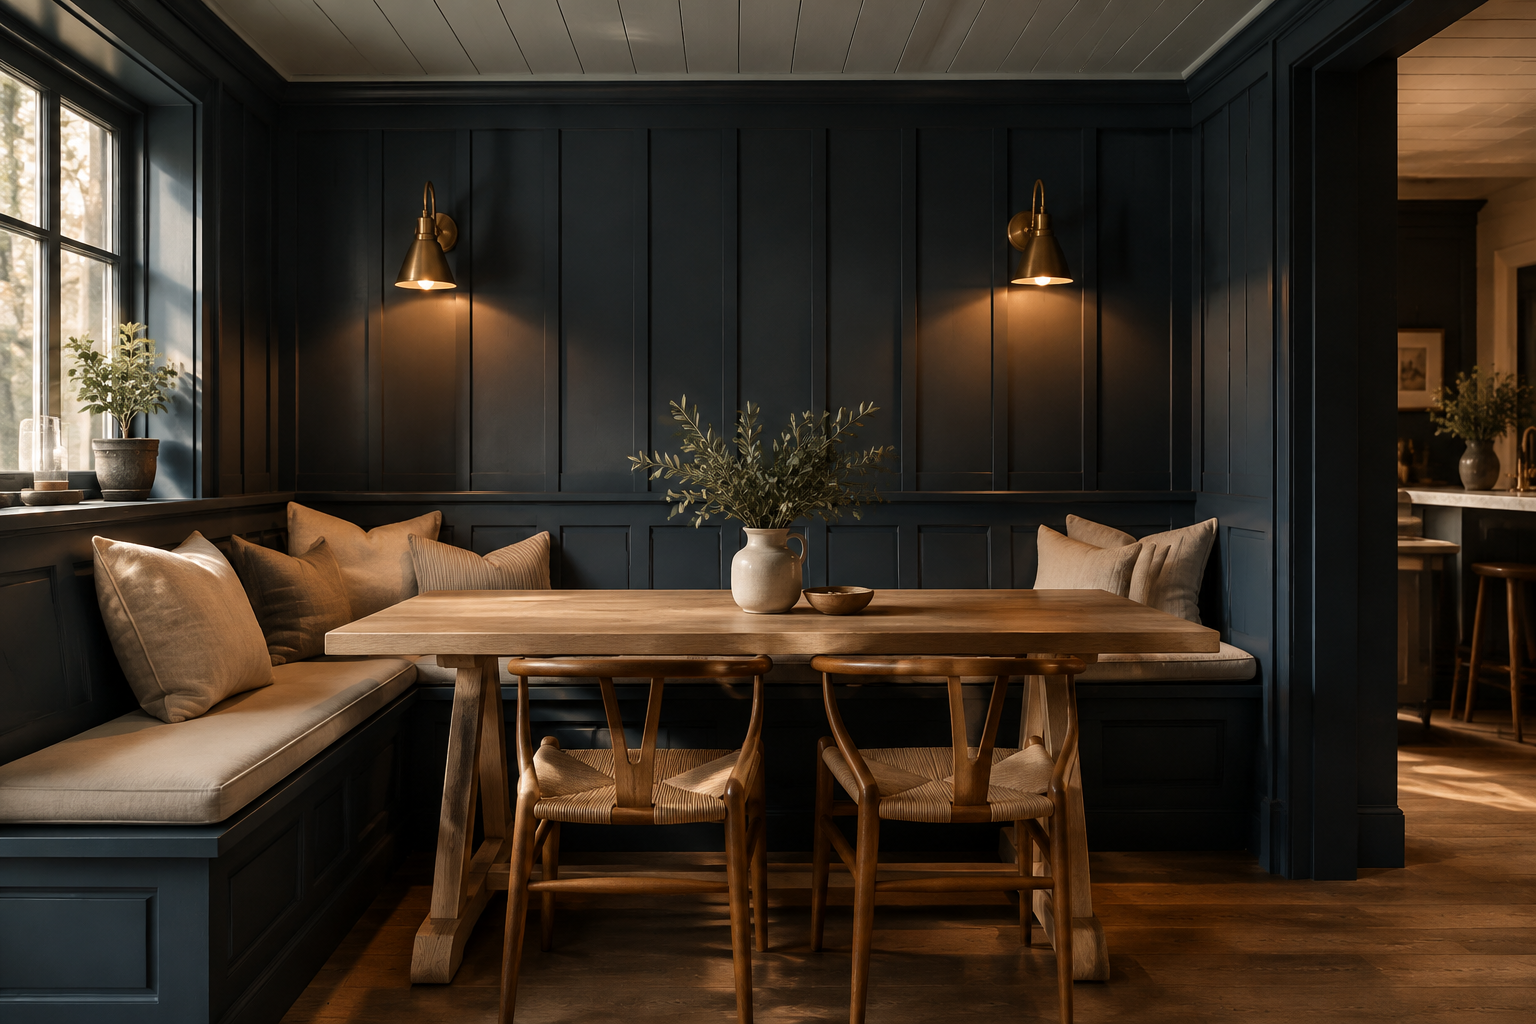
Board and batten gives a nook vertical lines that make a low ceiling feel taller. Painted navy, it also makes the corners disappear.
Space the battens evenly and stop them at the bench back. Battens that run behind a bench just collect dust.
Add brass wall sconces on a dimmer. Dark walls need warm light, and brass is the warmest metal there is.
Use a pale wood table to stop the corner feeling like a hole in the wall.
- In a dark nook, paint the ceiling a lighter tint of the same navy rather than white.
- Wire the sconces to a switch inside the nook so you are not reaching behind a bench.
Checkerboard Floor Retro Nook
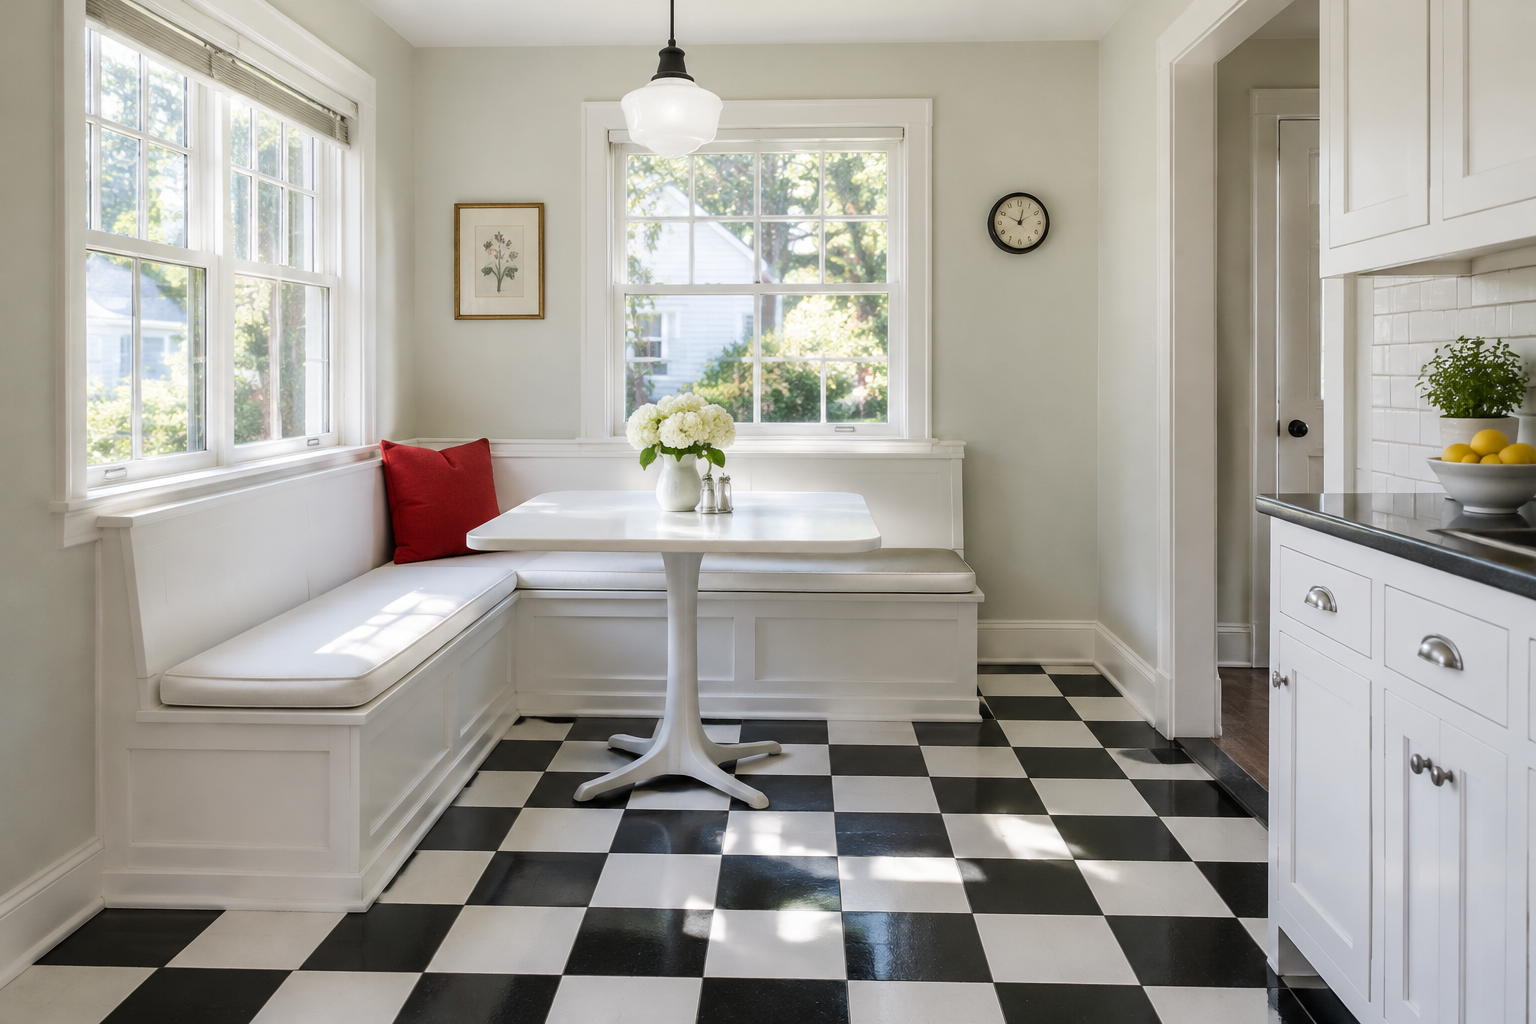
A checkerboard floor does the decorating for you. Everything above it can be plain white, and the nook still has personality.
Keep the checks at 12 inches or smaller. Larger checks make a small floor look like a chessboard.
Paint the bench white and add one red cushion. One accent colour is enough with a floor this loud.
Use a vinyl or porcelain tile version if the floor is uneven. Real stone checks are expensive and unforgiving.
- Lay the checks on the diagonal if the room is narrow. It makes the floor look wider.
- Choose a satin finish for the floor so it is easy to mop after breakfast.
Terracotta Tile Nook
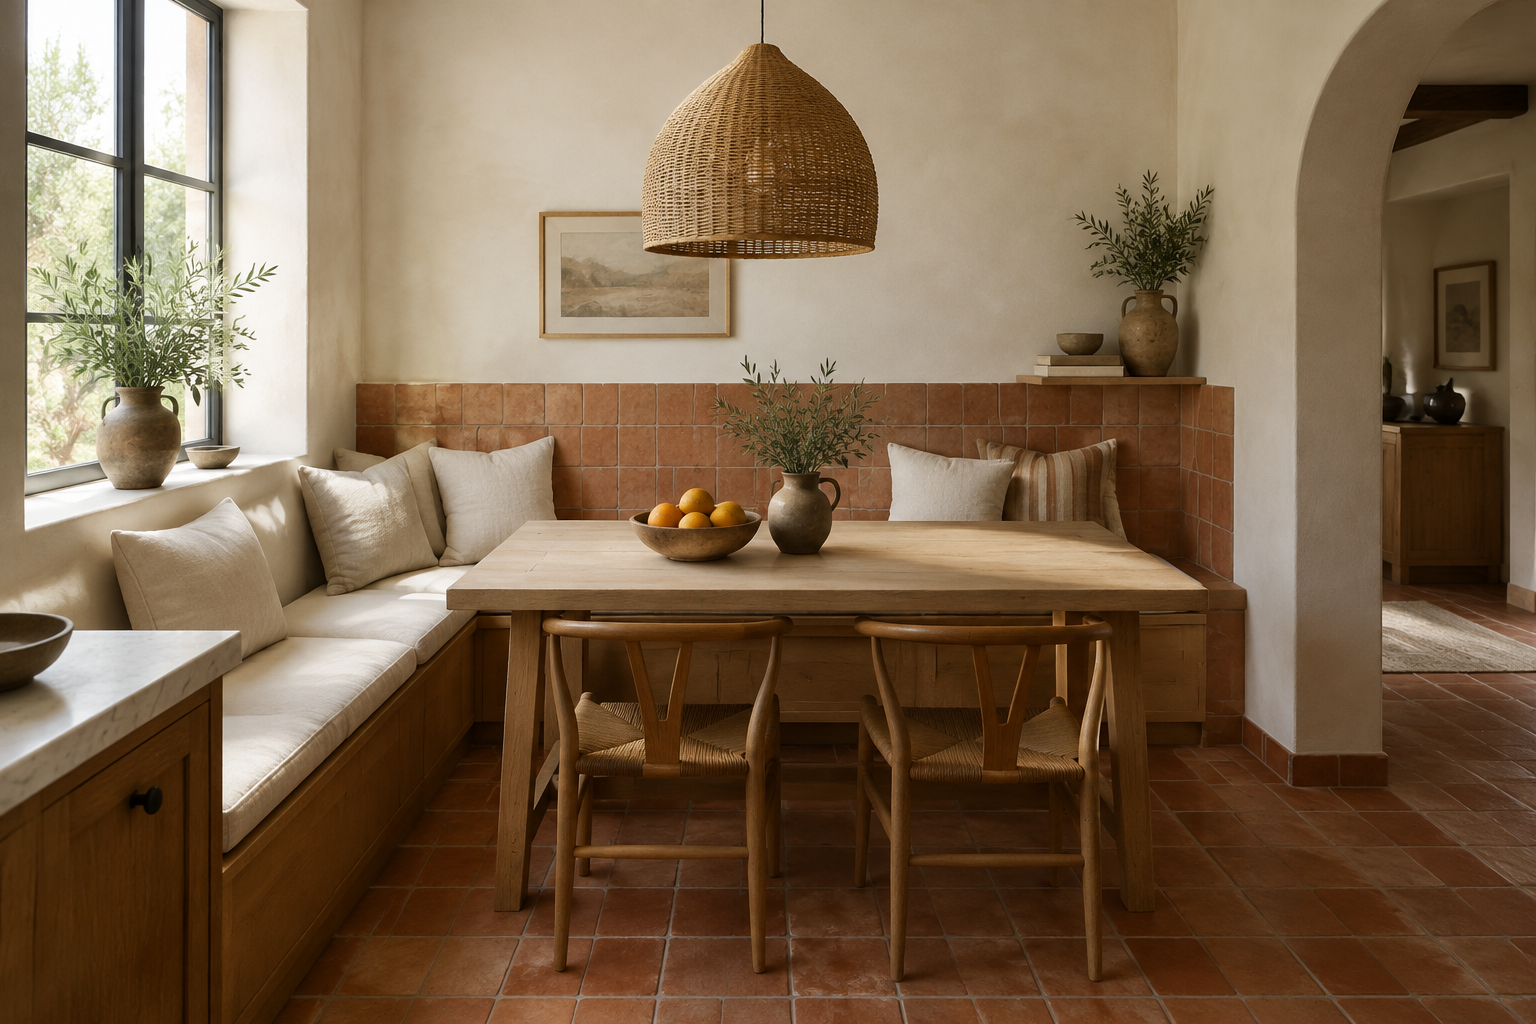
Terracotta tile brings warmth to a kitchen that is otherwise all white boxes. It is forgiving underfoot and gets better with wear.
Run the tile up the wall behind the bench as a splashback. The nook then has a natural base and a natural top.
Use lime plaster or a warm off-white on the walls. Pure white looks cold next to orange-red clay.
Choose a wooden table and a woven pendant. Both materials belong with terracotta.
- Seal the tiles twice before grouting so they do not stain from coffee spills.
- Use a mid-grey grout. White grout on terracotta shows every mark within a month.
Hand-Painted Mural Nook
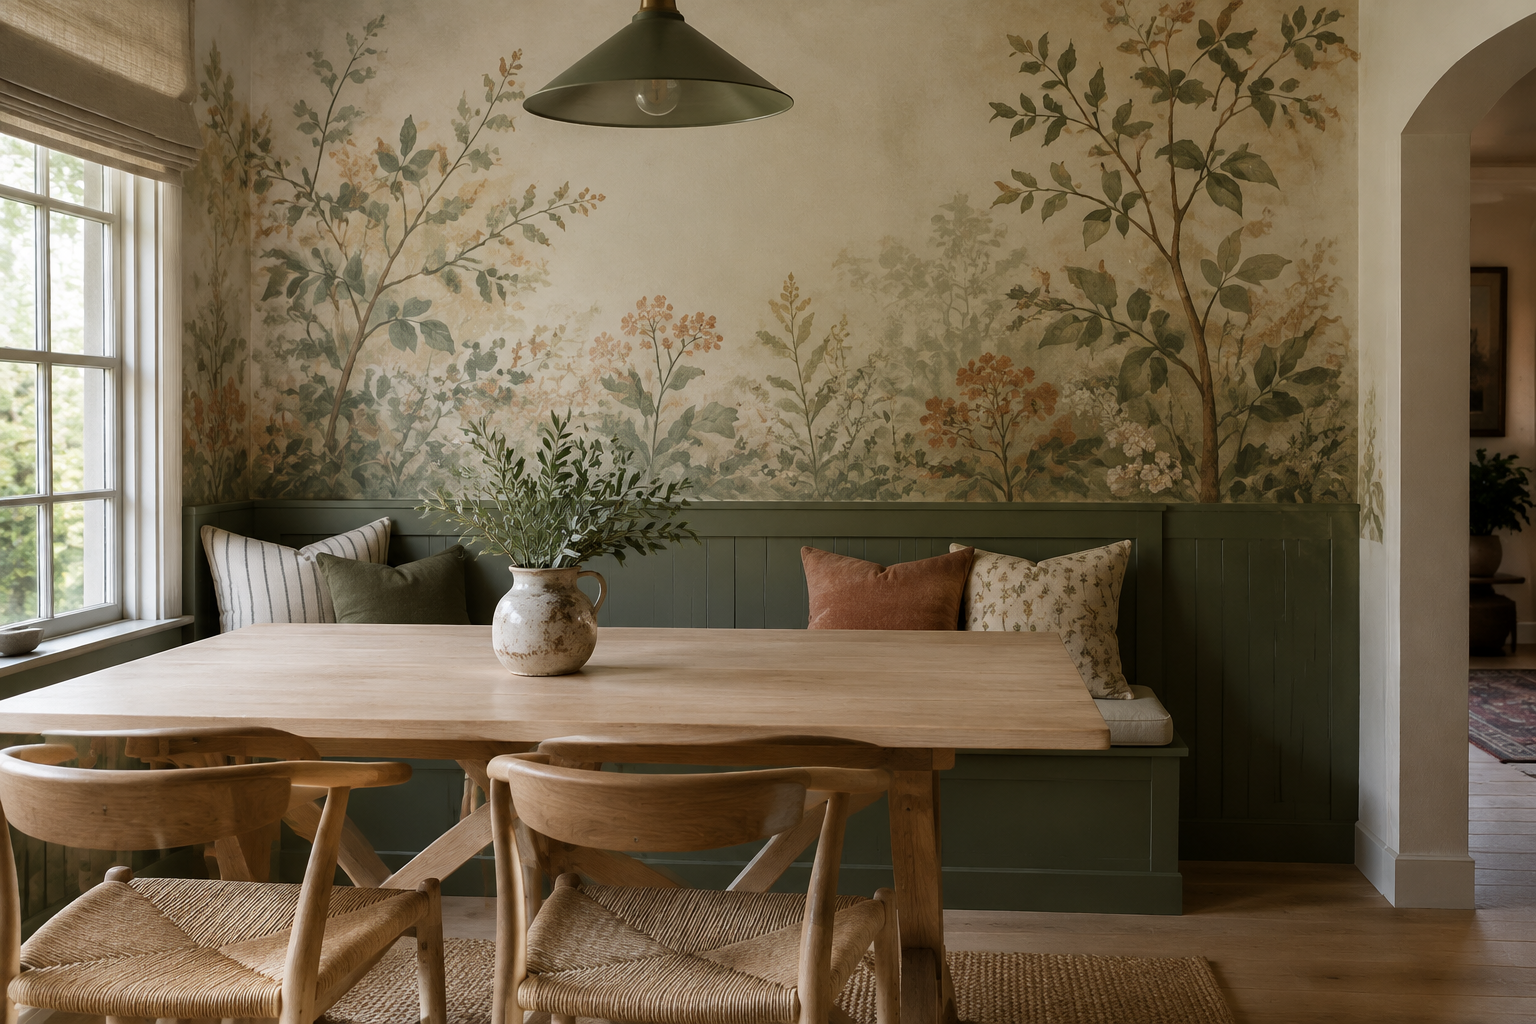
A painted mural turns a plain bench into a scene. It is cheaper than wallpaper and no one else will have one.
Keep the mural to one or two colours and let it fade towards the edges. A hard outline makes it look like a sticker.
Paint the bench in a colour taken directly from the mural. That single link makes the whole corner feel designed.
Hire an artist for the central motif and paint the wash yourself. This halves the cost and keeps the texture human.
- Seal the wall with a matte varnish after painting so it can be wiped down.
- Paint the mural after the bench is built, so you can work around the real edges.
Farmhouse and Rustic
Reclaimed wood, old pews and stone walls bring warmth. These nooks get better as they age.
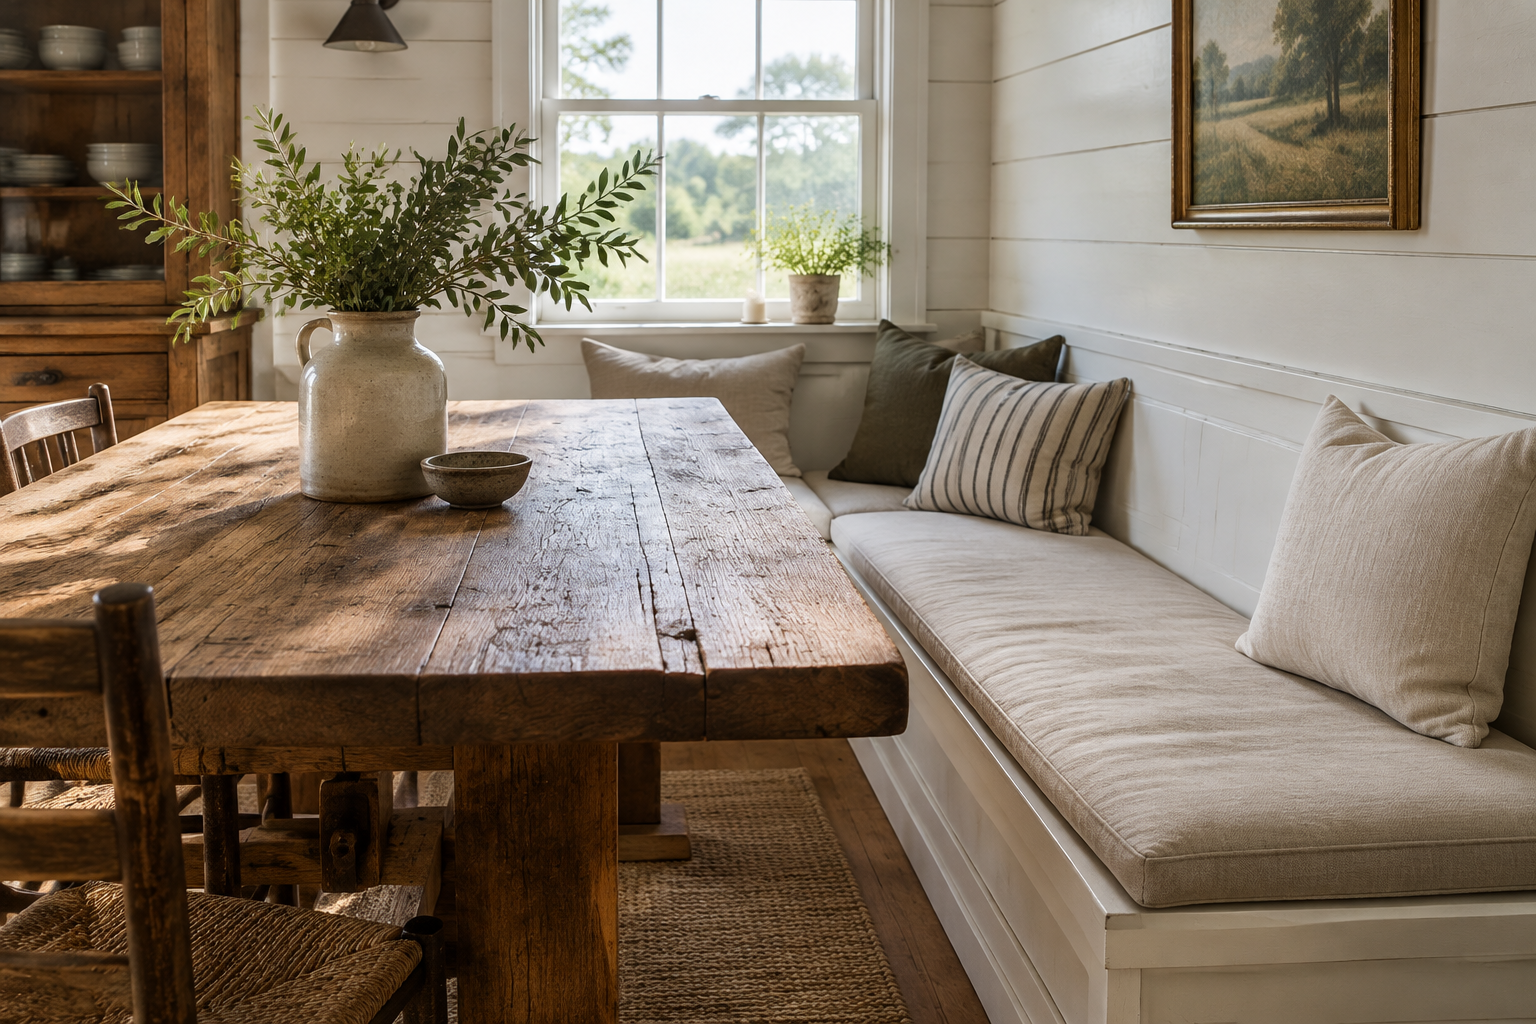
Reclaimed Beam Table Nook
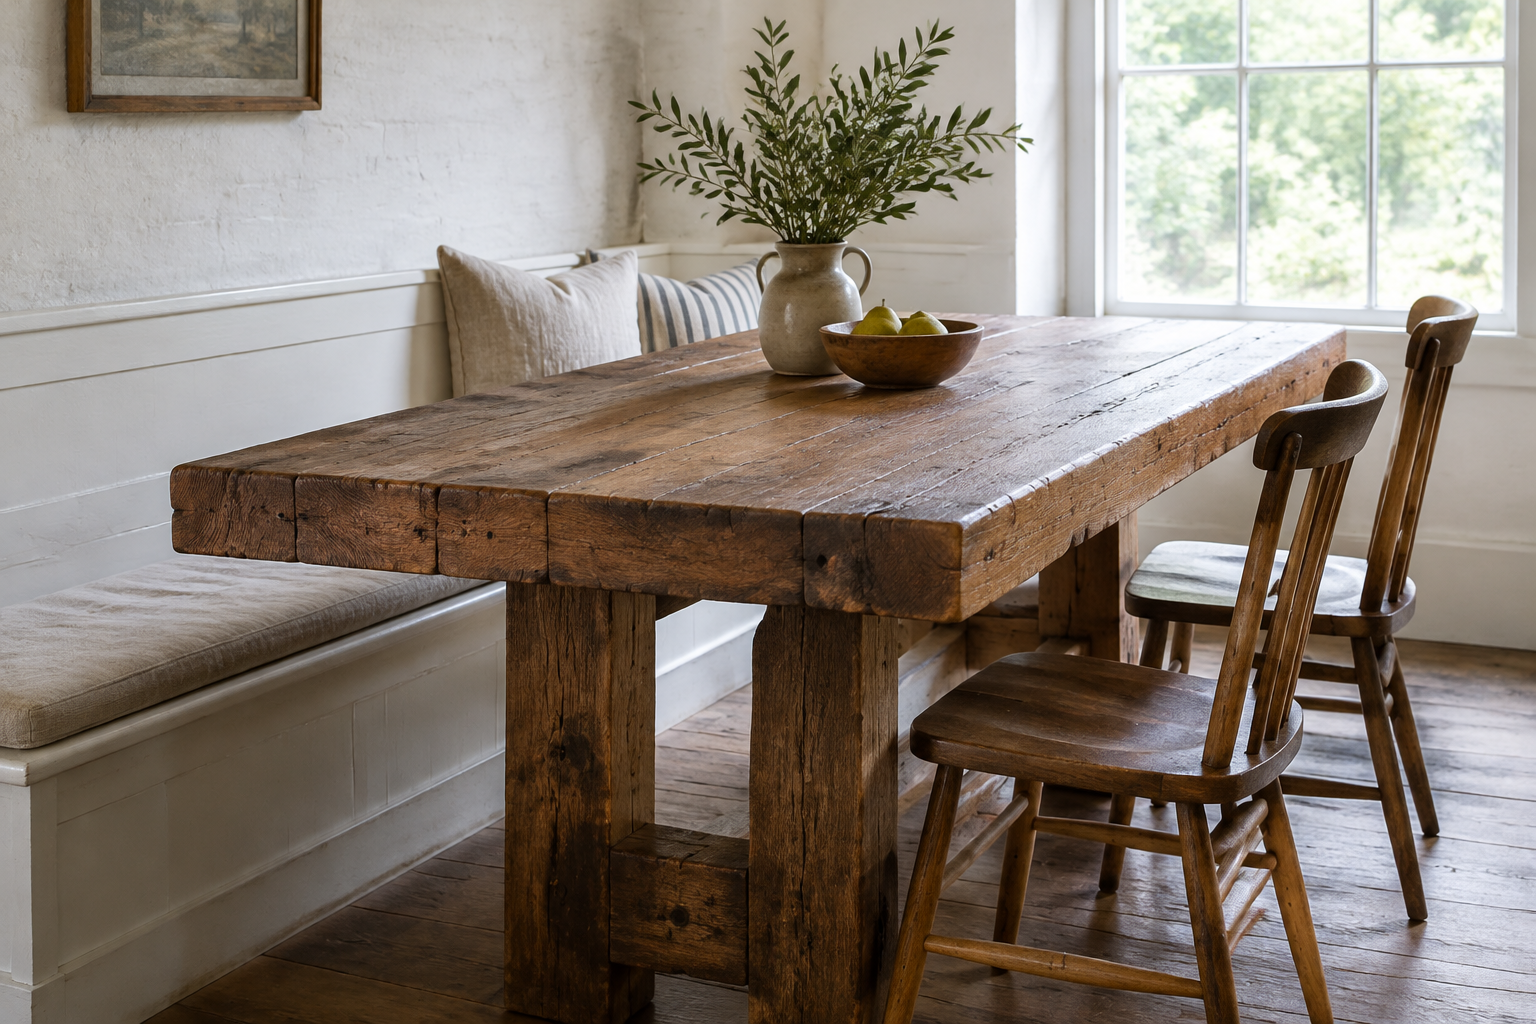
A table made from an old beam has weight and history that new wood cannot fake. It anchors a farmhouse nook instantly.
Keep the top thick, around 2 to 3 inches. Thin reclaimed wood loses the point of using it.
Pair it with a plain painted bench, not another rustic piece. One heavy texture per nook is enough.
Leave the surface oiled rather than lacquered. The grain stays visible and the marks of use become part of it.
- Check reclaimed timber for nails and staples before sanding.
- Oiled tables need re-oiling every six months. Keep a small tin in the cupboard.
Antique Church Pew Nook
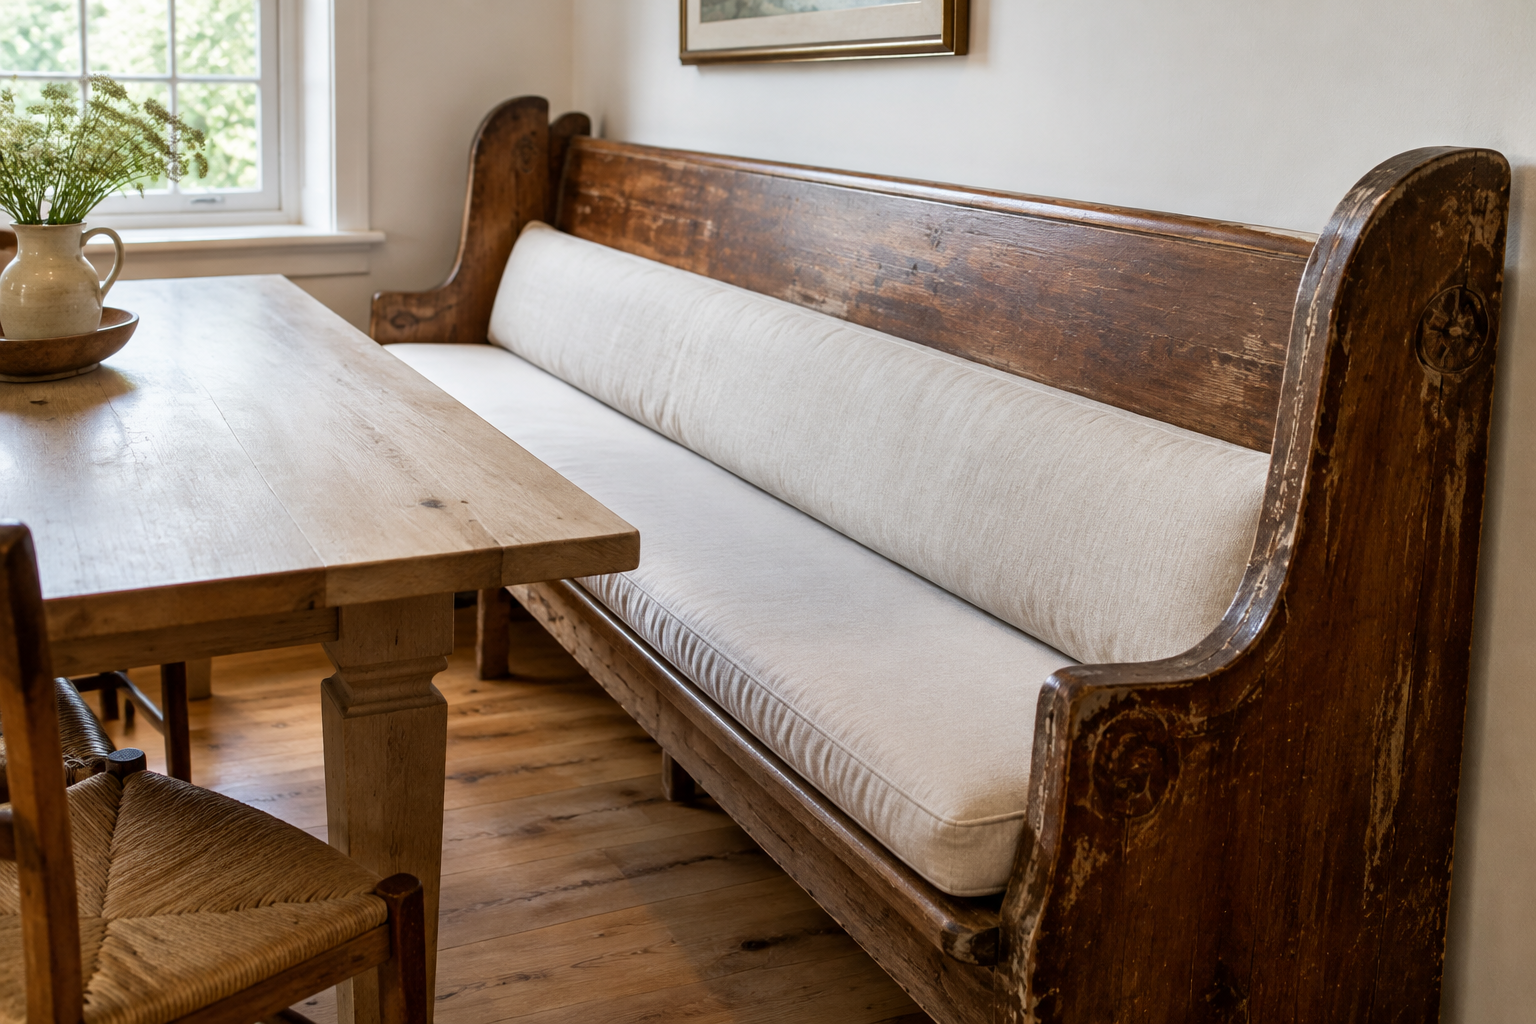
An old church pew is already bench shaped, already worn and often cheaper than new timber. Cut it down to fit the wall and it looks like a custom banquette.
Keep the original finish unless it is flaking. Age is the value here.
Add a long cushion and a low back cushion so the pew becomes comfortable rather than merely characterful.
Use it on one side only, with two chairs opposite. A pew on both sides feels like a chapel.
- Bolster the back with a foam wedge. Pew backs lean further than most people find comfortable.
- Check the pew fits through the door before you buy it.
Stone-Wall Cottage Nook
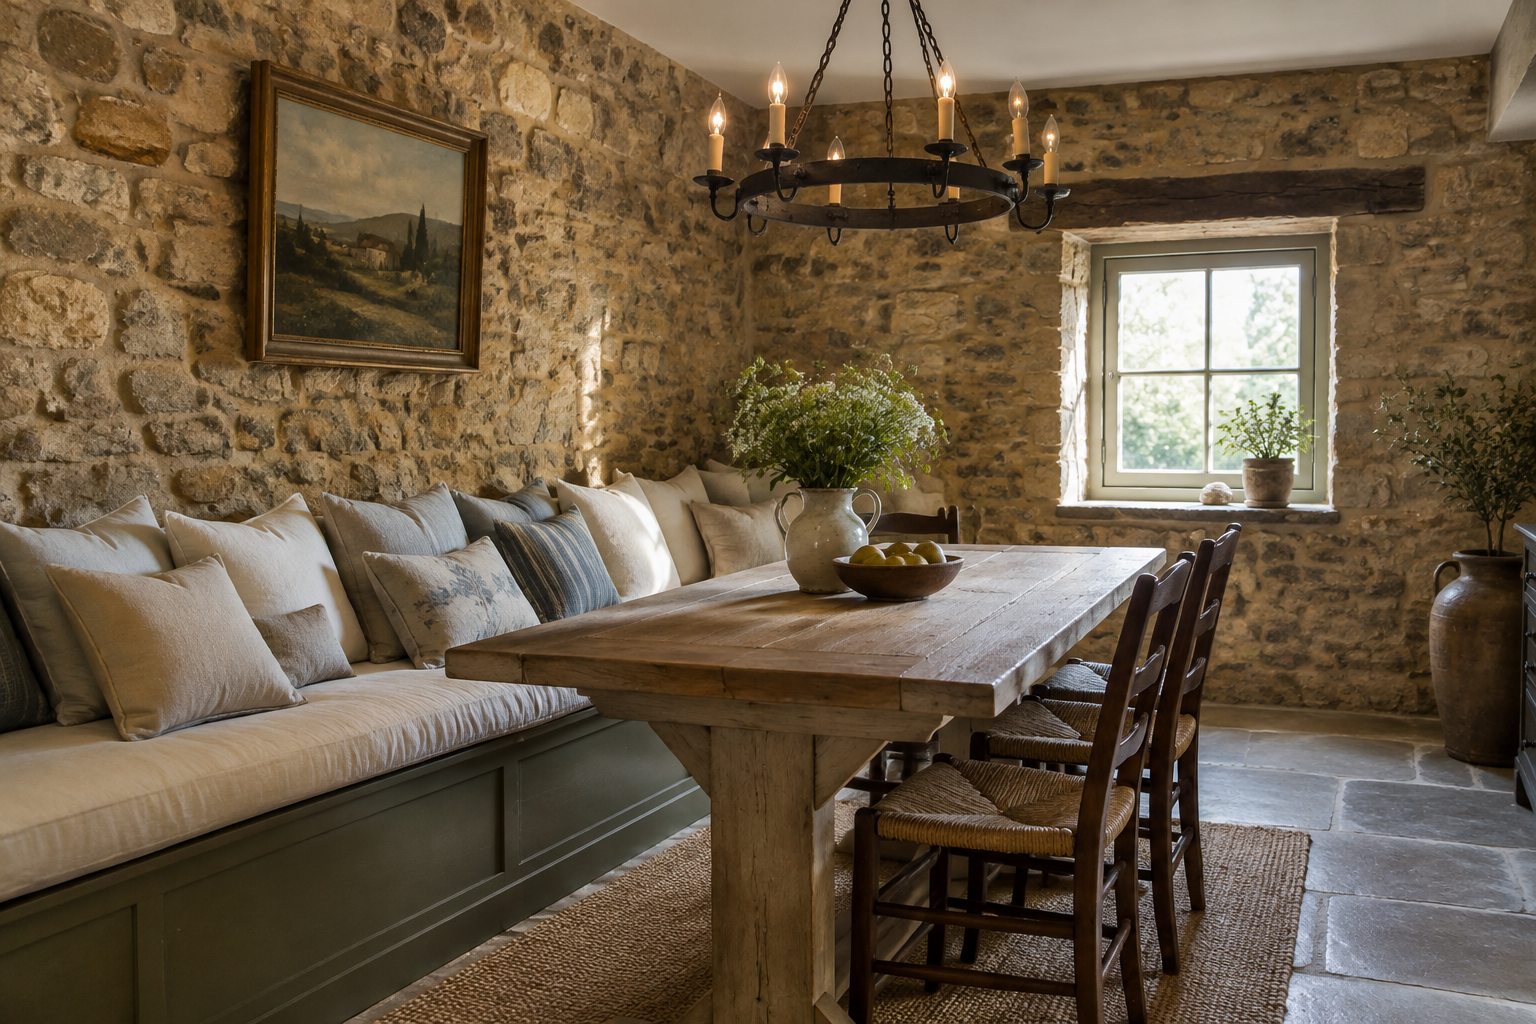
An exposed stone wall gives a nook texture that no paint can copy. Put the bench against it and the roughness becomes a backdrop.
Hang a long cushion from the wall so nobody leans directly on stone. A 30 inch deep bench lets this work.
Use an iron chandelier or a single aged pendant. Cottage nooks need a fixture that looks like it has been there a while.
Keep the table pale wood. Stone, dark iron and pale wood is the entire palette.
- Fix battens to the wall before building the bench so the frame does not sit unevenly on stone.
- Add a small rug under the table to soften the hardness of stone underfoot.
Brick-Floor Nook With Steel Windows
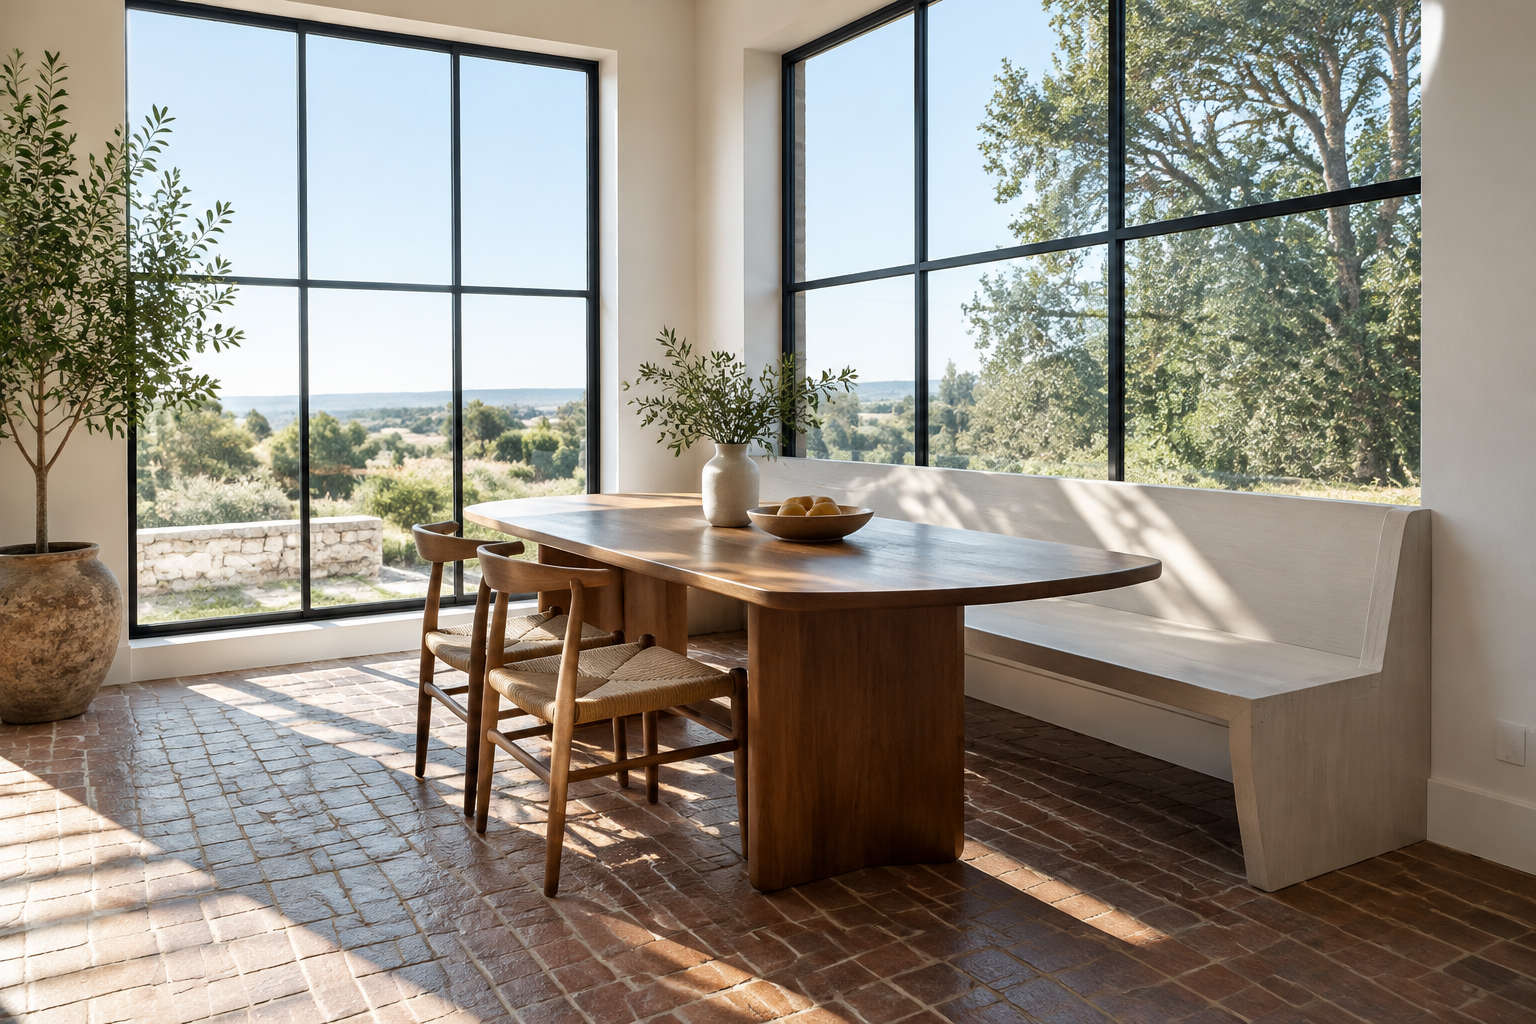
Brick underfoot and black steel windows above is a combination that needs nothing else. It feels like a converted workshop in the best way.
Use slim steel-framed glazing with a single horizontal bar. More bars make a small nook feel caged.
Keep the bench simple and pale so the brick and the frames stay the story.
Add a wooden table with rounded corners. Everything else in the corner is already angular.
- Seal the brick floor with a matte impregnator so it does not trap flour and crumbs.
- Check if steel windows need planning permission, especially on a front elevation.
Blackboard Wall Nook
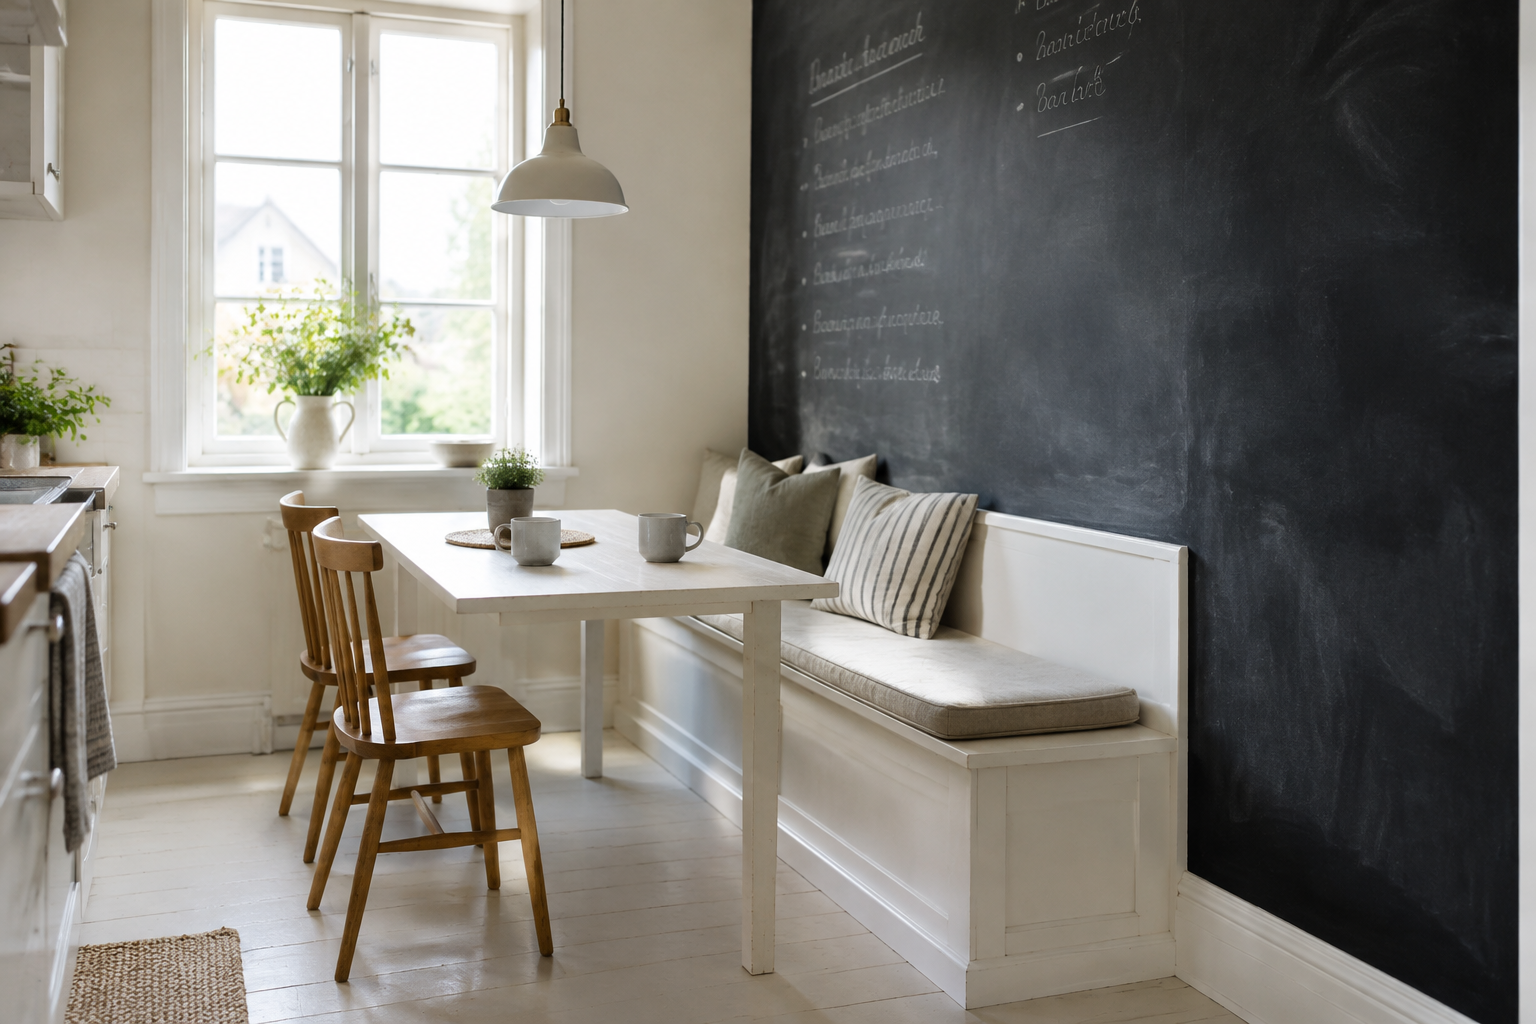
A blackboard wall beside the bench gives children something to do while breakfast is made. It is also the cheapest feature wall there is.
Paint the board on a smooth wall only. Texture shows through chalk and makes the writing look blurry.
Keep the board above the bench back so shoulders do not rub it off.
Write the week’s menu on it. A nook with a purpose gets used far more than a nook that is only pretty.
- Season a new blackboard by rubbing chalk over it and wiping it off before first use.
- Choose a dust-free chalk if the nook is close to the kitchen prep area.
Chalk-Painted Hutch Nook
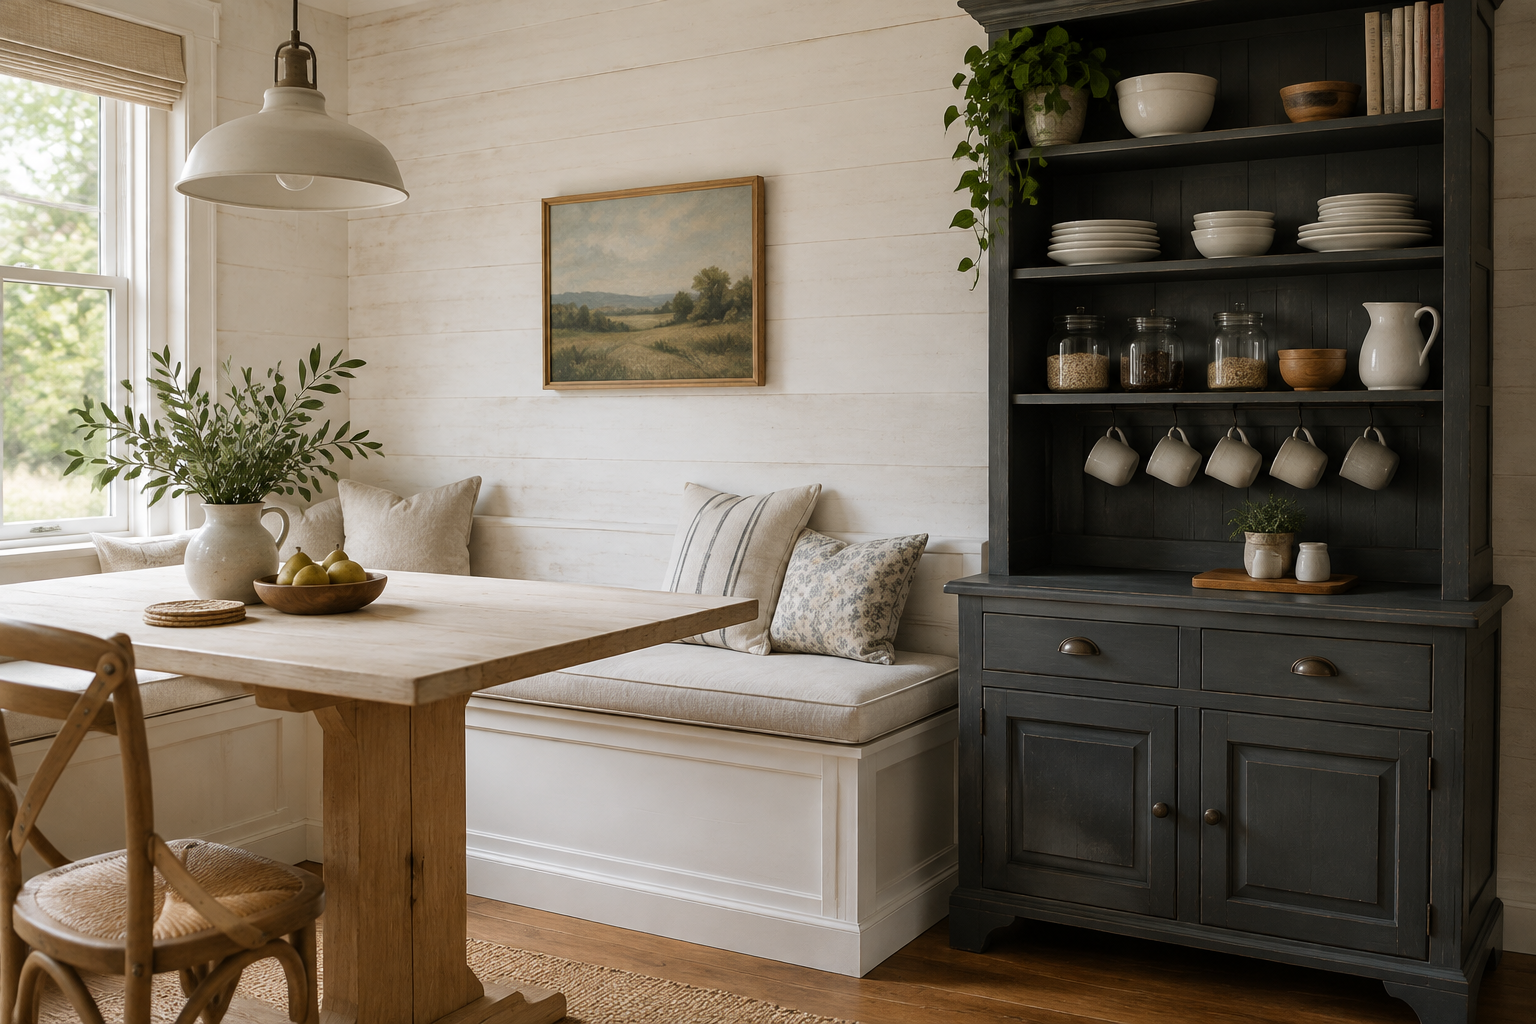
A freestanding hutch at the end of the bench closes the nook and gives you a place for plates. It is furniture, not joinery, so you can move it.
Chalk paint needs no priming and dries flat. That flat finish is what makes old pine look like old farmhouse pine.
Hang mugs from hooks underneath the shelves. The nook becomes the tea station as well as the table.
Leave the hutch 24 inches away from the table so chairs can still pull out.
- Wax the hutch top if it will hold hot cups.
- Anchor the hutch to the wall before loading it with crockery.
Modern and Minimal
Clean lines, warm wood and one good light. The restraint is the whole point.
Oak Tambour Bench Nook
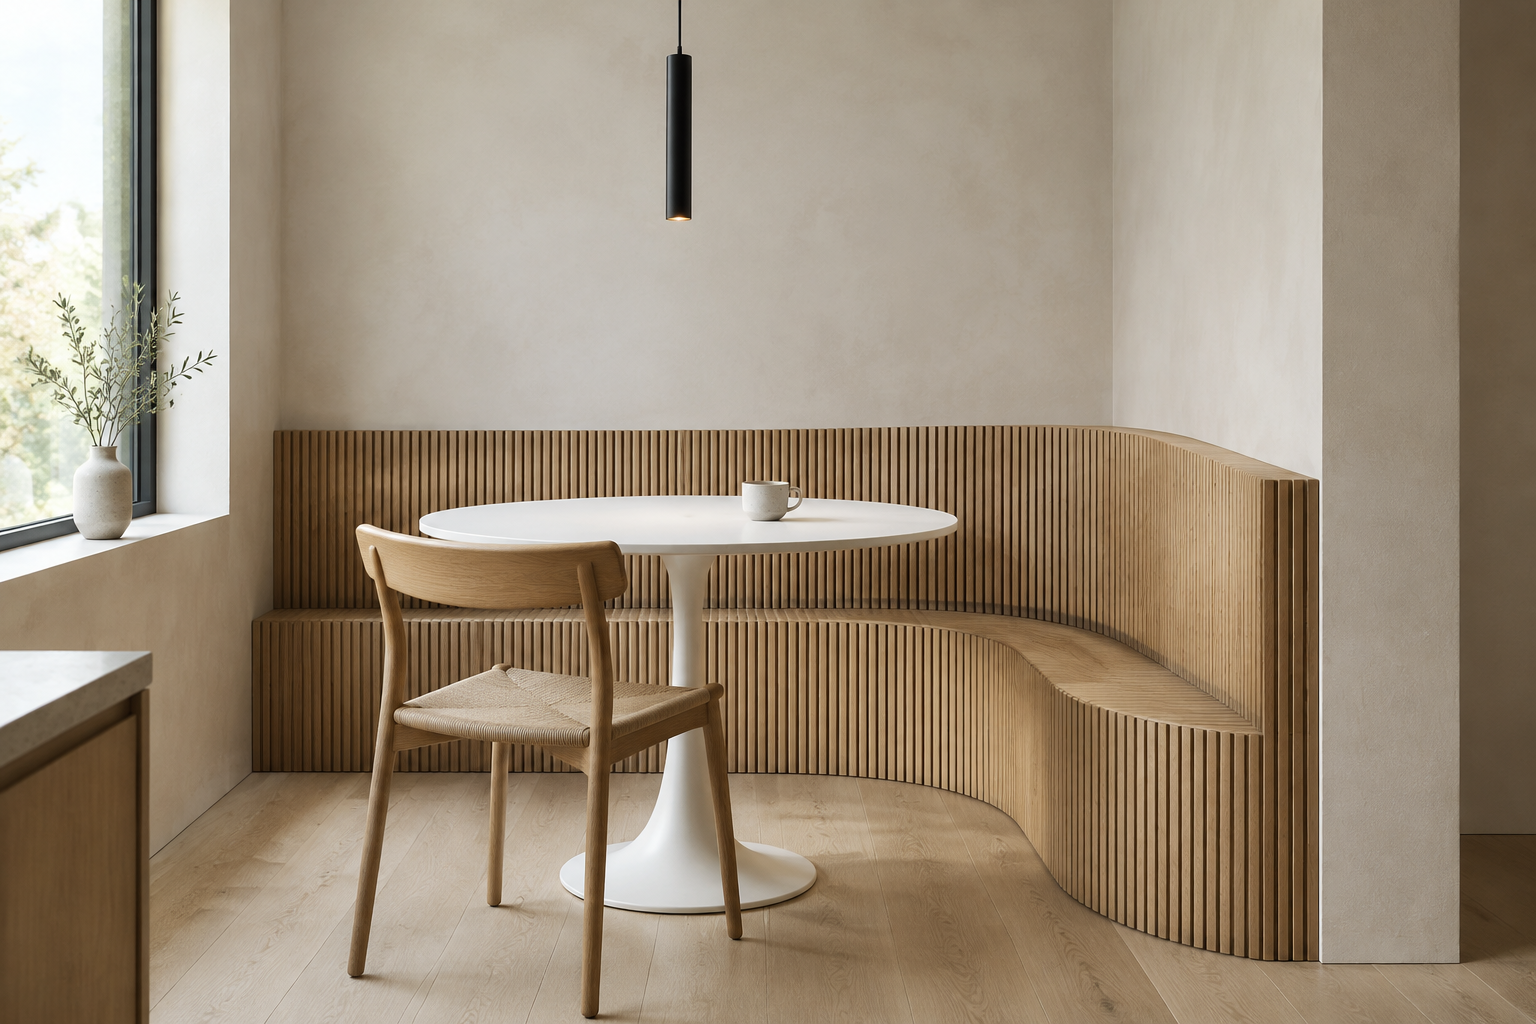
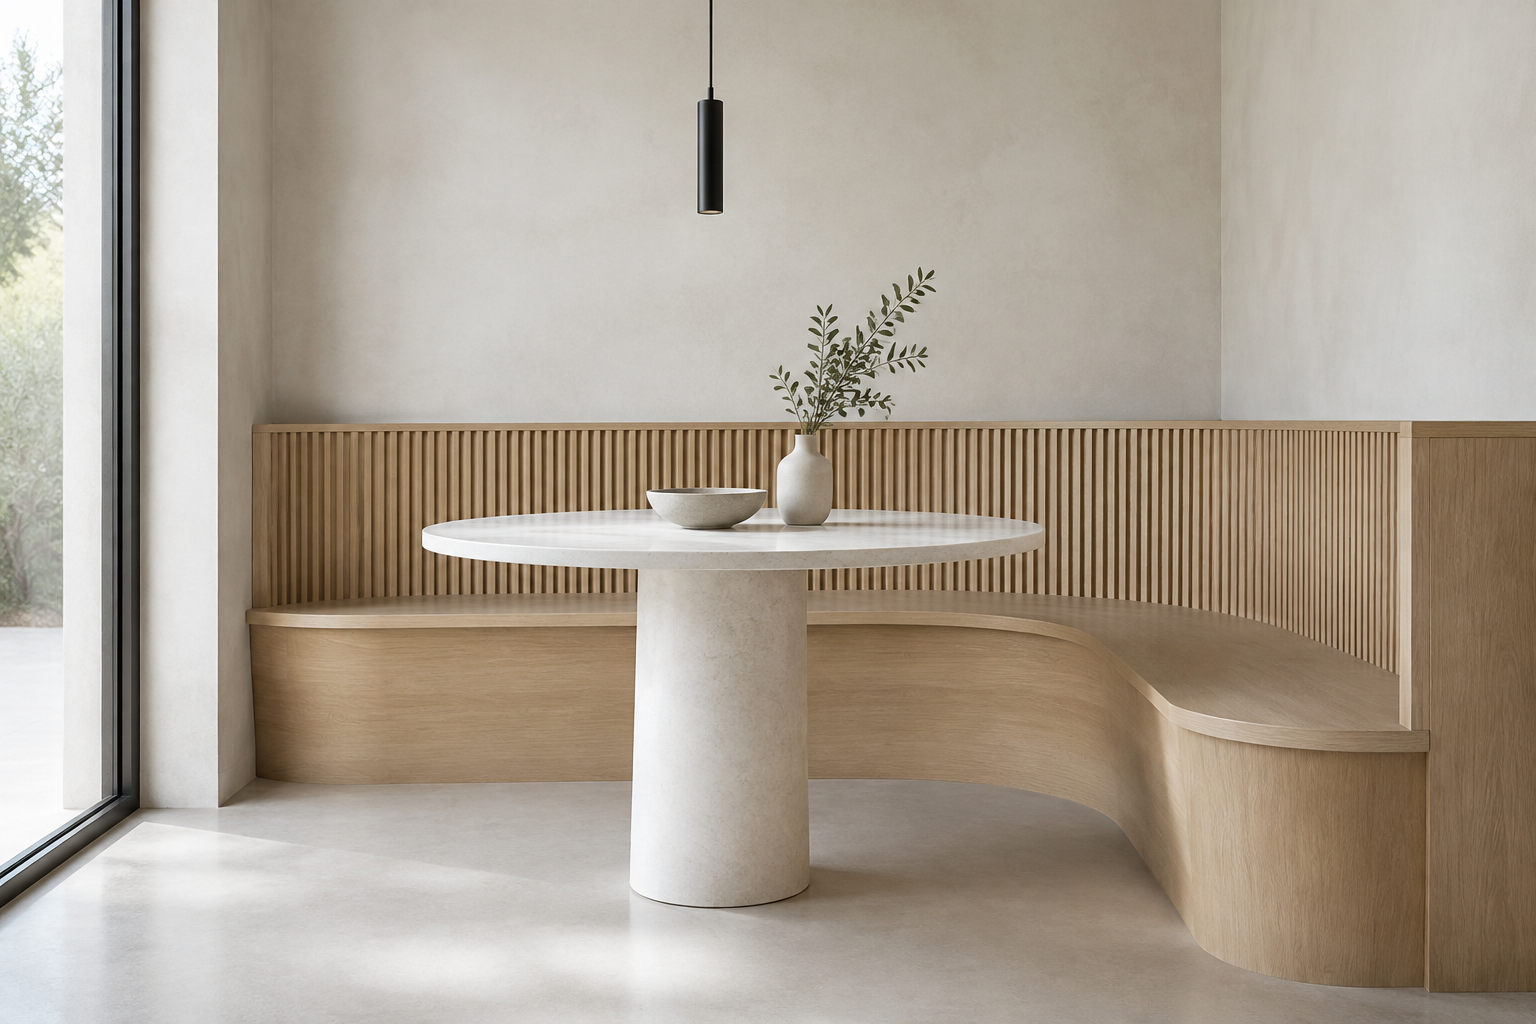
A tambour bench is made from thin wooden slats around a curve. It looks refined and it is surprisingly comfortable against your back.
Use it as a banquette back rather than a full seat. Slats flex, so they follow your spine instead of fighting it.
Keep the table plain white or pale stone. The curve of the wood is the detail.
Hang a slim pendant directly over the table centre. Tall, thin shapes suit modern nooks better than wide shades.
- Oiled oak ages better than lacquered oak in a warm kitchen.
- Ask for a slat thickness of 3 to 4 mm. Thinner slats can crack when bent.
Fluted Wood Island Extension
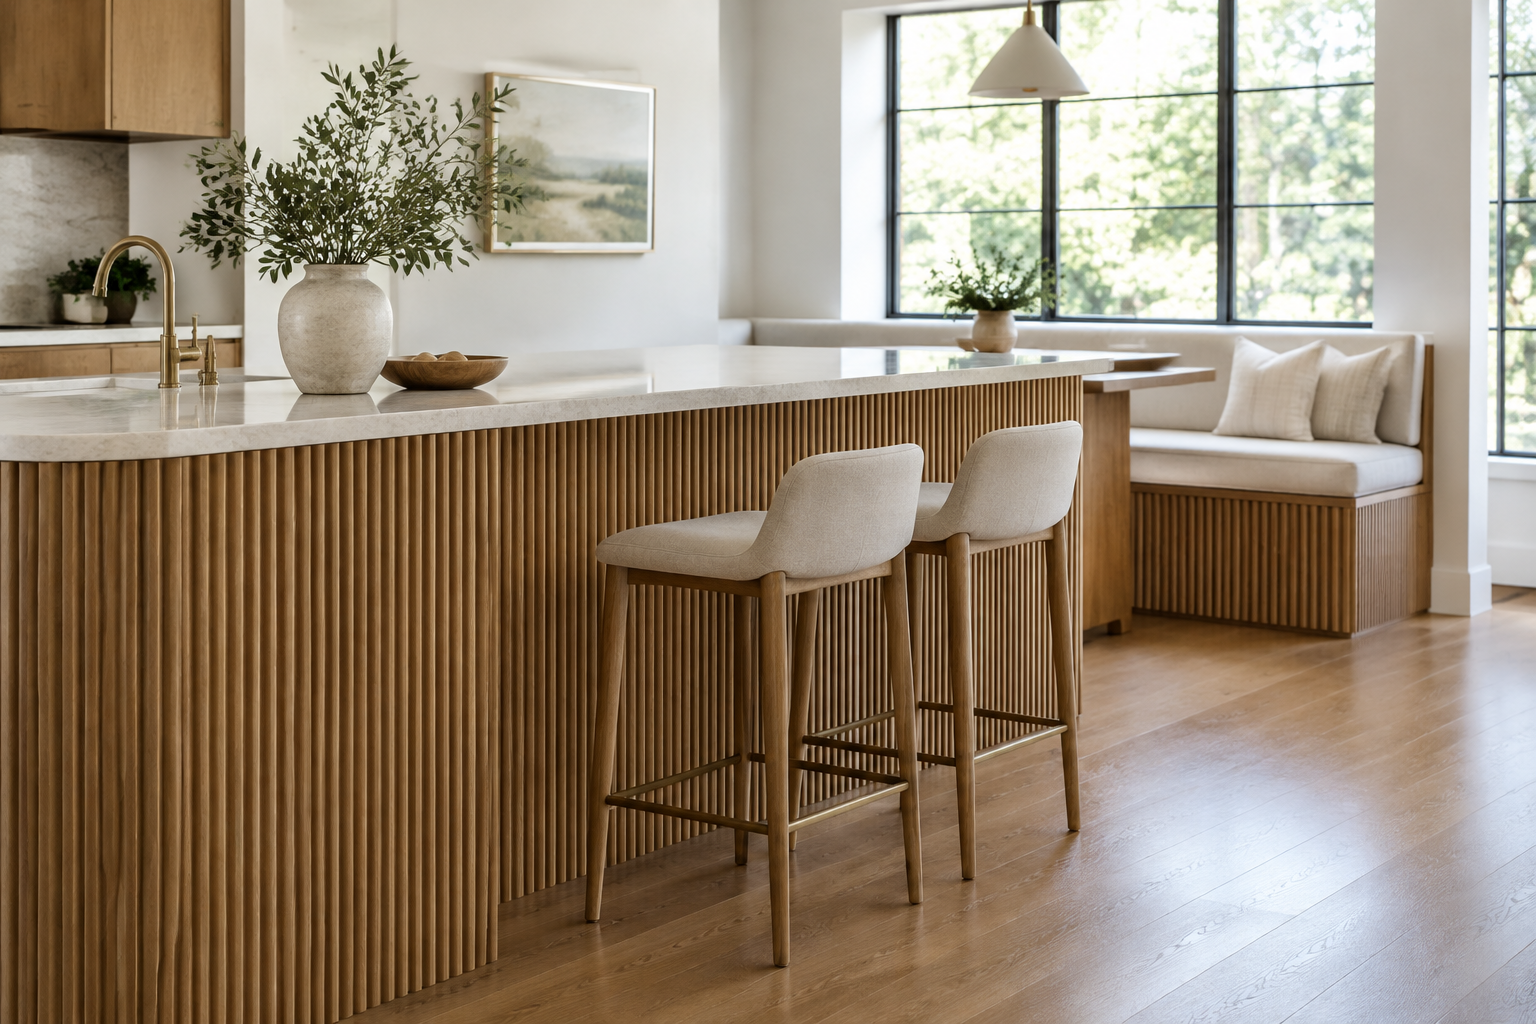
Fluting adds rhythm to a flat surface without adding colour. Carry it from the island base onto the nook bench and the two read as one piece.
Keep the flutes vertical on the island and horizontal on the bench. Same texture, different direction, more interesting.
Use two slim stools rather than a bench if the extension is less than 48 inches wide.
Choose a warm mid-tone wood. Pale fluting disappears; dark fluting looks heavy.
- Ask for a fluted panel to be removable in case a chair needs to slide under.
- Keep the flutes at least 1 inch from the floor so a mop can get under them.
Plaster Arched Alcove Nook
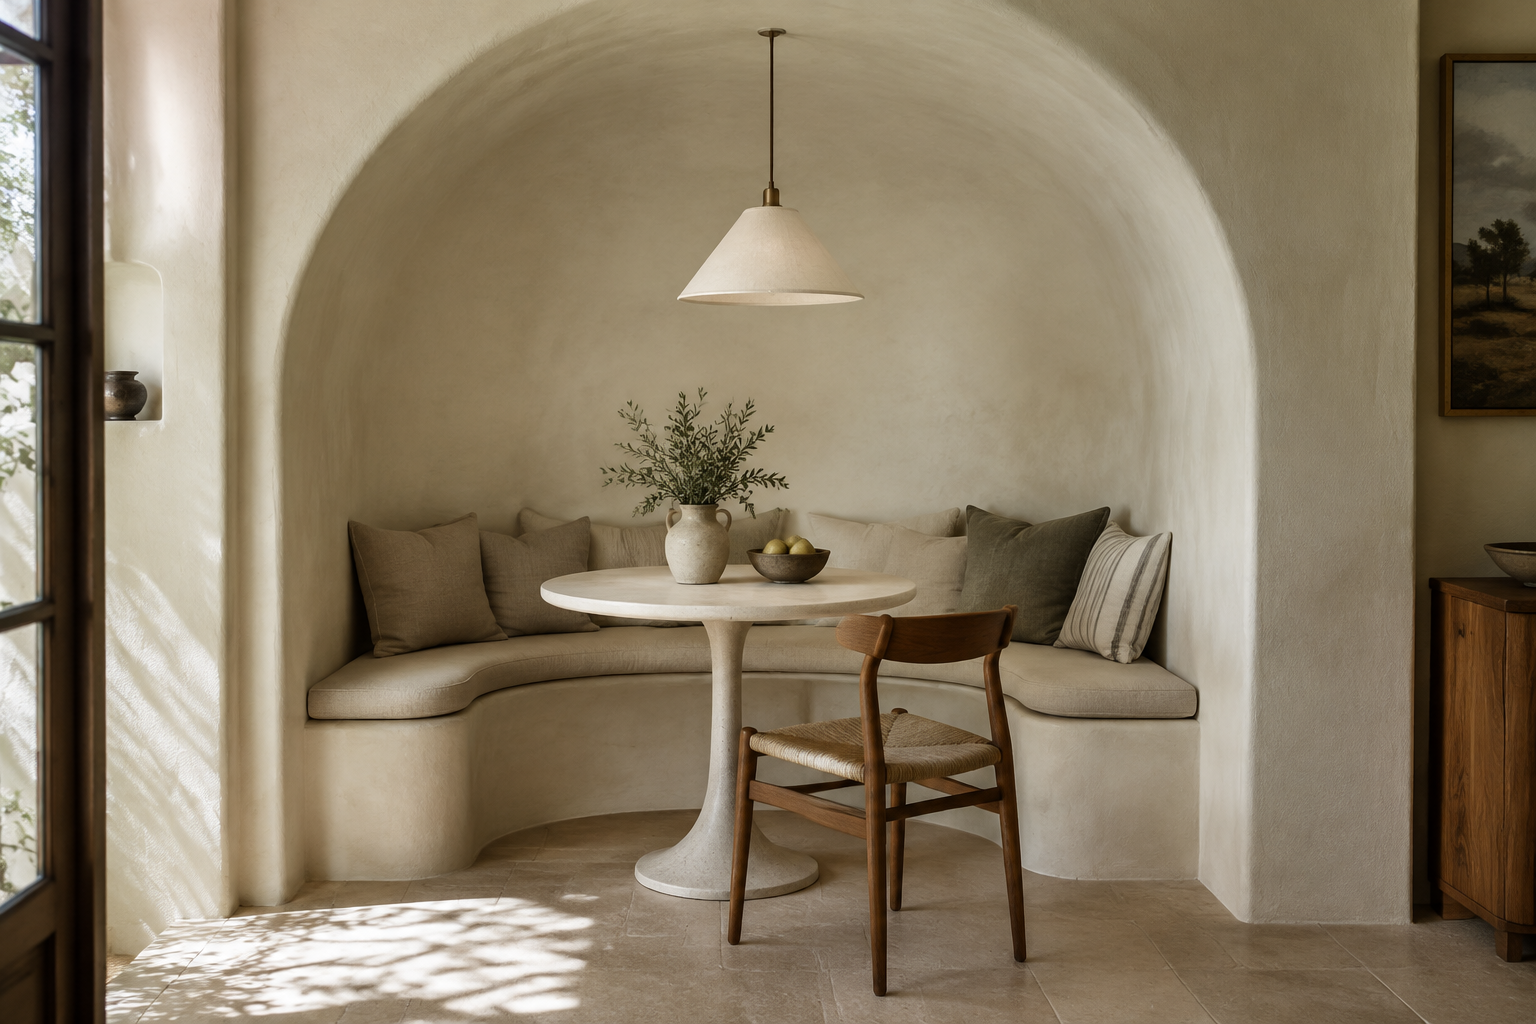
An arch turns a recess into a frame. Plaster the inside and you get soft shadows that change all day long.
Build the bench into the alcove so the arch lands behind the seat back. That is what makes an arch look architectural rather than decorative.
Use a lime plaster finish rather than paint. Lime has depth and it repairs itself with small marks.
Add one simple pendant with a fabric shade. Arches need soft light, not spotlights.
- Keep the arch radius consistent with other curves in the house.
- Seal lime plaster in a kitchen with a breathable finish, not a plastic one.
Japandi Nook With a Paper Lantern
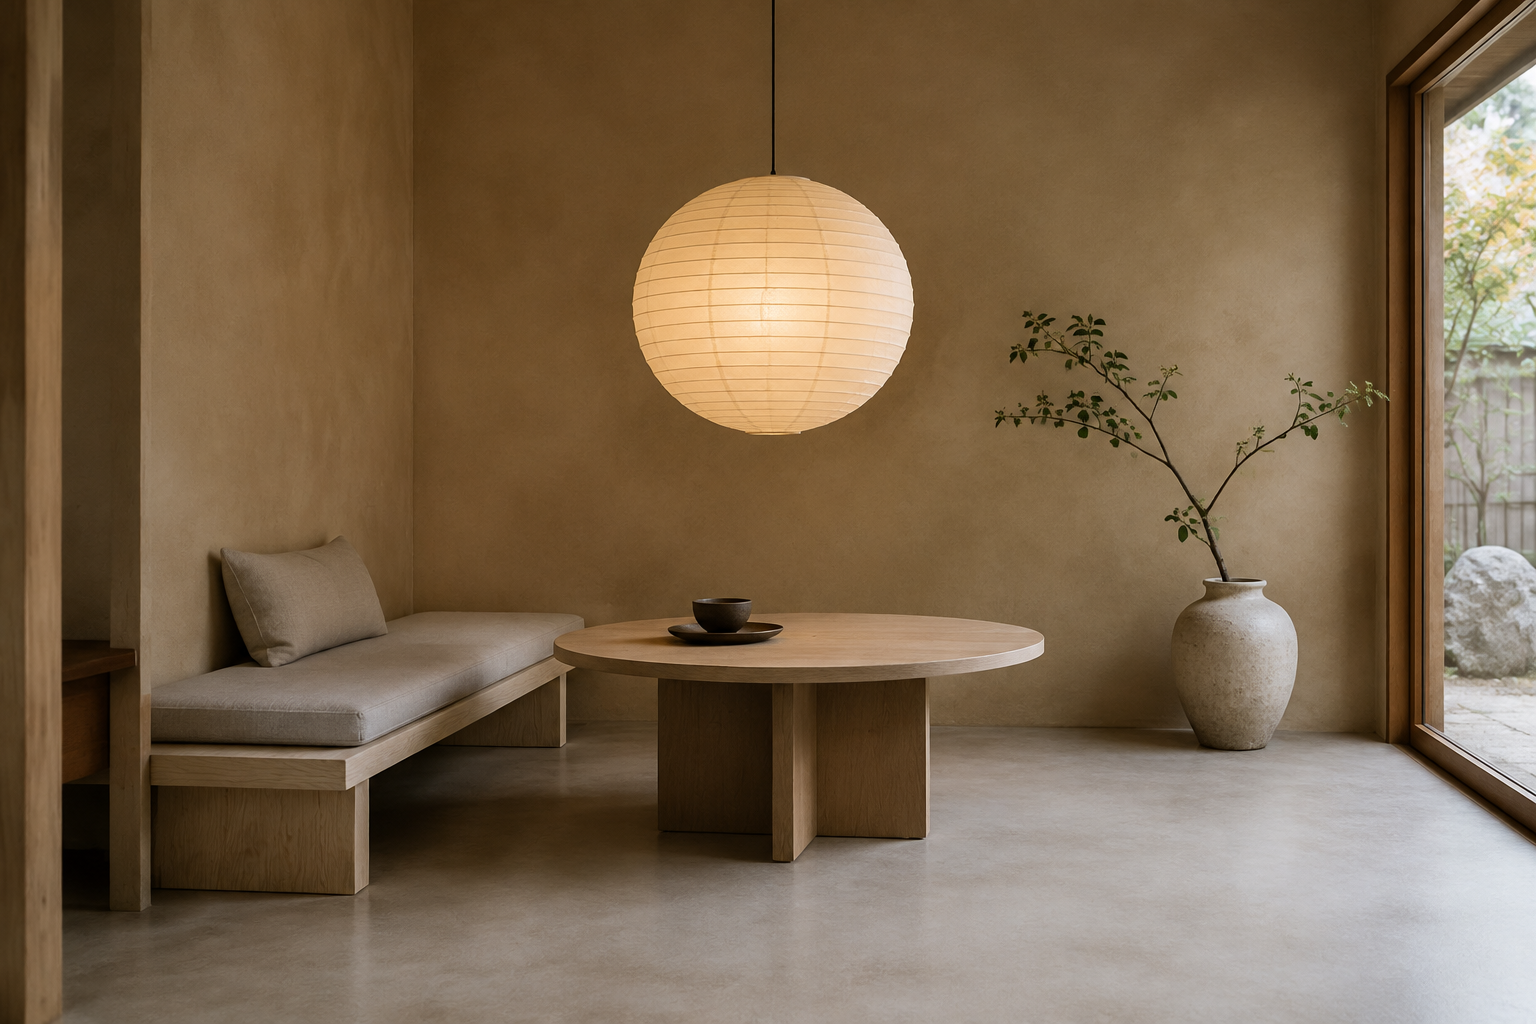
Japandi is warm minimalism: pale wood, soft plaster and almost nothing else. In a nook, it translates to a low bench and a very calm palette.
Hang a round paper lantern low over the table. The paper diffuses light and makes the corner feel like late evening even at breakfast.
Keep the bench back low and avoid visible hardware. Nothing should look fixed or adjustable.
Use one ceramic vessel and one small branch. Two objects is the maximum here.
- Choose a lantern that plugs in rather than one that is hardwired, so it stays renter friendly.
- Keep the bench height low, around 16 inches, for a more relaxed seated posture.
Terrazzo Table Nook
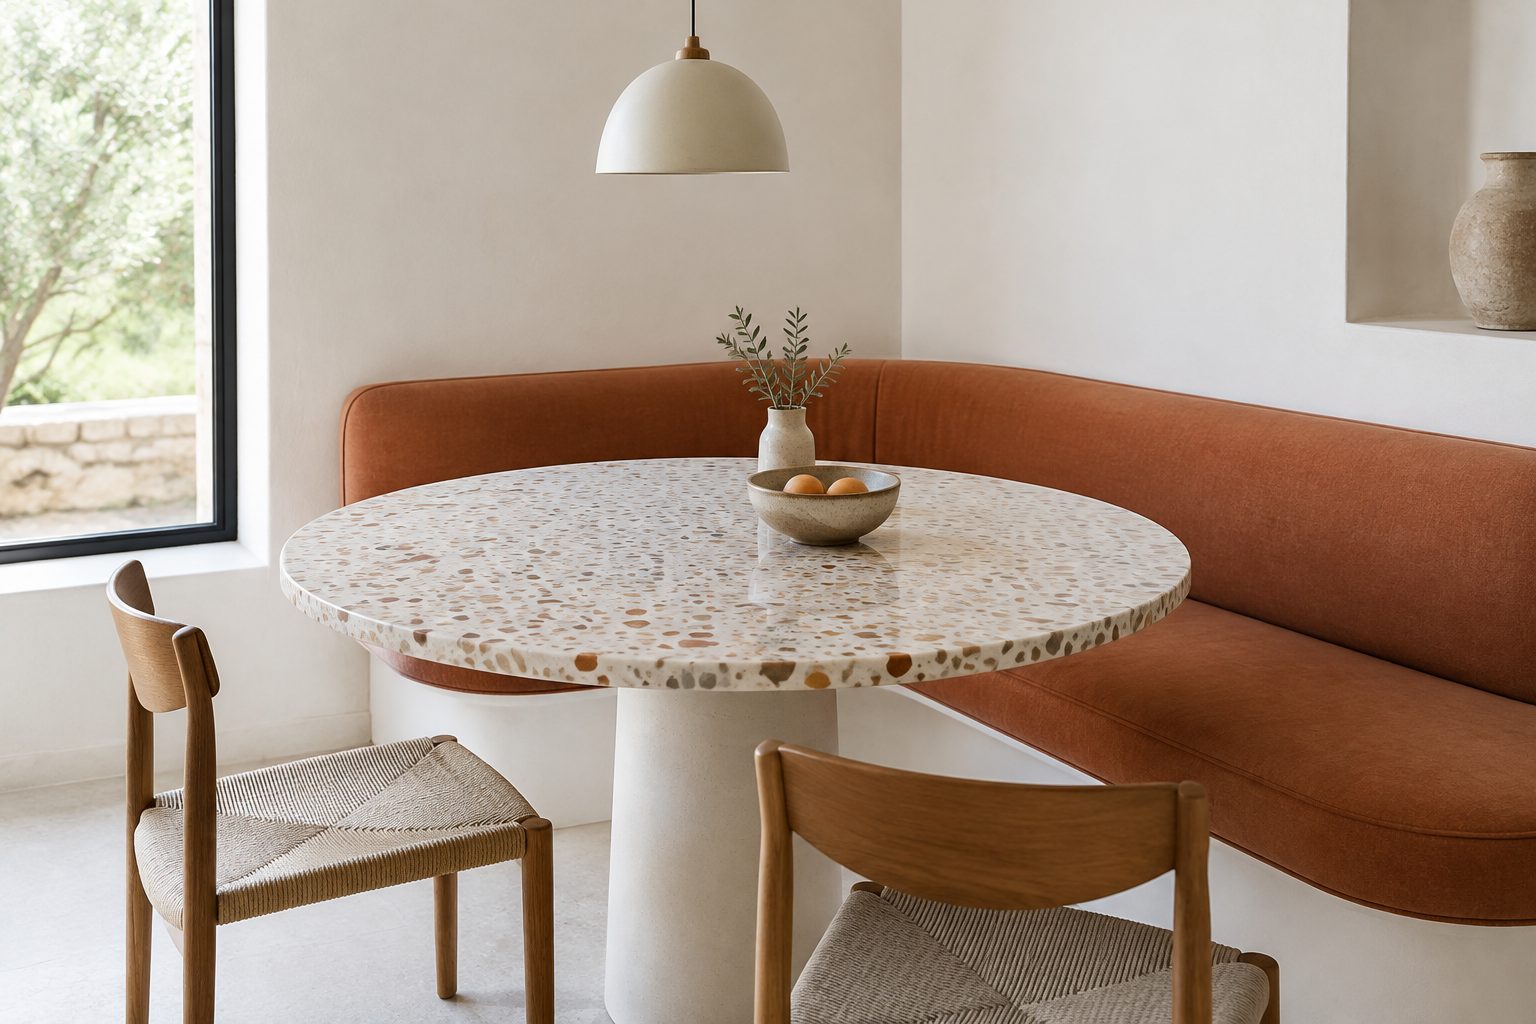
Terrazzo brings pattern, colour and toughness in one surface. A terrazzo table is also far easier to keep clean than a painted one.
Pair it with a plain terracotta or clay-coloured banquette. Terrazzo has flecks of colour, so the seat should be quiet.
Choose a round top so the chips read as a disc rather than a slice.
Keep the walls matte white and the light simple so the surface can be the focus.
- Ask for a honed finish rather than polished. Honed is less slippery and hides fine scratches.
- Pick a terrazzo mix with one colour that matches the kitchen cabinets.
Warm Wood Slat Nook
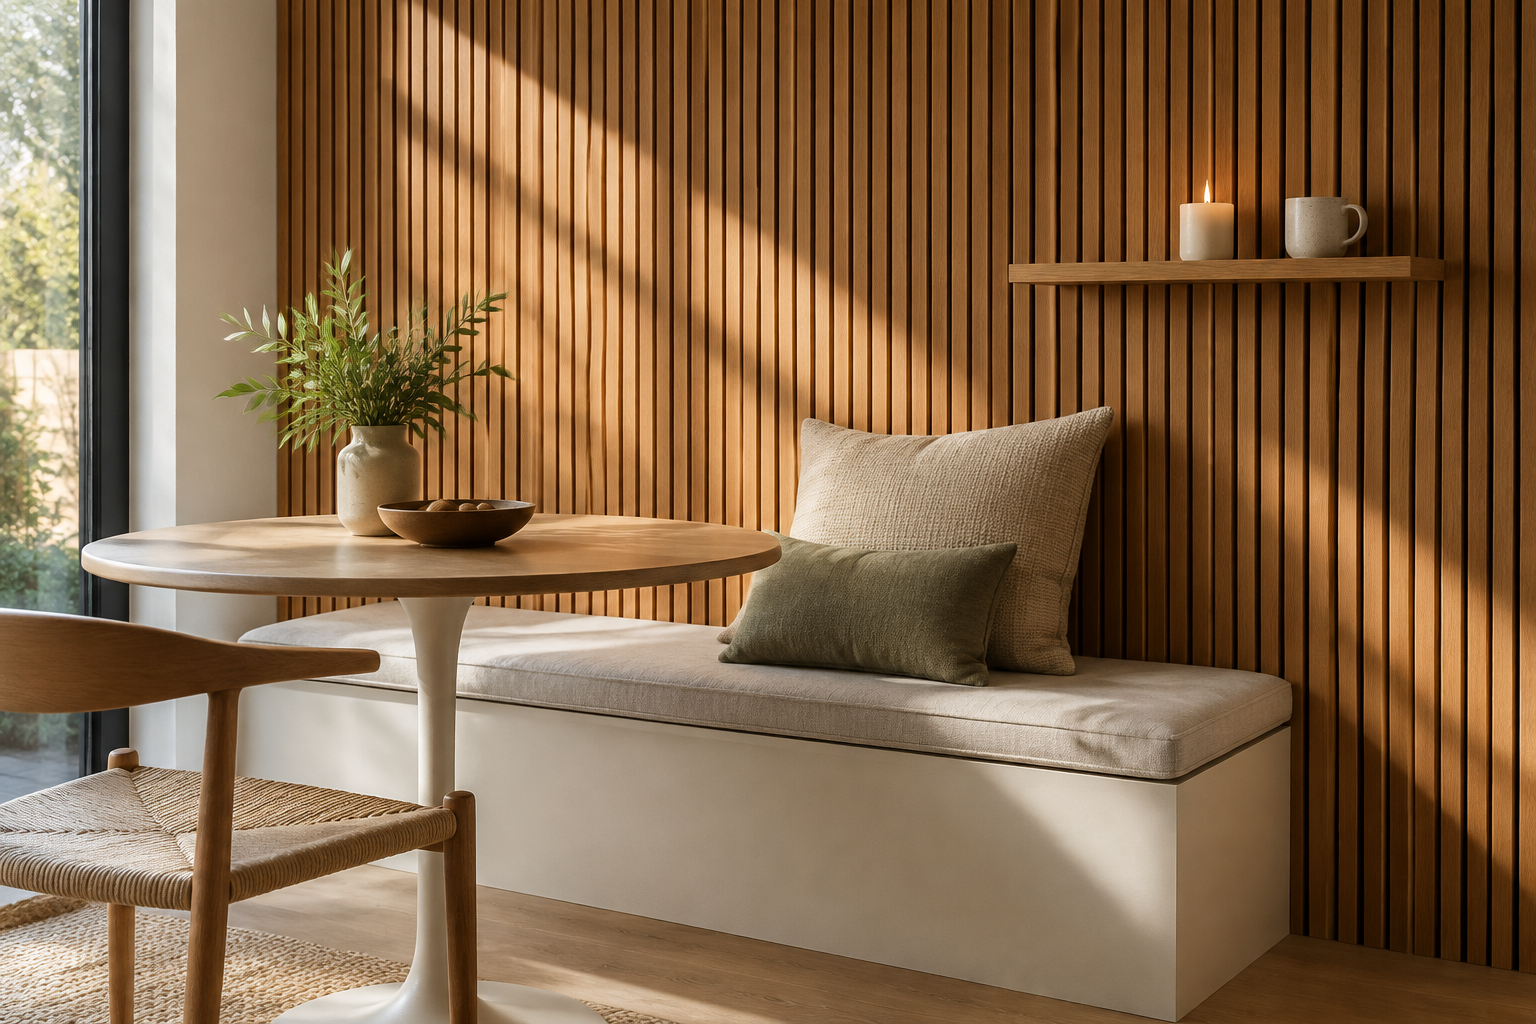
Vertical slats behind a bench add warmth and hide a bad wall. They also soften sound, which matters in a hard kitchen.
Leave a small gap between slats so the shadow lines do the work. Solid panelling looks heavier and costs more.
Run the slats from floor to ceiling so the nook feels taller than it is.
Add a slim floating shelf across the slats at seat height for a candle and a mug.
- Use a mounting rail so the slats sit off the wall and the panel stays straight.
- Dust slats with a soft brush rather than a cloth, which catches on the corners.
Vintage and Eclectic
Bentwood chairs, gingham, brass and books. These nooks look collected rather than bought in one day.
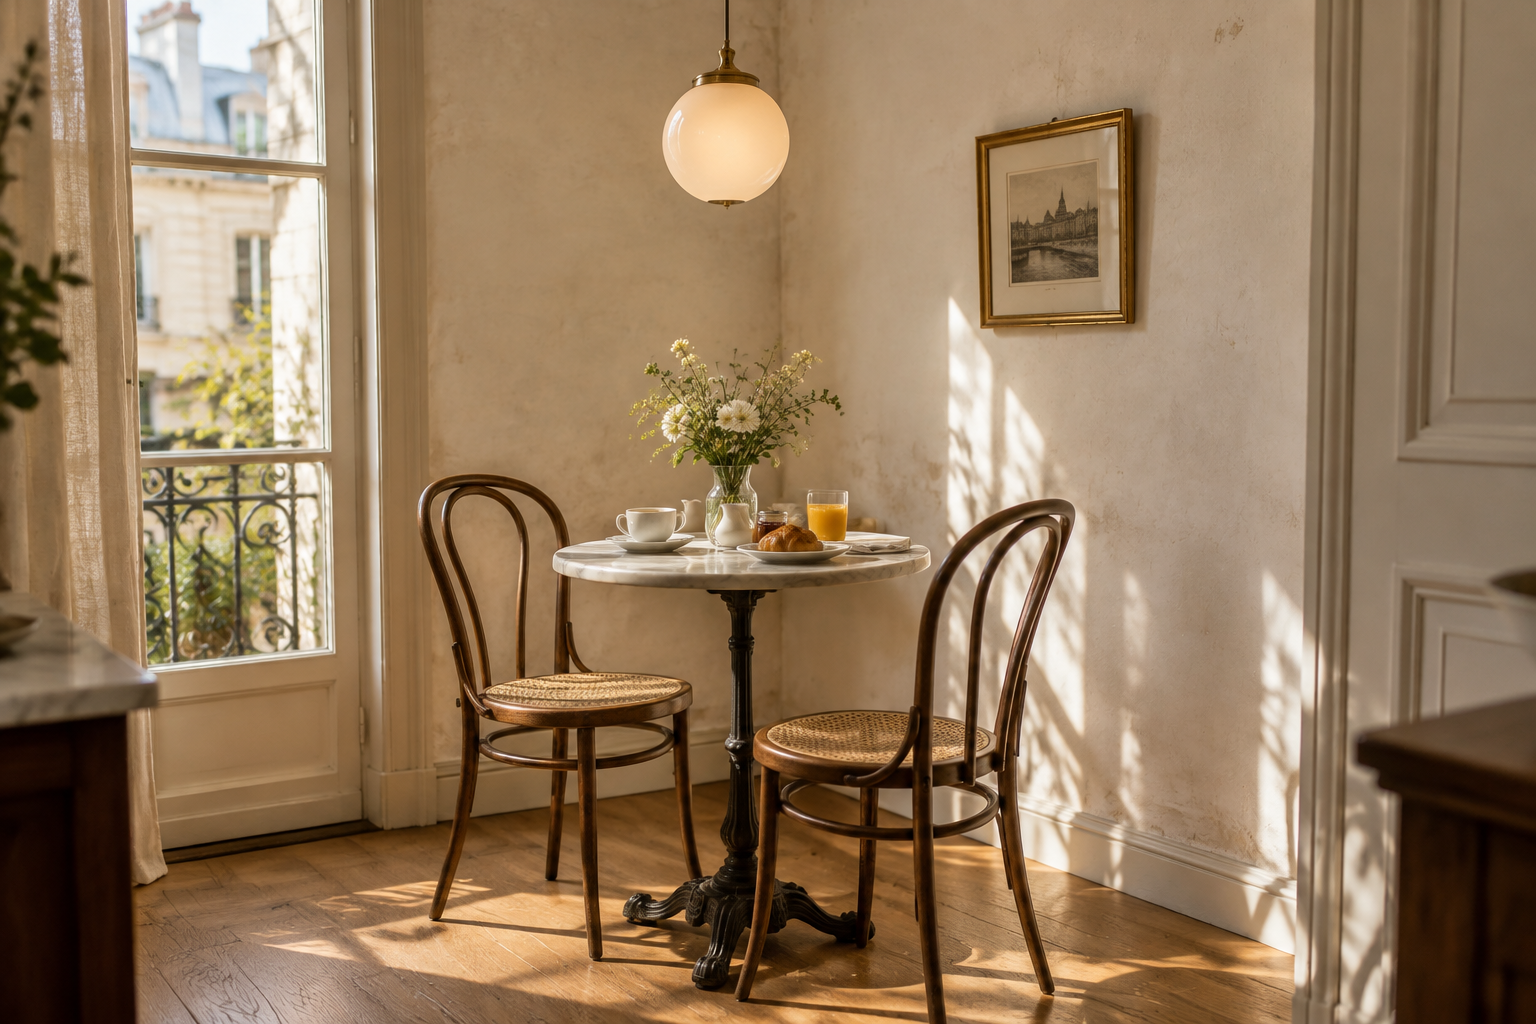
French Bistro Nook
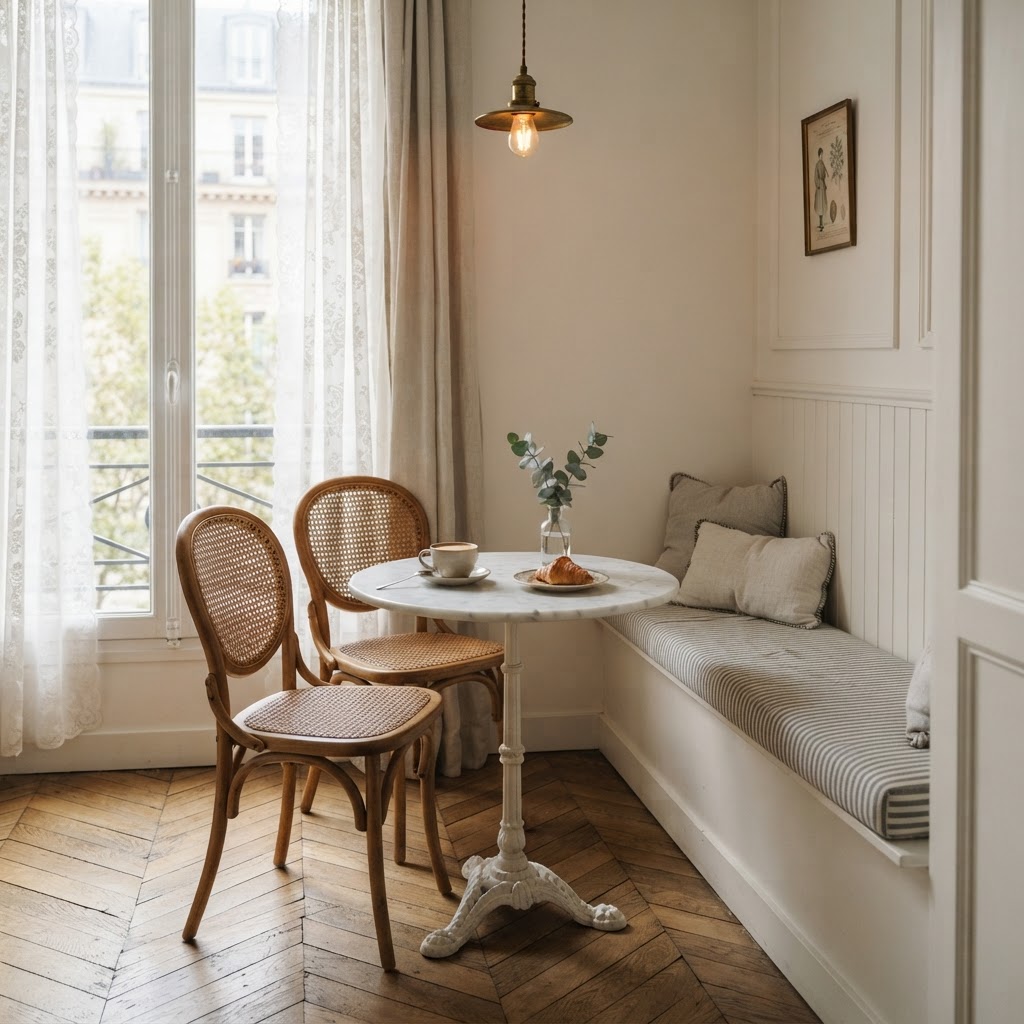
Bentwood chairs and a small round table do not need a banquette at all. Push them into a corner and you have a bistro.
Use a marble or zinc top. Both survive spilled coffee and both look better as they mark.
Hang a single globe pendant a little lower than usual. Bistro tables are meant to feel enclosed.
Add a paper menu or a small framed print on the wall. The reference should be light, not literal.
- Choose chairs with a 16 inch seat width so two fit at a 30 inch table.
- Keep the floor bare or use a small vintage rug, never wall to wall carpet.
Vintage Floral Nook
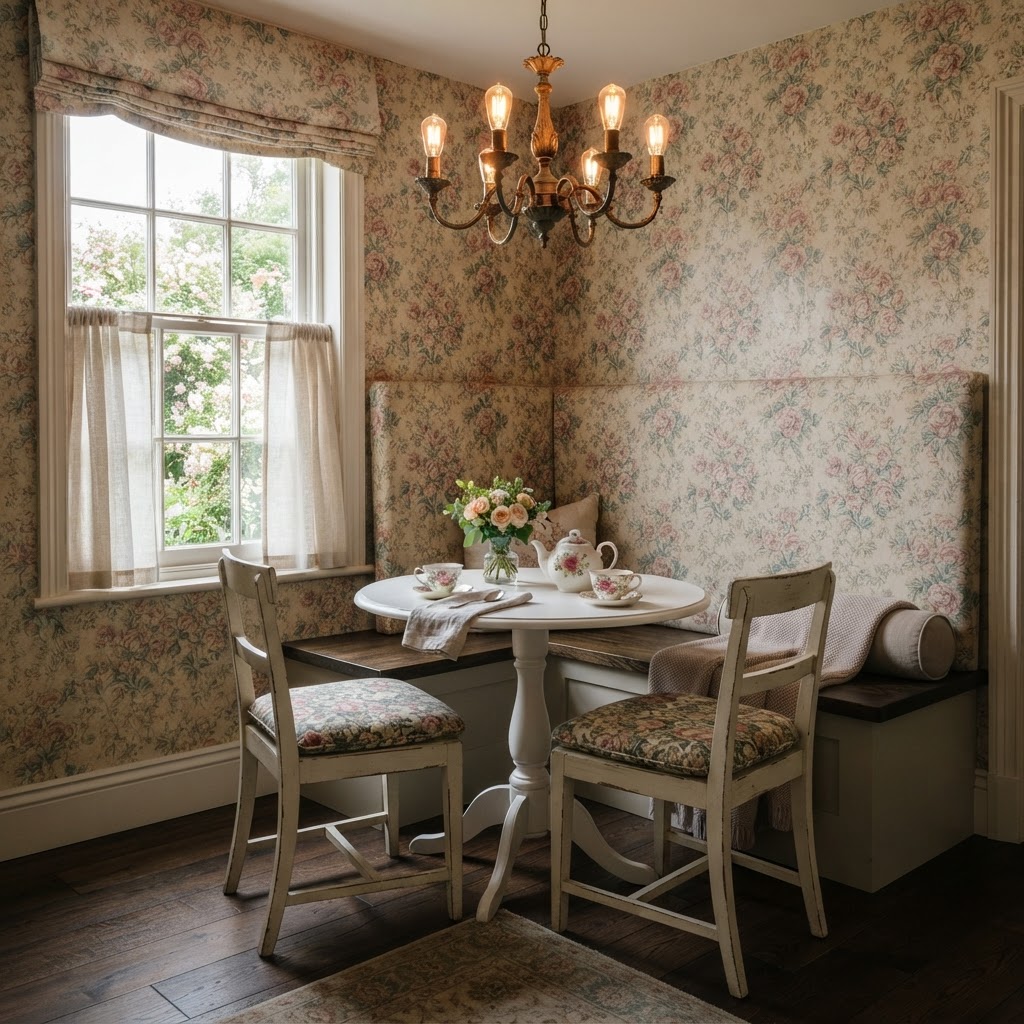
A large floral wallpaper in a small nook is bold and completely works. Small rooms can take big patterns because you see the pattern up close.
Hang a brass chandelier with candle bulbs. Brass and florals are a natural pair that never looks dated.
Use white painted bench slats rather than upholstery. The pattern stays the only busy surface.
Add a scalloped edge on the bench back for softness. It is a small detail that makes the whole corner look considered.
- Choose a floral with a white or cream ground so the nook stays bright.
- Hang the chandelier so the lowest point is 30 inches above the table.
Ladder-Back Chairs and Buffalo Check
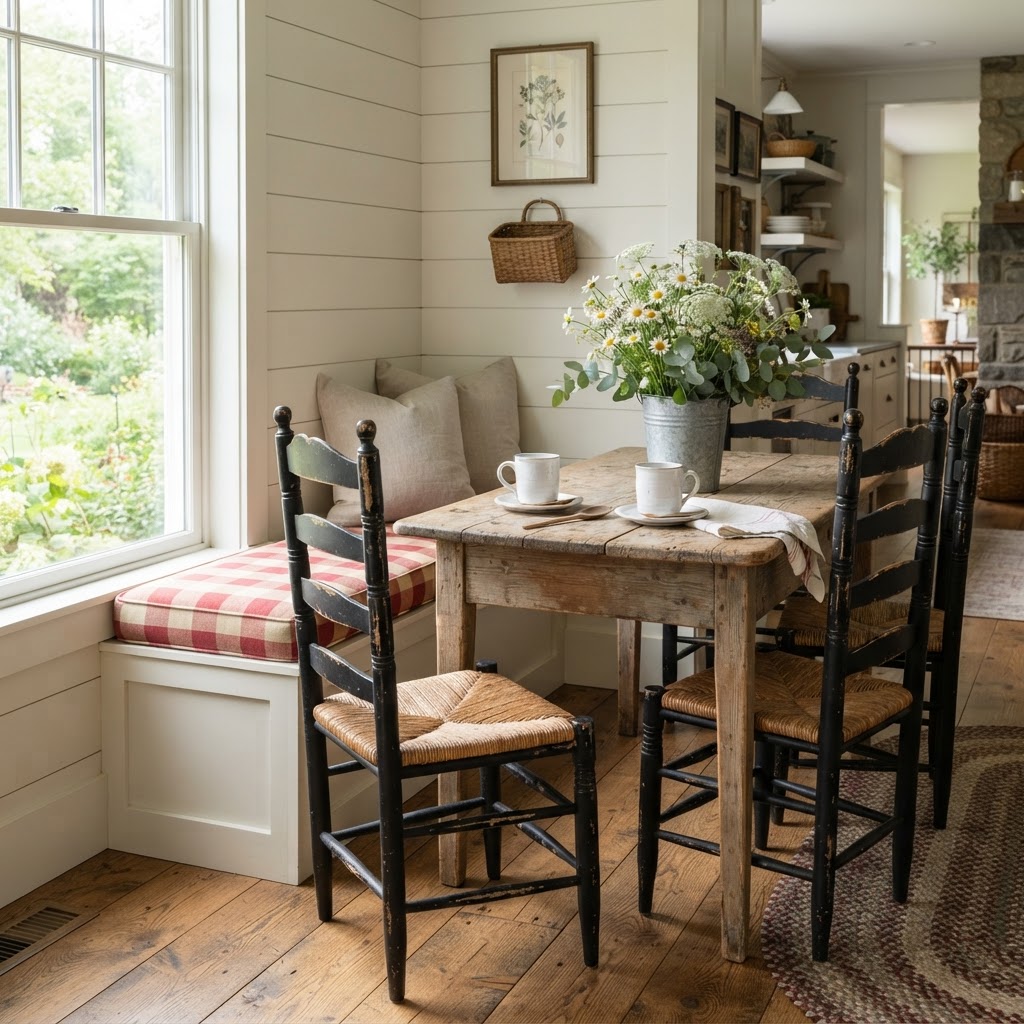
Buffalo check on a bench cushion is a strong print that behaves like a neutral. It works with almost any wall colour.
Use ladder-back chairs opposite the bench. The vertical lines echo the check and keep the corner from looking soft all over.
Keep the table plain scrubbed pine. Check plus pattern plus pattern is too much.
Add a single enamel jug on the table. Vintage nooks need one object with visible age.
- Pick a check with a cream base rather than a white one. It hides crumbs better.
- Make the cushion a fitted box shape so the check stays straight.
Cane-Back Chairs With Gingham
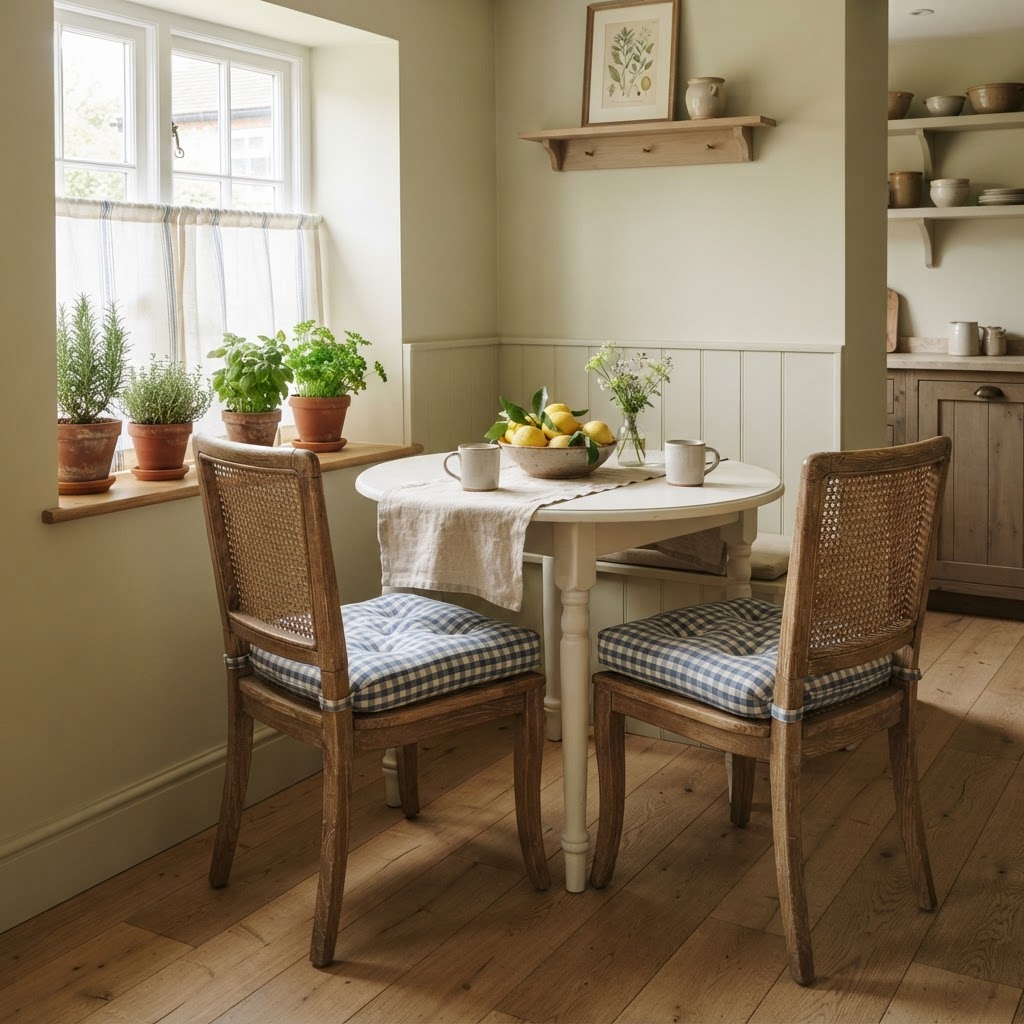
Cane backs let light through, which makes them ideal in a small nook. They feel lighter than solid wood from across the kitchen.
Use gingham seat cushions in one colour only. Gingham in two colours starts to look like a picnic.
Mix cane chairs with a painted bench on the other side. Contrasting seat types is what makes an eclectic nook work.
Keep the table a simple round with a pale top so the cane texture stays visible.
- Treat cane with a light wax once a year to stop it drying near a radiator.
- Choose cushion ties rather than elastic so the pads stay put when people slide in.
Diner-Style Red Vinyl Nook
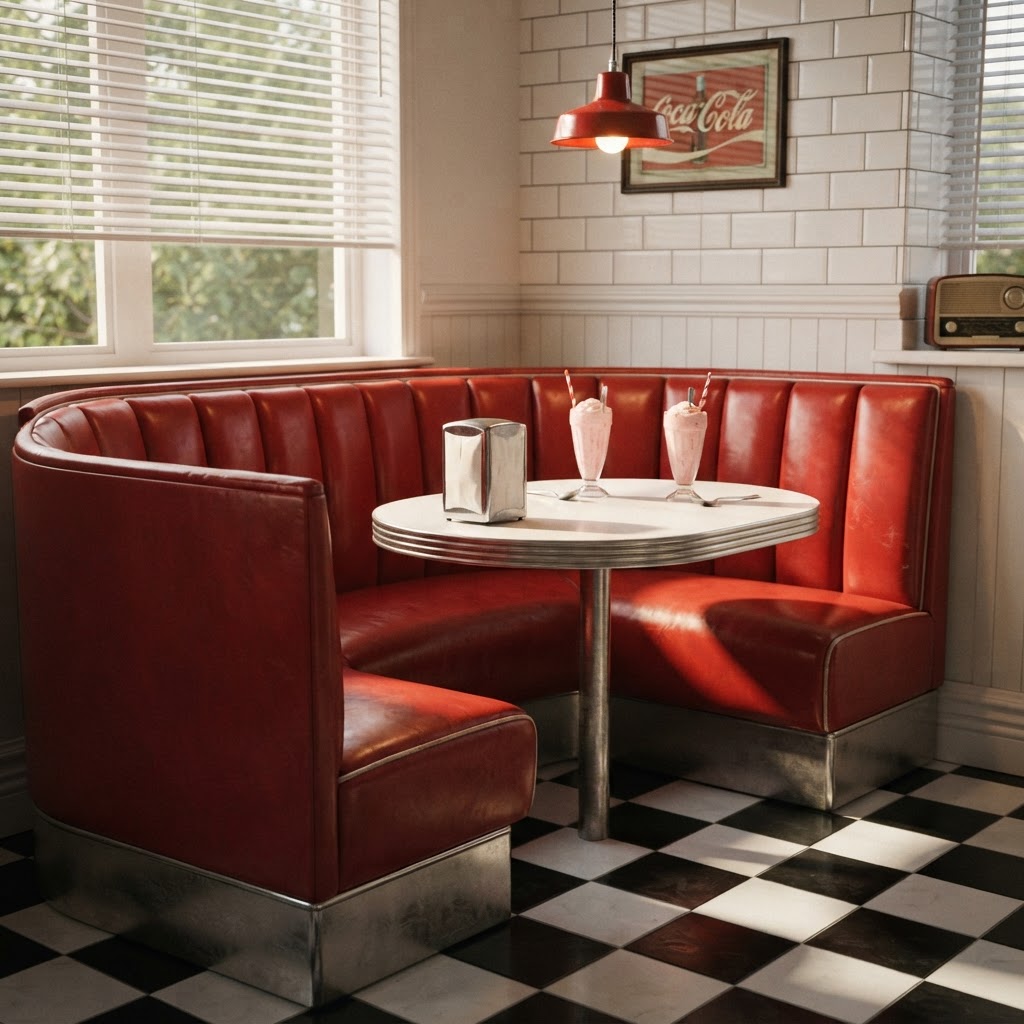
A red vinyl booth with chrome trim is unapologetically retro and completely practical. Vinyl wipes clean and never shows a spill.
Build an L-shaped booth into a corner rather than a freestanding one. Built-in diner booths save far more space than they appear to.
Add a slim chrome table with a single pedestal. The pedestal is essential to the look.
Use one pendant with a red shade or a simple enamel dome. Do not add neon unless the whole room agrees.
- Choose a commercial-grade vinyl. Household vinyl tears at the seam within a couple of years.
- Keep the bench back at 42 inches high so it reads as a booth without blocking light.
Library Nook With Floor-to-Ceiling Shelves
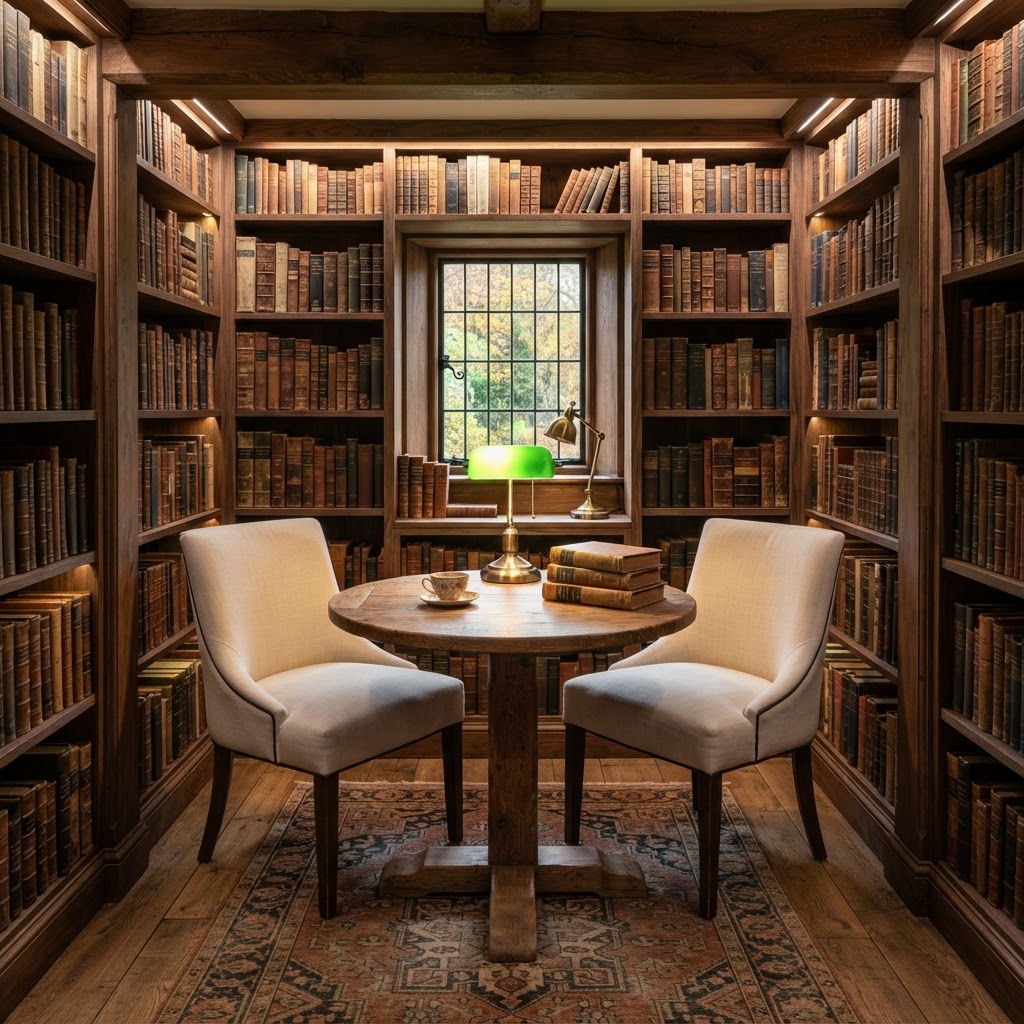
Wrap a breakfast nook in bookshelves and it becomes the most used room in the house. Breakfast becomes reading time without anyone deciding it should.
Build shelves around the bench rather than above the table only. The side returns are what make it feel like a room.
Include a brass swing-arm lamp on the wall so the reading light can move.
Keep the table small, around 30 inches, or the shelves will crowd you in.
- Fix the shelf unit to the wall with proper anchors before filling it with books.
- Leave one shelf free at seat height for a cup, so drinks never sit on top of books.
Light and Airy Coastal
Pale wood, beadboard and linen. The goal is a corner that feels like a deep breath.
Beadboard and Driftwood Nook
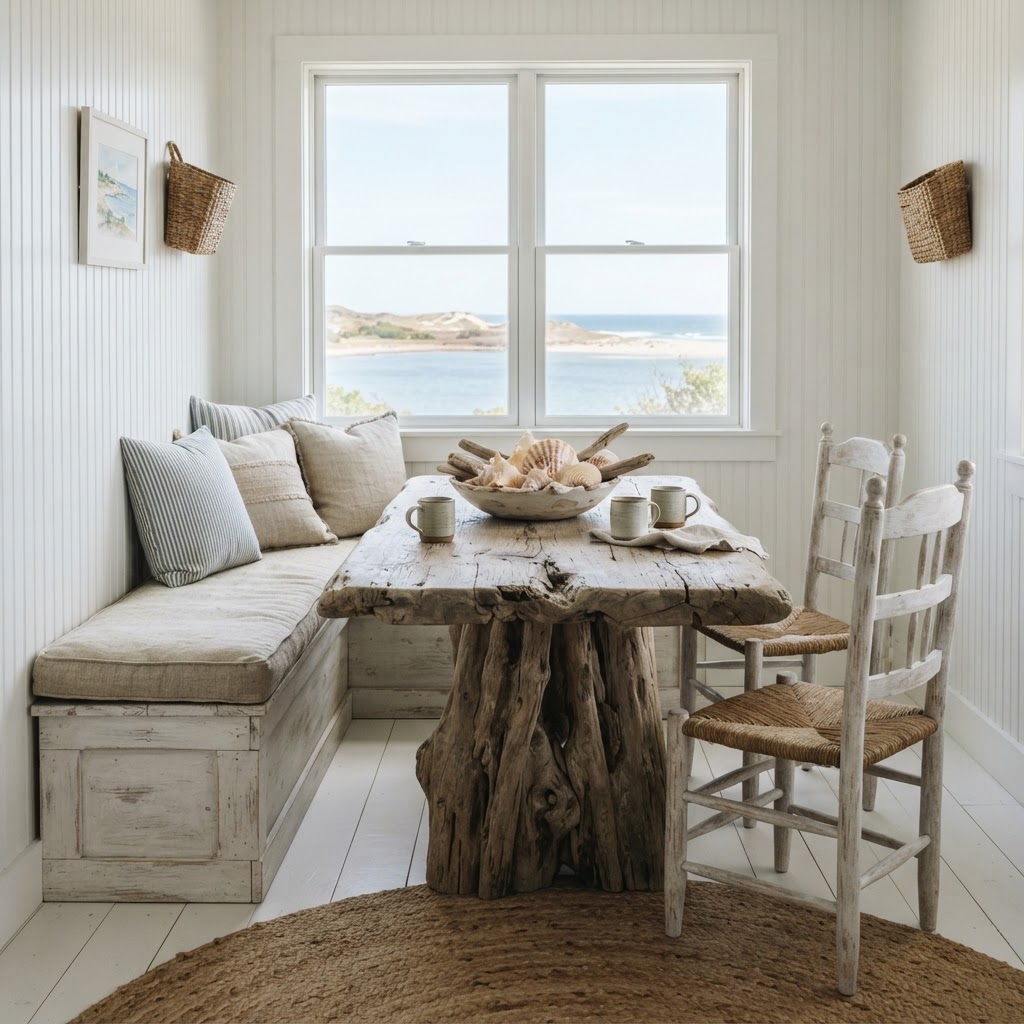
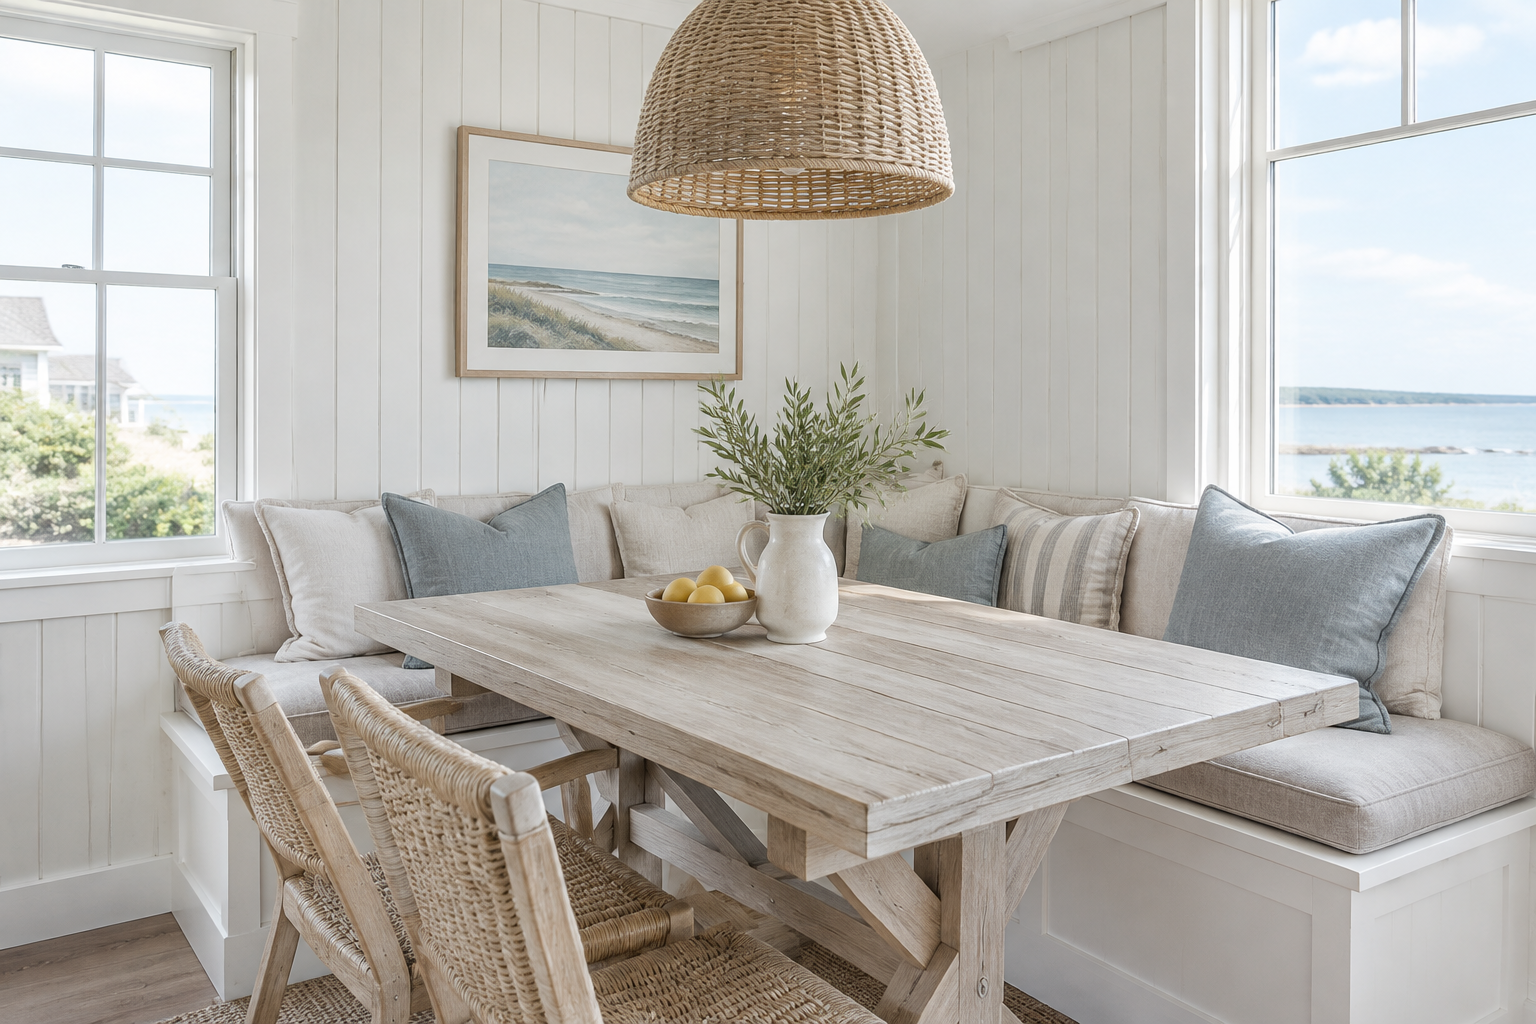
Beadboard gives a nook texture with almost no weight. Painted white, it also reflects light back into a dim kitchen corner.
Use a pale driftwood table with a limed finish. The grey tone stops the white room feeling clinical.
Add cushions in washed linen and one muted blue. Coastal does not need anchors and rope.
Keep the pendant woven or pale wood. Anything metallic will fight the softness.
- Use beadboard panels rather than individual boards. Panels are cheaper and easier to keep flat.
- Choose a blue with grey in it, not a bright nautical navy.
Rattan Pendant Sunroom Nook
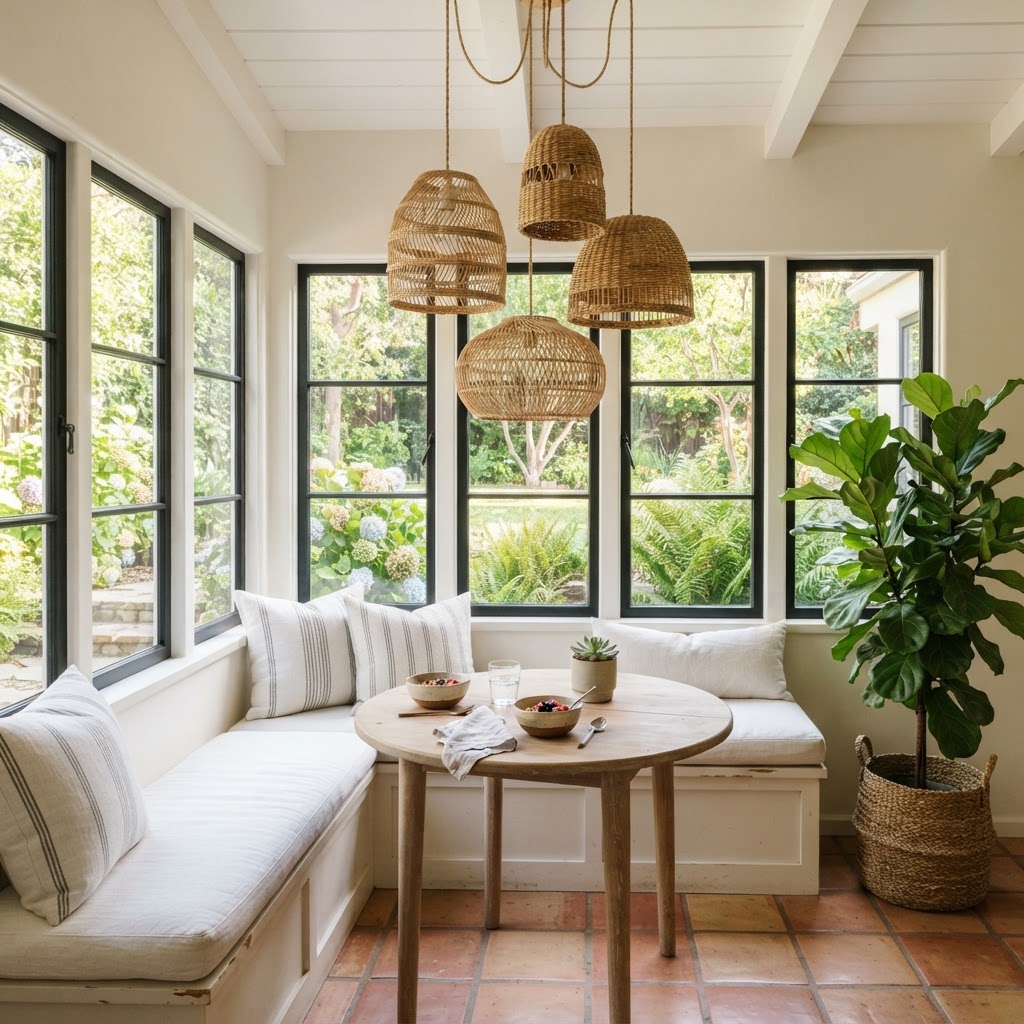
A sunroom nook needs very little decoration because the garden is already outside. Rattan pendants add texture without blocking the view.
Hang two or three woven shades at different heights over the table. Clustered pendants feel informal and read well in daylight.
Keep the bench pale and open underneath so the floor continues visually.
Use one large plant in a plain pot rather than many small ones. Big shapes suit a glazed room.
- Choose pendants with a wide opening so the bulb is easy to change.
- In a very bright sunroom, pick a woven shade with a tight weave to soften the glare.
Black-Framed Window Nook
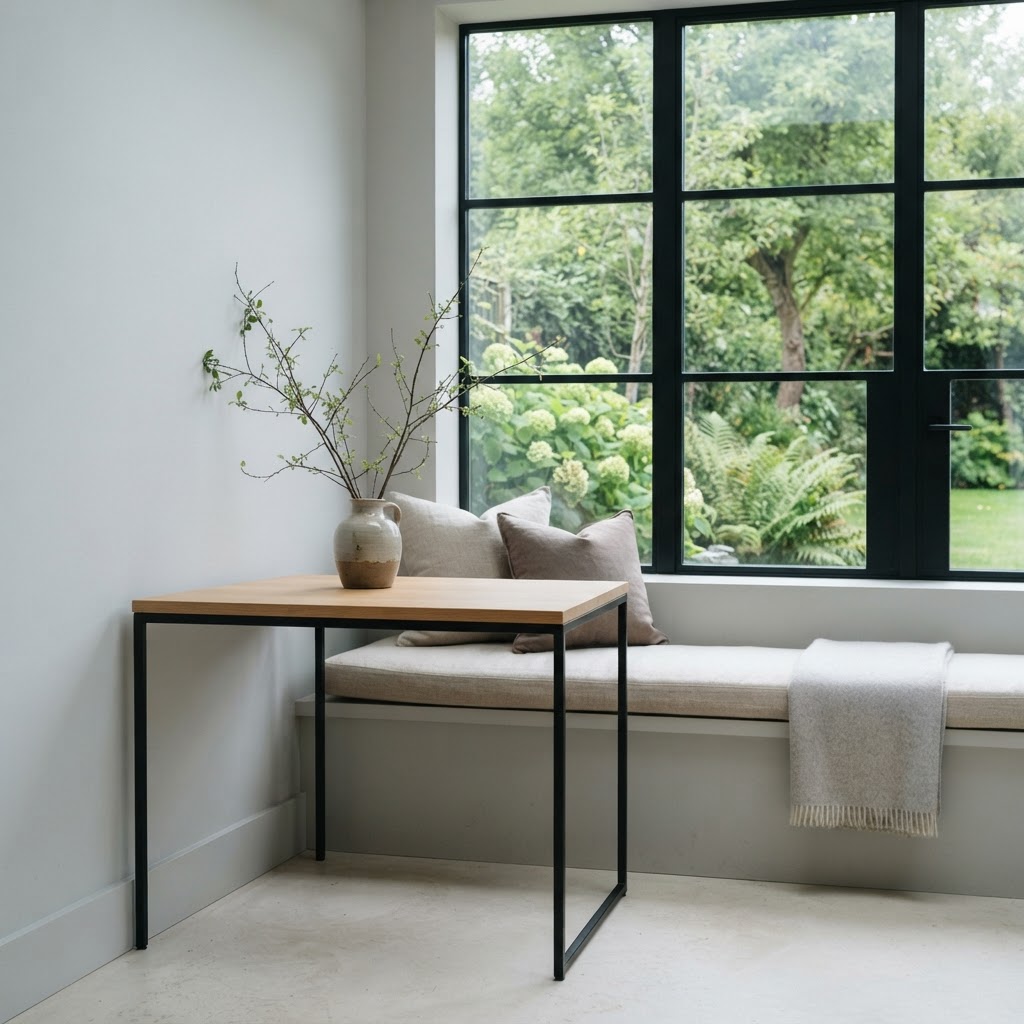
Black frames give a pale nook a line to hold onto. Without a dark element, an all-white corner can look unfinished.
Use natural linen cushions in oatmeal rather than white. Linen adds warmth and hides a coffee ring or two.
Keep the table pale wood and the bench painted the same colour as the wall.
Add a low, wide bowl on the table. Coastal nooks benefit from one horizontal shape.
- Repeat the black from the frames once more, in the pendant or the chair legs.
- Ask for thermally broken frames if the window faces a cold direction.
White-on-White Minimalist Nook
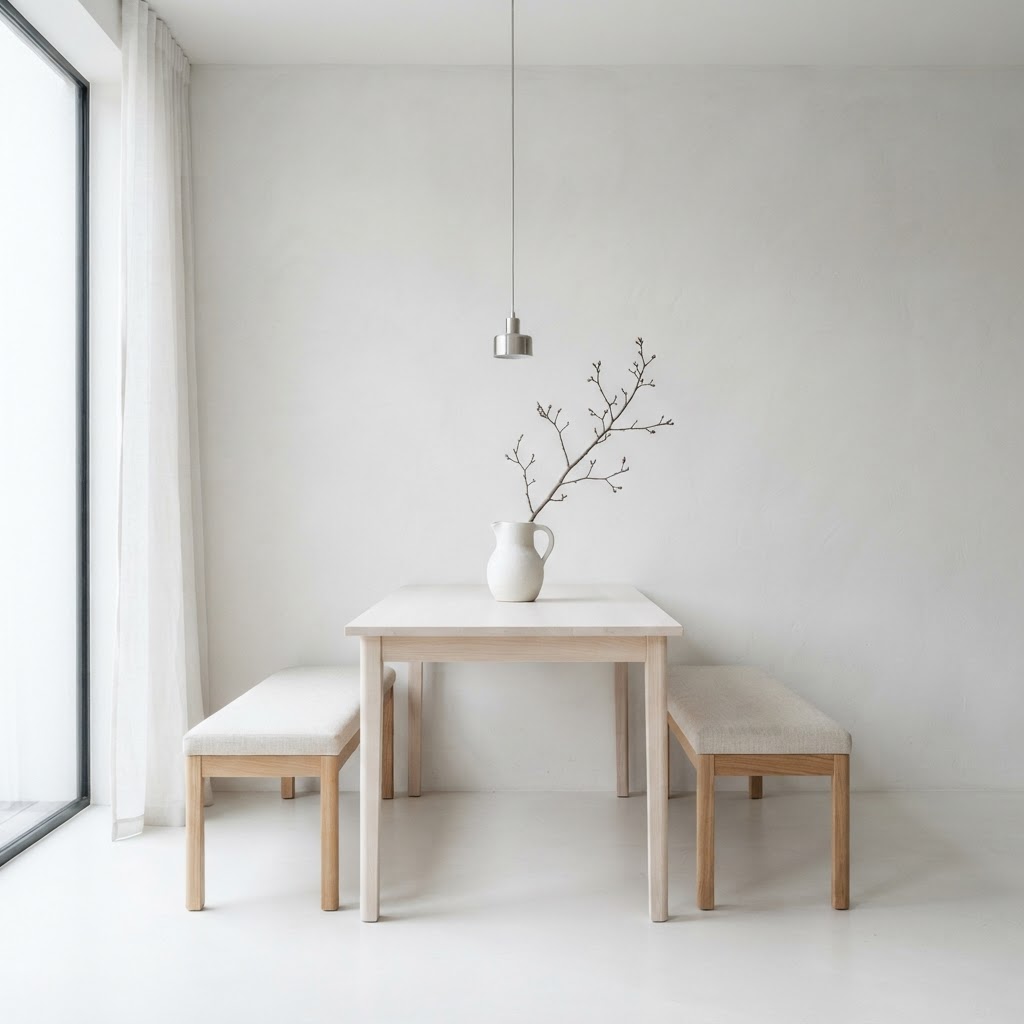
An all-white nook is not boring if you use white in several textures. Matte walls, gloss trim and linen cushions create depth without colour.
Choose a slim table with a white top and pale wood legs. Pure white on white needs one warm element.
Add a single small green plant. It is the only colour the room needs.
Keep the bench back low so light moves across the whole seat.
- Use different whites: warm on the walls, cool on the joinery, natural on the fabric.
- Choose washable white cushion covers. A white nook lives or dies on maintenance.
Sheer Linen Curtain Nook
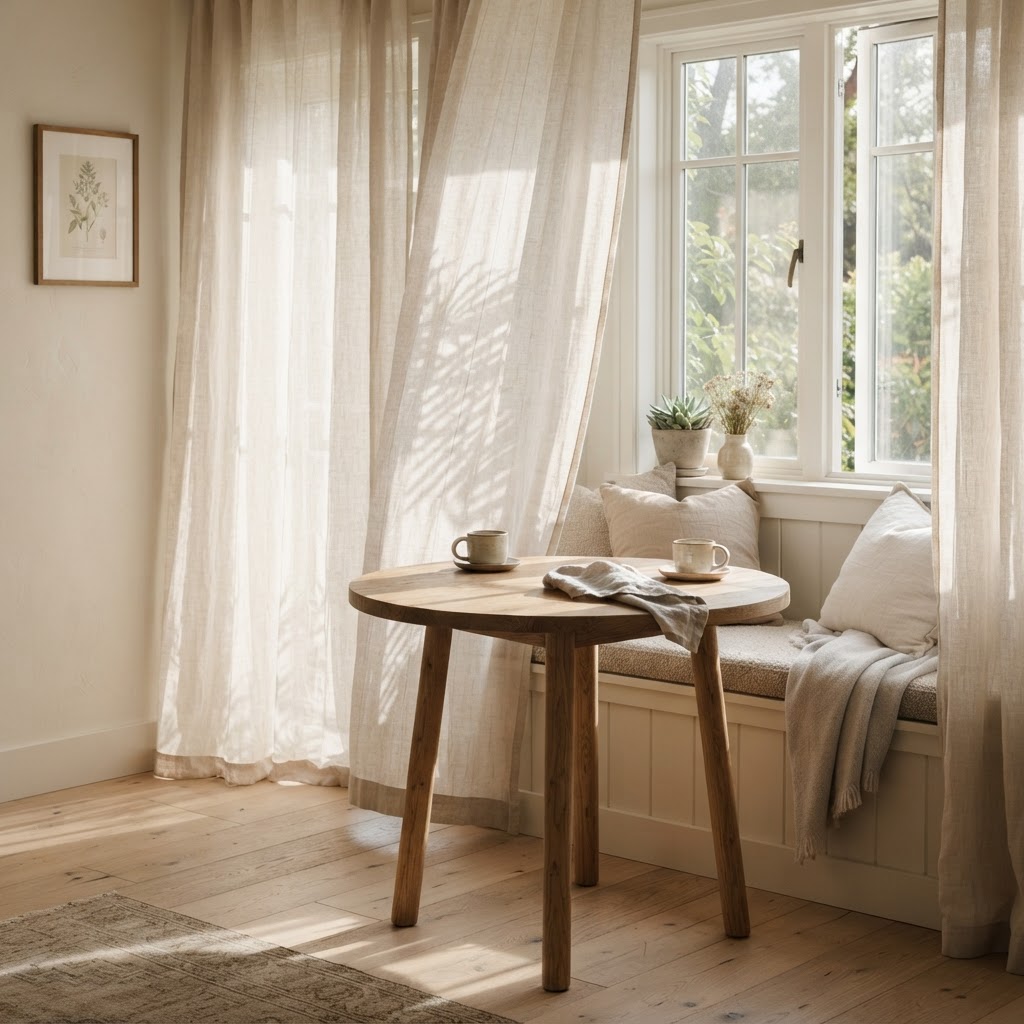
Sheer linen filters hard morning sun into something you can sit in. It is the single cheapest upgrade to any window nook.
Hang the curtain from ceiling height and let it pool slightly. High and long makes the window and the room feel bigger.
Mount the track wider than the window so the curtains clear the glass when open.
Keep the fabric undyed. Warm oatmeal linen flatters wood, white walls and almost every table.
- Choose a linen blend with a little weight so it hangs straight without lining.
- Wash the curtains before hemming. Linen shrinks on the first wash.
Skylight Breakfast Bar Nook
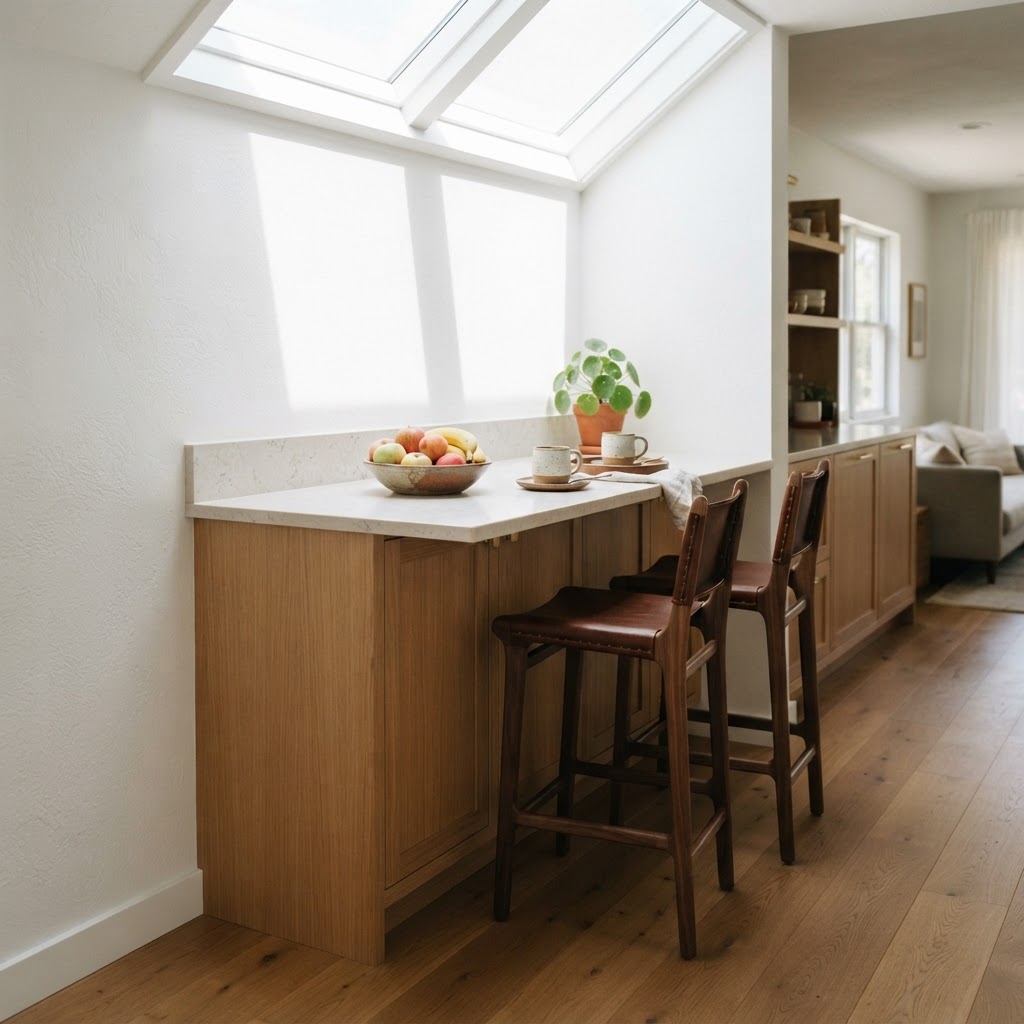
A breakfast bar directly under a skylight gets the best light in the kitchen at the exact hour you use it. It also needs no wall space.
Keep the counter shallow, around 15 inches, and add two slim stools. A deep bar becomes a table and blocks the walkway.
Use a pale stone top and a light wood base. Both bounce light upwards.
Add a small shelf at head height for cups if the ceiling allows it.
- Fit a blind or a diffusing film if the skylight faces the morning sun.
- Choose stools with a footrest. A bar without a footrest is uncomfortable within ten minutes.
Statement and Luxury
Leather, marble and velvet. Spend the budget on one surface and keep everything else quiet.
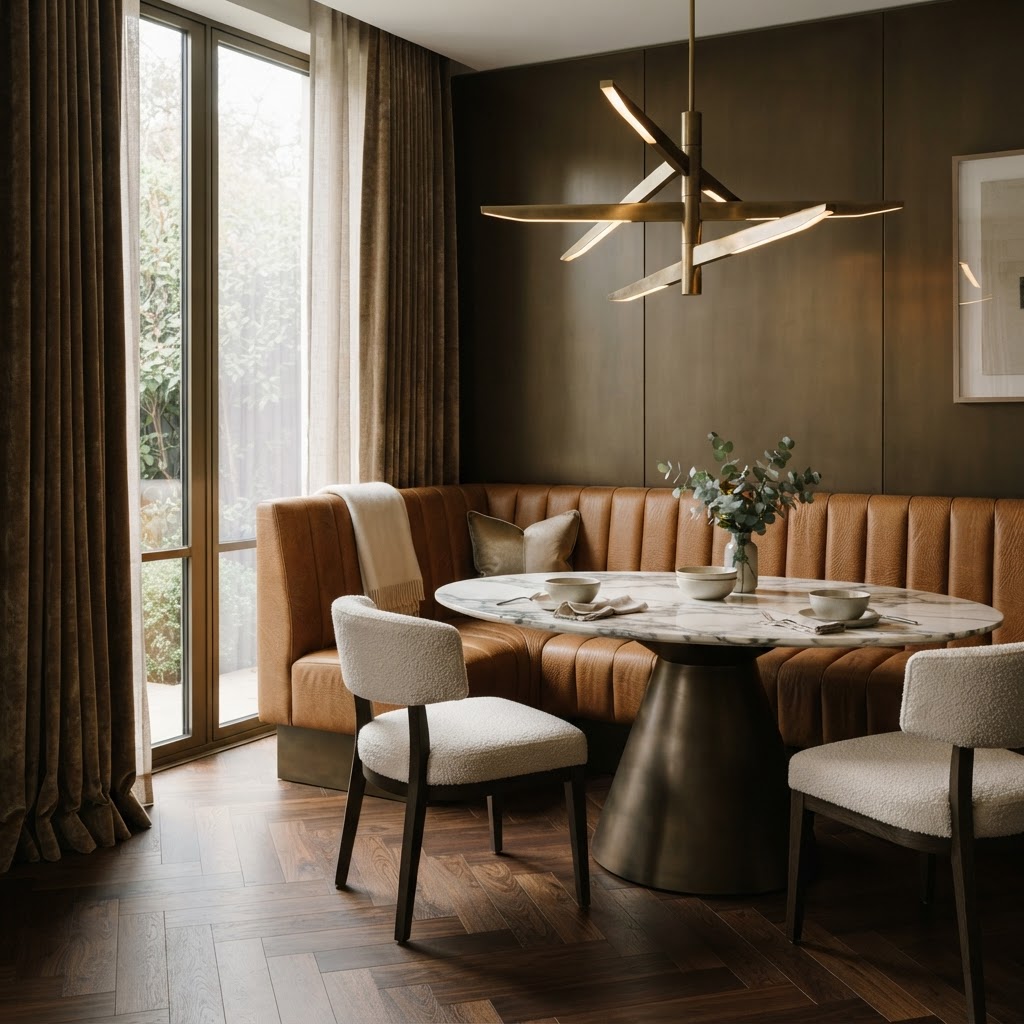
Leather Channel-Tufted Banquette
Channel tufting on a leather banquette is a hotel move that works in a kitchen. The vertical channels make the bench look taller and more expensive than it is.
Choose a tan or cognac leather that will age. Black leather in a small nook can look like a waiting room.
Keep everything else quiet: plain walls, one pale table, no pattern.
Add a slim brass rail along the bench back for a small reading light.
- Use a top-grain leather rather than bonded leather, which peels within a few years.
- Ask for a foam density of at least 35 kg per cubic metre so the channels hold their shape.
Marble Bistro Table Nook
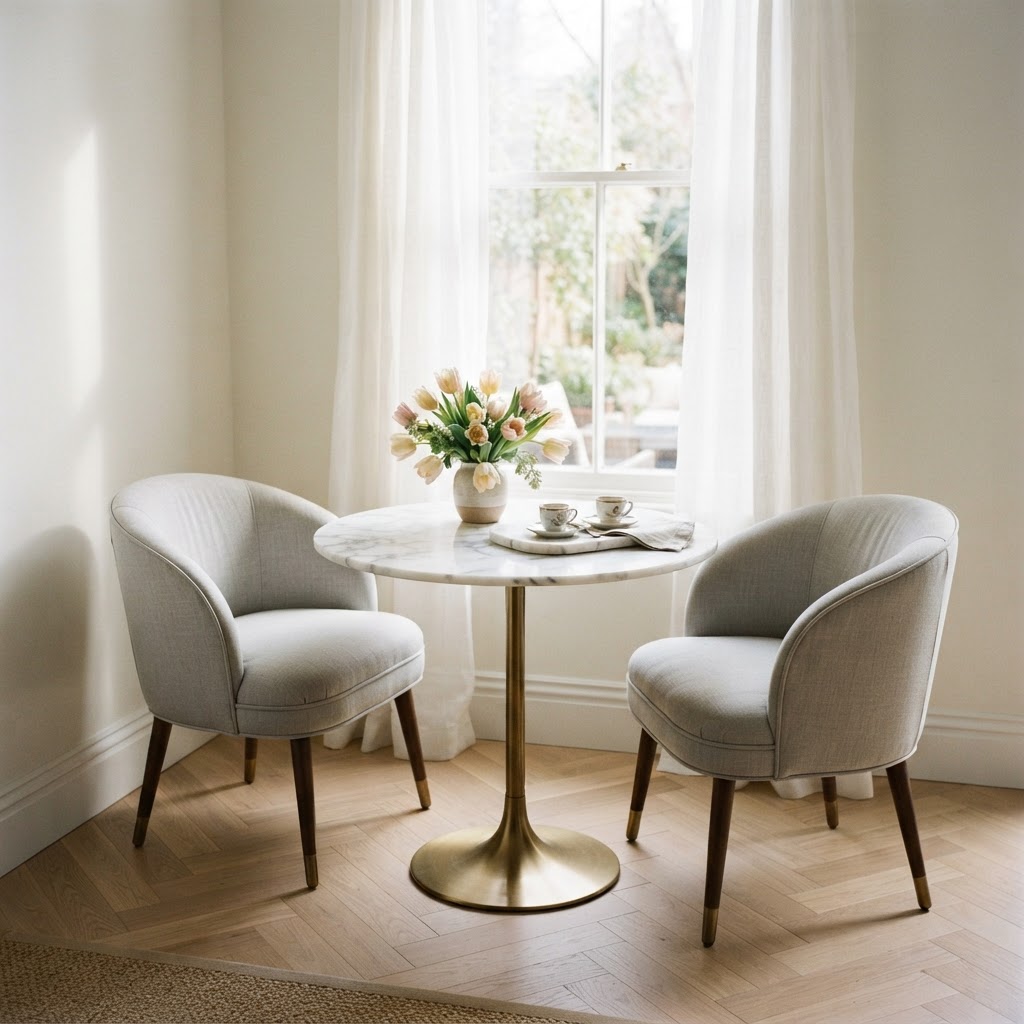
A round marble bistro table turns a corner into something that looks like a Paris hotel breakfast. It also seats two people in a space barely a metre wide.
Keep the base slim and dark so the stone top appears to float.
Add two upholstered chairs in a warm neutral. Marble is cold, so the seating has to be warm.
Hang a single aged brass pendant with a low profile. A wide shade would hide the table.
- Seal the marble before first use and wipe up red wine immediately.
- Choose a honed finish if the table will hold hot pans or if children use it.
Emerald Velvet Wrap-Around Booth
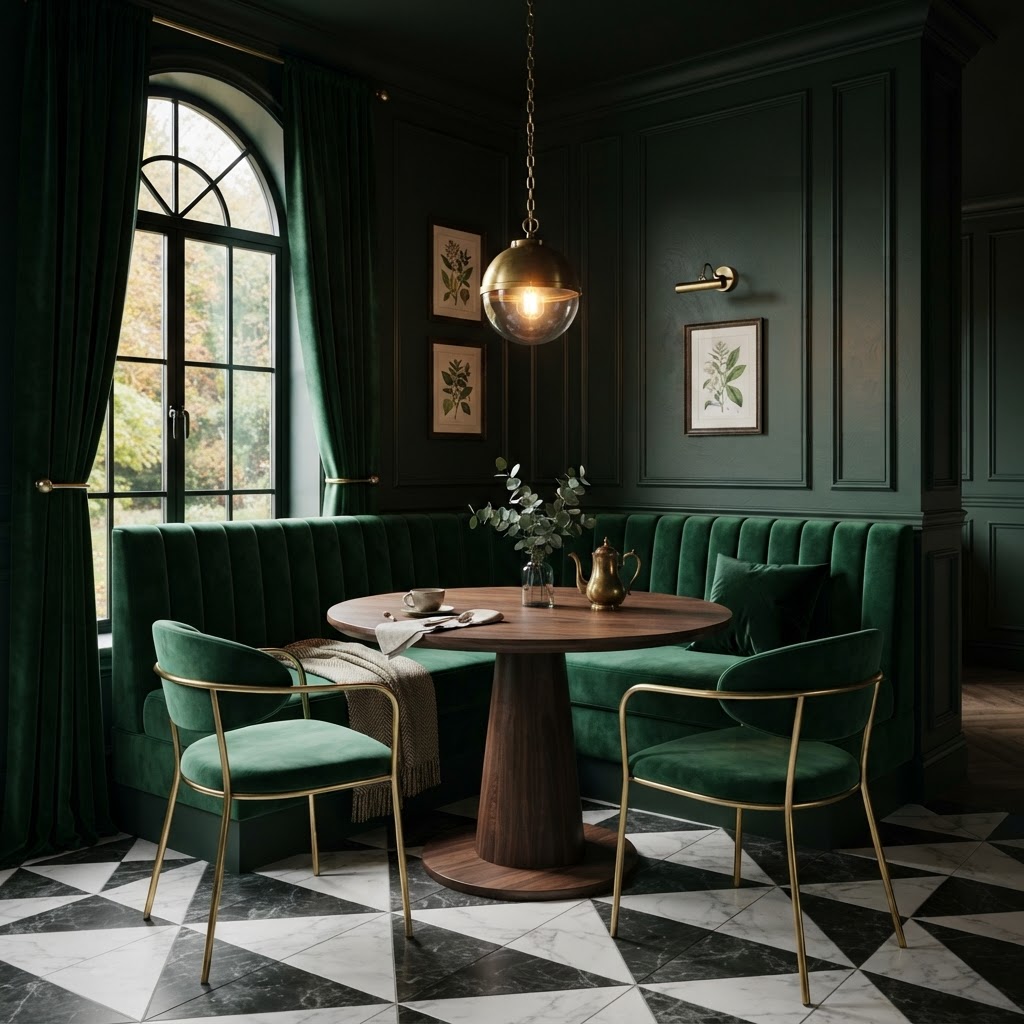
A wrap-around booth in emerald velvet is a commitment, and a good one. Green velvet is warm, forgiving and looks best in low light.
Build the booth so the back wraps in one continuous run. A break in the run kills the effect.
Use a dark table so the velvet stays the focus. Black or dark walnut works better than pale oak here.
Light it low with two small wall lights and nothing overhead.
- Choose a performance velvet with a high rub count if the nook is used daily.
- Ask the upholsterer to tuft the back lightly so the velvet does not look flat.
Brass Sconce Gallery Nook
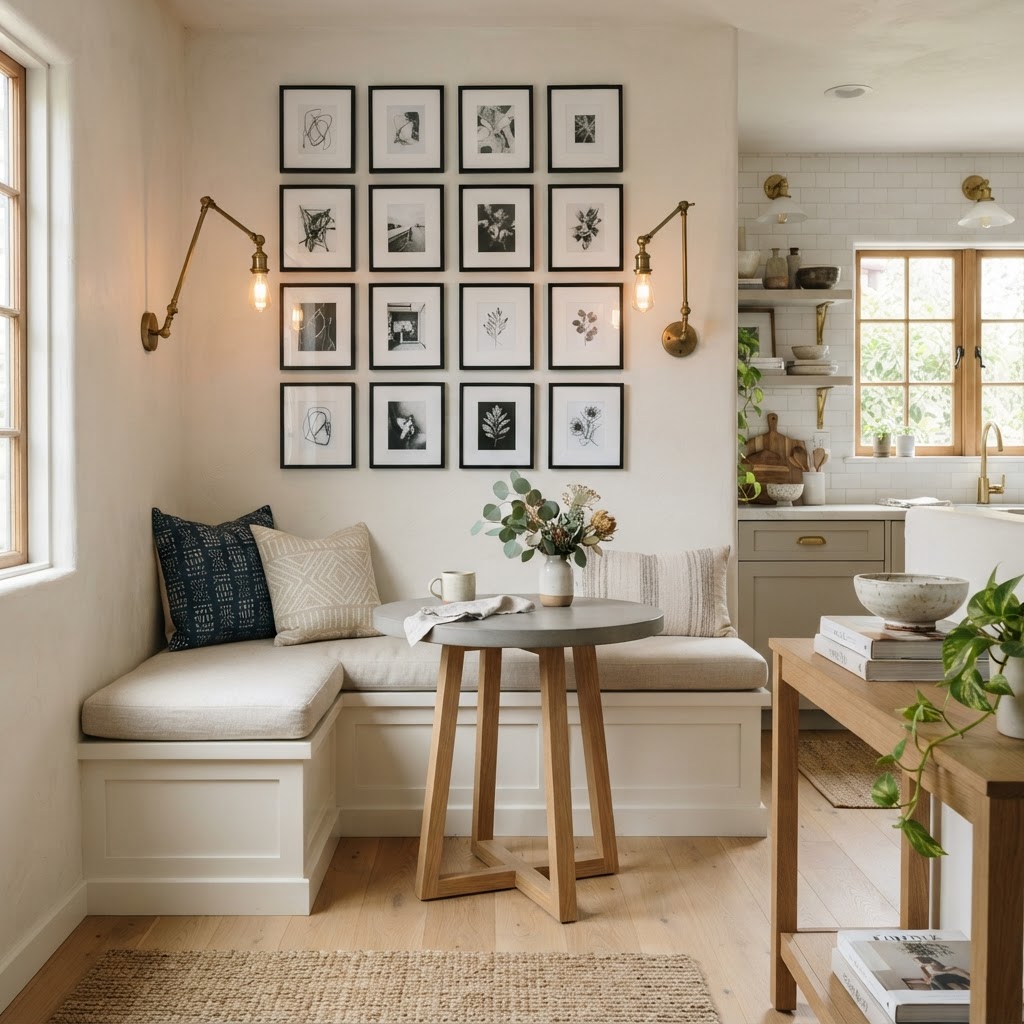
A gallery wall above a bench gives a nook something to look at while you eat alone. Brass sconces make it feel lit from within.
Hang the sconces first, then arrange the frames around them. Art hung first always ends up fighting the light.
Keep the frames in two materials only. Mixed metals above a bench look accidental, not eclectic.
Align the bottom of the lowest frame with the bench back. That line is what makes the arrangement look finished.
- Use a dimmable warm bulb at 2700K so the light flatters skin and food.
- Hang art at eye level for a seated person, not a standing one.
Glass-Walled Conservatory Nook
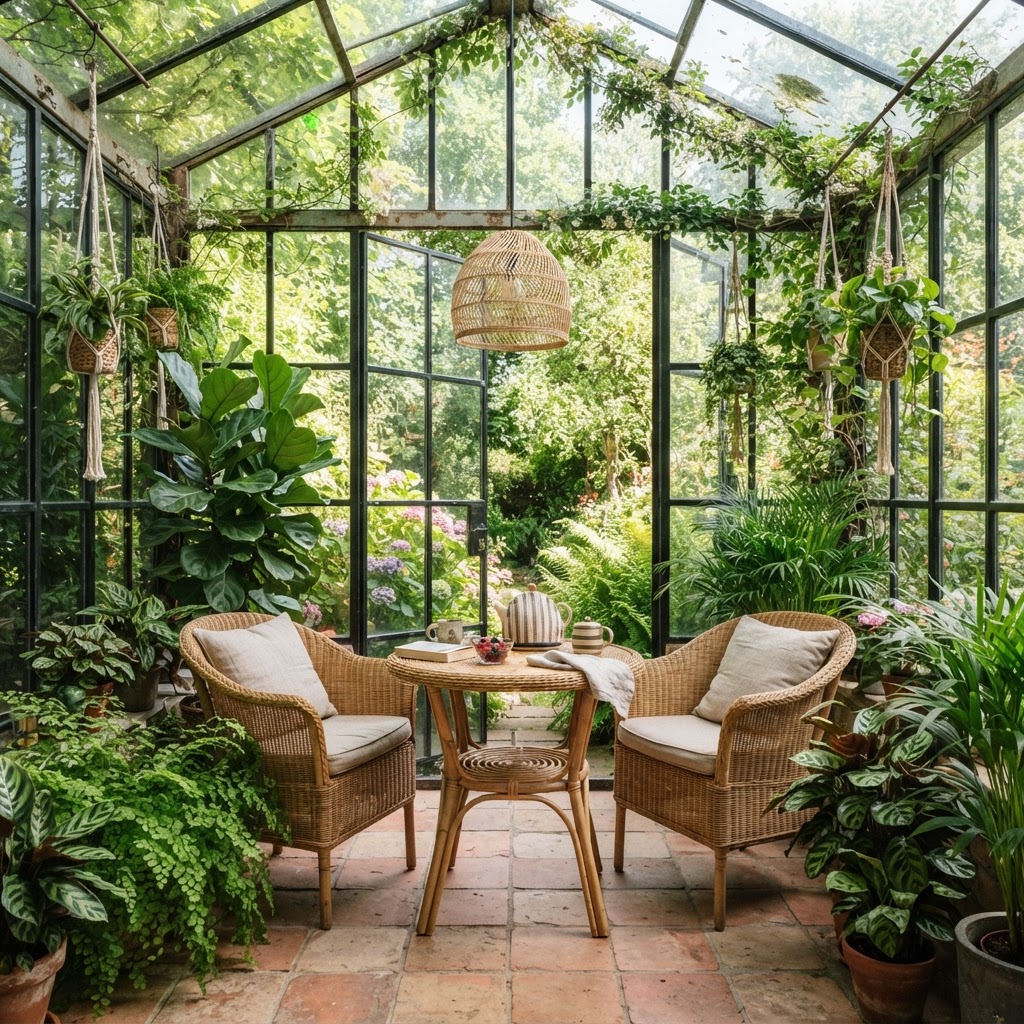
A nook inside a glazed conservatory is surrounded by light and weather. Breakfast here feels like being outside without the coat.
Choose furniture that can take sun: teak, powder-coated metal, and outdoor-grade fabric.
Use a pale stone or tile floor and a rug that can handle a little moisture.
Add one large pendant rather than several small ones. In a glass room, a single strong shape holds the space together.
- Fit roof blinds if the conservatory faces south, or the room will be unusable by nine in summer.
- Choose a table with a light top so it does not silhouette against the view.
Cushions decide whether anyone stays
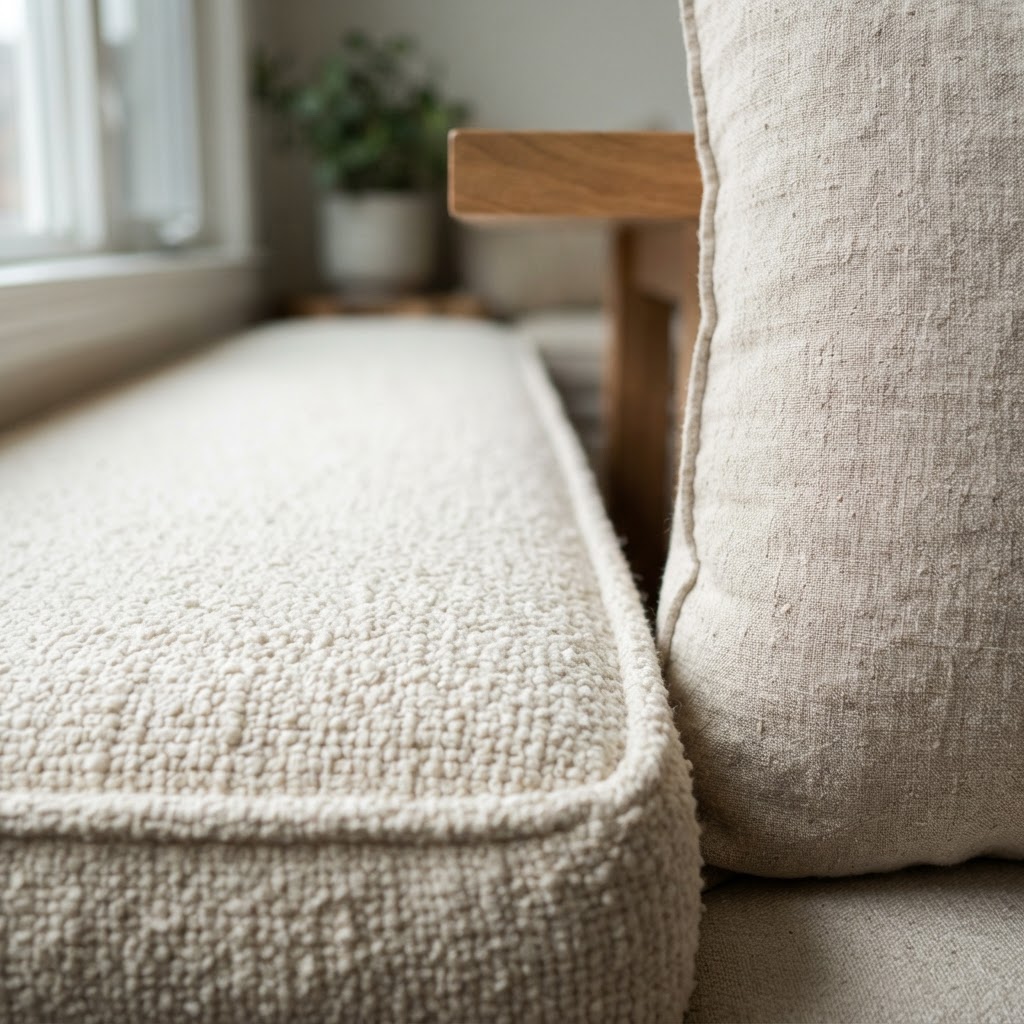
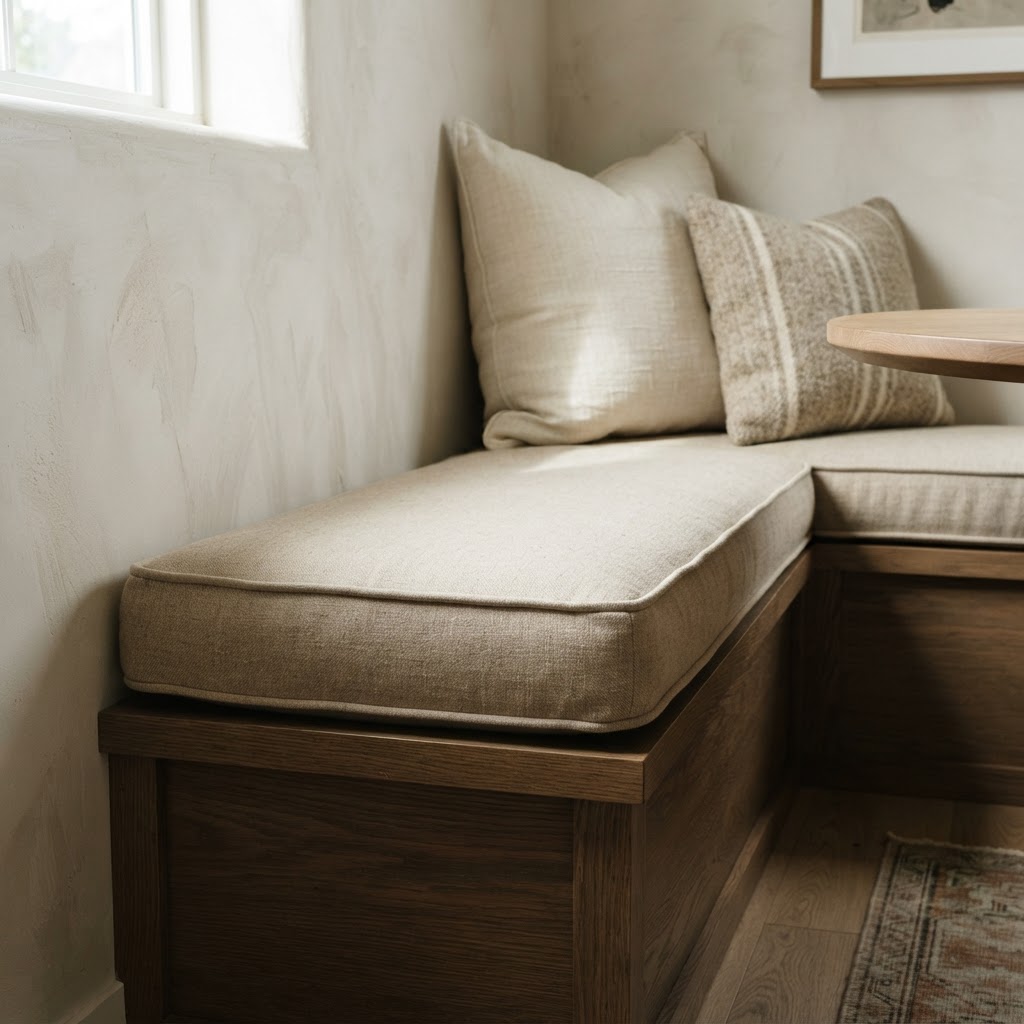
A bench with a 2 inch flat pad is a bench. A bench with a 4 inch high-resilience pad is a seat you will use every day.
Choose covers you can unzip and wash. Breakfast involves crumbs, jam and coffee, and all three land on the seat.
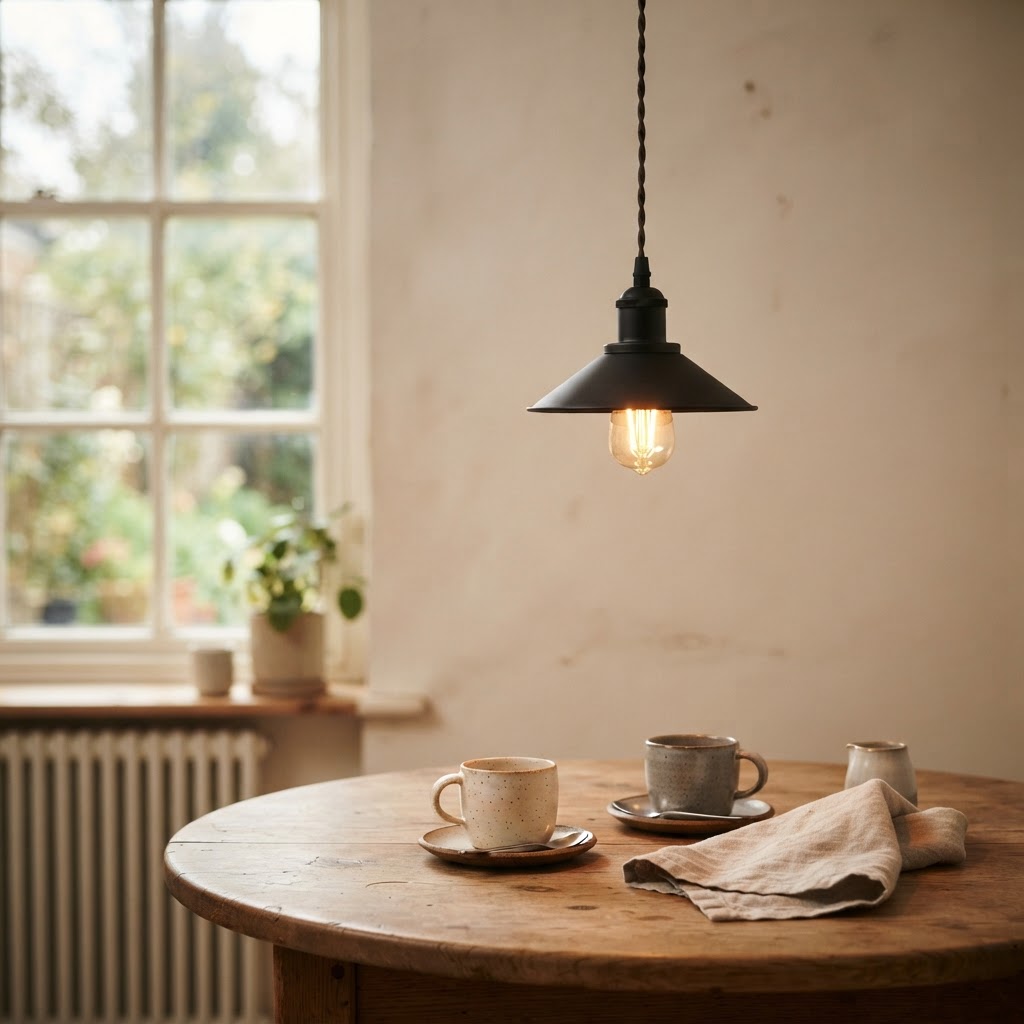
Hang the light lower than feels right
A pendant over a nook should sit 30 to 36 inches above the tabletop. Any higher and it stops being part of the room.
Then raise it 4 inches if people stand up mid-meal. That is the whole calculation.
Depth and thickness in one number
A 20 inch bench with a 3 inch pad gives roughly 17 inches of usable seat. That is the figure that matters.
Measure to the front edge of the cushion, not the front edge of the frame.
Storage you can reach without standing
Drawers beat lift-up lids in a nook. No one wants to move a cushion and a sleeping cat to find a napkin.
Keep the top drawer shallow and put the deep storage at the end of the run.
Which breakfast nook should you build first
Start with the measurement, not the mood board. Once you know your bench depth and your table width, most of the 47 ideas above narrow themselves down.
If you have a corner, build the banquette. If you have a wall, use a slim console table. If you have neither, a round table and two chairs still count.
Then choose one thing to commit to. A colour, a surface, a light, an old pew. One clear decision beats five safe ones.
The best breakfast nook is not the most beautiful one on this list. It is the one you sit in tomorrow morning without moving anything out of the way first.
- Live with the layout for a week using tape on the floor and a borrowed chair.
- Buy the light last. It is easier to choose a pendant once the room has its real colour.